Living Room Layouts: The One Rule That Makes Everything Fit
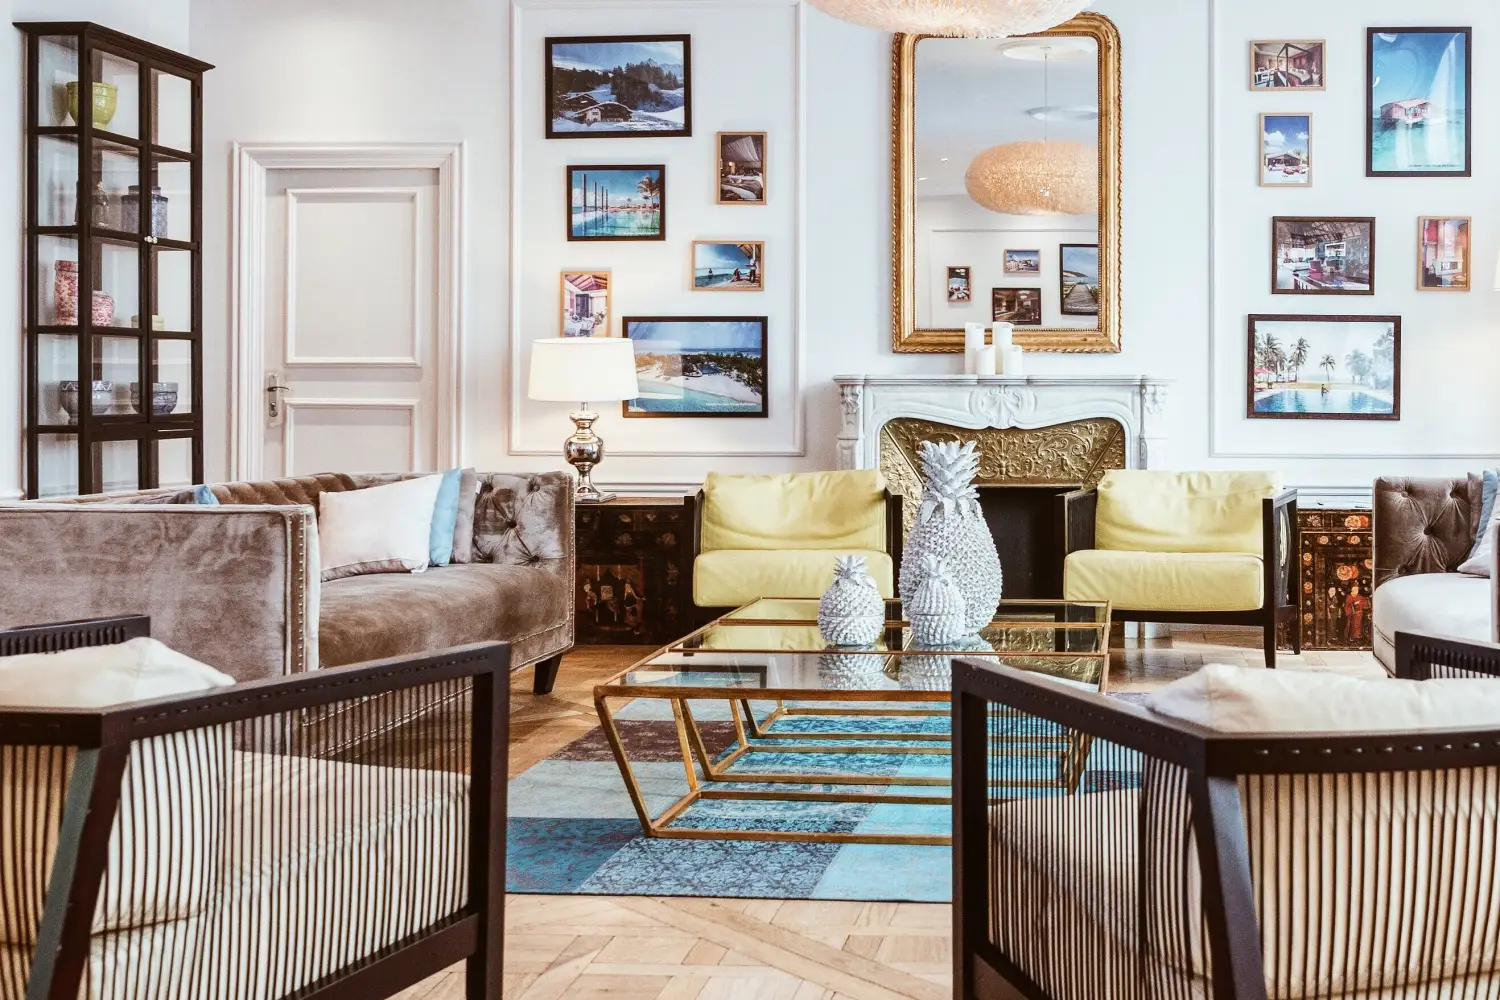
The one rule that makes a living room layout work every time: start from the room's primary function, not the largest wall. This pivot-point method treats the main activity — conversation, TV watching, reading — as the nucleus, then places furniture around that purpose rather than forcing it against walls.
Most people walk into a room and immediately look for the longest uninterrupted wall to push the sofa against. That instinct creates dead center space, awkward traffic paths, and a layout that feels like a waiting room. The pivot-point method replaces that instinct with a deliberate sequence. Identify what the room really needs to do. Choose the single most important piece or zone that anchors that activity. Arrange everything else radiating outward. By the time you finish reading, you will know exactly how to lay out any living room so every seat has a reason, every path makes sense, and nothing feels crammed in as an afterthought.
From Wall-Centric to Purpose-Centric: Three Common Starting Points
Look at your current situation and find the one that matches most closely. Each path below describes the route through this article.
- You are staring at an empty room with zero furniture placed yet. Read the full staged progression from start to finish. It will give you a step-by-step sequence that prevents you from making the sofa-first mistake.
- You have furniture arranged already, but the room feels tight or disjointed. Jump to the stage on pinpointing the pivot piece, then work back through the earlier stages to see if your primary function was misidentified. The readiness signs recap at the end will show you exactly where the breakdown happened.
- You have a multi-use living room that needs to handle TV, dining, or a home office. Start with the section on naming your room's primary job, and pay extra attention to the deferred concerns about floating zones. The pivot-point method still applies; you simply treat each zone as a mini-room with its own anchor.
Name What the Room Does First
Before you touch a single piece of furniture, decide what this room mainly exists for. The answer sounds obvious, but people routinely try to serve too many purposes at once and end up with a layout that excels at nothing.
List every activity this room needs to support. Then underline the one that matters most. If you are honest, one of those activities will dominate the others in daily use — not in fantasy, but in reality. A living room that is primarily a conversation space needs seating facing inward, not toward a mantel. A room built around movie nights needs a clear sightline to a screen without reflective glare. A lounge focused on reading needs chair-side lighting and a surface for a book within arm's reach.
Pick the primary function, write it on a sticky note, and accept that secondary activities will adapt to it. This decision governs every placement decision that follows.
Ready to move on: You can state the room's main job in one short sentence — "This room is for family movie nights" or "This room is for hosting small groups of friends." If you are still waffling between two equal contenders, walk through your last week of actual time spent in the room and decide based on that, not what you wish you did.
Find the Pivot Piece That Anchors the Activity
With the primary function clear, identify the single piece of furniture or built-in element that makes that activity possible. This is the pivot point. Everything else will be arranged relative to it.
- For a conversation room, the pivot is the main seating group — typically the largest sofa or a pair of facing sofas.
- For a TV room, the pivot is the screen itself (or the media console beneath it). The seating then faces that.
- For a reading room, the pivot could be a favorite armchair and its adjacent lamp, or a built-in bookshelf that defines the zone.
Do not confuse the pivot with the largest piece of furniture by default. A huge sectional can be the pivot in a conversation room, but in a TV room the pivot is the screen location, and that sectional may need to be split or replaced. The pivot is about function, not scale.
Once you have named the pivot piece, do not push it against a wall reflexively. Pull it into the room — even a foot or two of breathing space behind a sofa can dramatically improve how spacious the whole room feels. If the pivot is a TV, place it on a wall or console where glare can be controlled and where seating can be arranged perpendicular or directly facing.
Ready to move on: You can point to the exact spot on the floor where the pivot piece will sit, and you know why it belongs there rather than anywhere else. If you cannot explain that reason in functional terms — not just "it fits on that wall" — rethink the placement.
Place the Main Seating First, Everything Else After
Line up the seating that directly services the pivot point activity. For a conversation room, position the largest sofa so that it faces or partially angles toward the other seating pieces, not toward a fireplace or window unless those are integrated into the conversation zone. For a TV room, set the primary sofa directly facing the screen at a distance of about 1.5 to 2.5 times the screen's diagonal measurement (roughly 6 to 10 feet for a typical living room TV). For a reading lounge, place the main chair where natural light and the lamp both work, not where it looks best from the doorway.
Add additional seating — accent chairs, ottomans, bench seating — relative to that first piece, keeping sightlines open and leaving at least 18 inches between seating pieces for knees and comfort. At this stage, do not worry about coffee tables, side tables, or decor. Those come after the seating skeleton is solid.
Ready to move on: Walk through a typical use of the room in your mind. You can sit in any seat and feel oriented toward the action — not twisted sideways, not craning your neck. If even one seat feels out of the loop, adjust before adding anything else.
Radiate Secondary Surfaces from the Anchor Grouping
Once seating is fixed, add the surfaces that support the main activity. For a conversation room, place a coffee table centered on the focal point of the seating arc, not centered on the room. For a TV room, add a media console below the screen and a coffee table between the sofa and screen, leaving at least 14 to 18 inches of clearance between the table edge and sofa for leg room. For a reading room, add a small side table on the same side as the lamp, close enough that a mug can be set down without leaning.
Now is also the time to add floor lamps, side tables, and decorative tables that serve clear purposes. Rule of thumb: every surface should be reachable from at least one seat without standing up, and every lamp should illuminate a specific task or zone, not just bounce light off a ceiling.
Do not bring in rugs, art, or window treatments yet. Those are finishing layers that will distract you from testing the layout's bones.
Ready to move on: You can sit down and reach a drink, a book, or a remote without getting up. If the room has a single dead zone where a seated person would have to set a glass on the floor, fix that surface gap now.
Test the Traffic Flow — Then Adjust
Now walk through every natural path: from the entrance to the sofa, from the sofa to the hallway, between seating groupings to reach a window or door. Each main walkway should be at least 30 to 36 inches wide. Smaller secondary paths between furniture pieces can be as narrow as 24 inches if they are not primary routes.
If you find yourself doing a sideways shuffle or bumping a chair corner, shift pieces instead of convincing yourself it is fine. Even two inches can make a significant difference in perceived openness. The goal is not a wide-open ballroom but a room where movement feels natural and unhurried.
At this stage, also check that the pivot point placement has not created a visual dead end. The eye should be able to travel from the room entry to the pivot zone without being blocked by a tall piece of furniture right inside the door.
Ready to move on: You can walk from the main door to any seat without stepping over furniture, twisting past armrests, or feeling like you are squeezing through a narrow corridor. The path from entry to seating feels like an invitation, not an obstacle course.
Adjust Balance and Visual Weight Last
Once the layout physically works, look at how the room reads visually. Step back to the main entry point. Does one side of the room feel heavier than the other? A dense cluster of dark wood furniture on one side and an empty wall on the opposite side creates imbalance even when the floor plan is technically functional.
Balance does not require symmetry. A tall bookshelf on one wall can be visually countered by a low, wide media console on the opposite wall. A heavy sofa on one side can be offset by a pair of accent chairs near a window on the other side. Move, swap, or add pieces only after everything else is locked in; otherwise you will chase a visual goal and undo the functional layout you just built.
Now is also the time to consider sightlines from seating positions. If the primary view from the sofa is a blank wall, angle a floor lamp or add a console with a plant to give the eye somewhere to land.
Ready to move on: The room feels settled from the doorway — not lopsided, not top-heavy — and the first thing your eye lands on is the pivot zone, exactly where you intended.
How to Know You Are Ready for the Next Step
Here is the sequence of checkpoints, listed in order.
- You can state the room's main job in one clear sentence.
- You know the exact spot and functional reason for the pivot piece.
- Every seat feels oriented toward the primary activity; no seat is an afterthought.
- A seated person can reach a surface — coffee table, side table, console — for a drink, book, or remote without standing up.
- You can walk from the main entrance to any seat along a natural, uncramped path at least 30 inches wide.
- From the doorway, the room looks and feels visually balanced, with the pivot zone naturally drawing the eye.
Layout Details You Can Ignore (For Now)
It is tempting to jump ahead to the decorative choices, but doing so will derail the pivot-point process. Here are three things to shelve until the layout is final.
- Rug size. A rug is the finishing frame, not the foundation. Choose it after all furniture is placed so you know the exact footprint to cover. Trigger: once every seat and surface is locked in, measure the seating grouping's edge and select a rug that extends at least 6 to 8 inches beyond that perimeter.
- Wall art and mirror placement. Hanging art before furniture is set leads to walls that look off-center or cluttered later. Trigger: art placement becomes relevant only after the visual weight stage, when you know which walls will be visible from seating and which need a focal point.
- Curtains and window treatments. Window coverings affect light control and privacy, but they do not affect where a sofa should sit. Address them only after the layout is final so you can choose rod height and panel width relative to the furniture they will frame. Trigger: after you have verified traffic flow and balance, measure from the nearest furniture edge to the window to decide on drapery stack-back width.
Tools That Make the Pivot Point Method Faster
A few physical tools can collapse the trial-and-error time dramatically.
- Painter's tape on the floor. Map out the footprint of every major piece directly on the floor. Walk around the room, sit on imaginary furniture, and adjust tape rectangles until paths and sightlines feel right. Cost: one roll of blue tape and thirty minutes.
- A furniture layout app. Apps like Room Planner or MagicPlan let you input room dimensions, drag-and-drop scale furniture, and test sightlines in 3D. This works best after you have identified the pivot piece and its placement, so you can quickly iterate secondary seating and surfaces digitally before moving real furniture.
- A reliable tape measure and a second pair of hands. Most layout mistakes happen because people guess distances instead of measuring. Before you buy or move any large piece, physically measure the space and, if possible, have someone hold a cardboard cutout in place so you can see the real scale.
Frequently Asked Questions About Purpose-First Layouts
Can I place a sofa in front of a window?
Yes, if the pivot point method calls for it. A sofa that faces a conversation grouping or TV often works best when pulled away from walls, including a window wall. Leave a few inches between the sofa back and the glass for air circulation and to allow shade operation. The key is that the sofa serves the room's function, not that it avoids a window at all costs.
What if my living room is long and narrow?
Break it into two functional zones, each with its own pivot piece. For example, a conversational grouping near the entrance with a TV zone further down. Each zone follows the same method independently, separated by a narrow pathway at least 30 inches wide. This layout avoids the bowling-alley effect of a single long sofa against one long wall.
Should the coffee table be centered on the sofa or on the room?
Center it on the seating grouping, not on the room. If the sofa faces a TV or a pair of chairs, the coffee table sits in the middle of that dialogue, which may be off-center relative to the room's overall footprint. That is correct; the function of the seating zone overrides the floor plan's symmetry.
How large should a coffee table be relative to the sofa?
Aim for a coffee table length that is roughly two-thirds the length of the sofa. Height should match or be slightly lower than the seat cushion height to make reaching comfortable. Depth of 18 to 24 inches works for most spaces. But these are guidelines, not rules — the real test is whether you can set a drink down without leaning forward more than a few inches.
Does the pivot point method work for open-plan living rooms?
Yes, and it is even more essential there. In an open plan, treat each functional zone — living, dining, work — as a separate room defined by its own pivot piece. Use rugs, lighting, and furniture orientation (not walls) to create the boundaries. The same traffic-path clearance rules apply, and the transition between zones should feel like a natural walk, not a hard barrier.
Where a Purpose-First Living Room Ends Up
A room laid out from its pivot point feels intentional from the moment you step inside. Every seat has a clear reason for being where it is, paths flow without obstacle, and secondary pieces support the main activity instead of competing with it. The layout quietly disappears behind the life that happens in the room.
If you are starting with an empty room, grab a roll of painter's tape and mark out the pivot piece first — not the sofa, not the rug, but the spot that anchors your room's main purpose. That one decision sets everything else in motion.

Clara Bennett
After five years of transforming my 1920s bungalow room by room, I’ve refinished floors, hung blinds in bay windows, and spent more time choosing light bulbs than I’d like to admit. I learned paint sheens by painting my kitchen ceiling three times, and I found out the hard way that a rug too small makes a room feel unfinished. I believe every home can be both functional and beautiful, no matter the budget.
Related posts
The Scale Rule That Makes Large Furniture Work in Living Rooms
Discover how the two-thirds rule and golden ratio create perfectly scaled living rooms. Learn sofa, coffee table, and art proportions with this cheat sheet.
7 Living Room Clearance Distances You're Probably Ignoring
The exact inch-by-inch clearances between sofa, coffee table, and walkways that keep a living room open. Fix these 7 distances to avoid a cramped room.
Your Living Room Rug Is Probably Too Small: Here's the Fix
Stop using the outdated 'front legs on, back legs off' rule. Learn the floating island method to size and place a rug that actually anchors your living room.
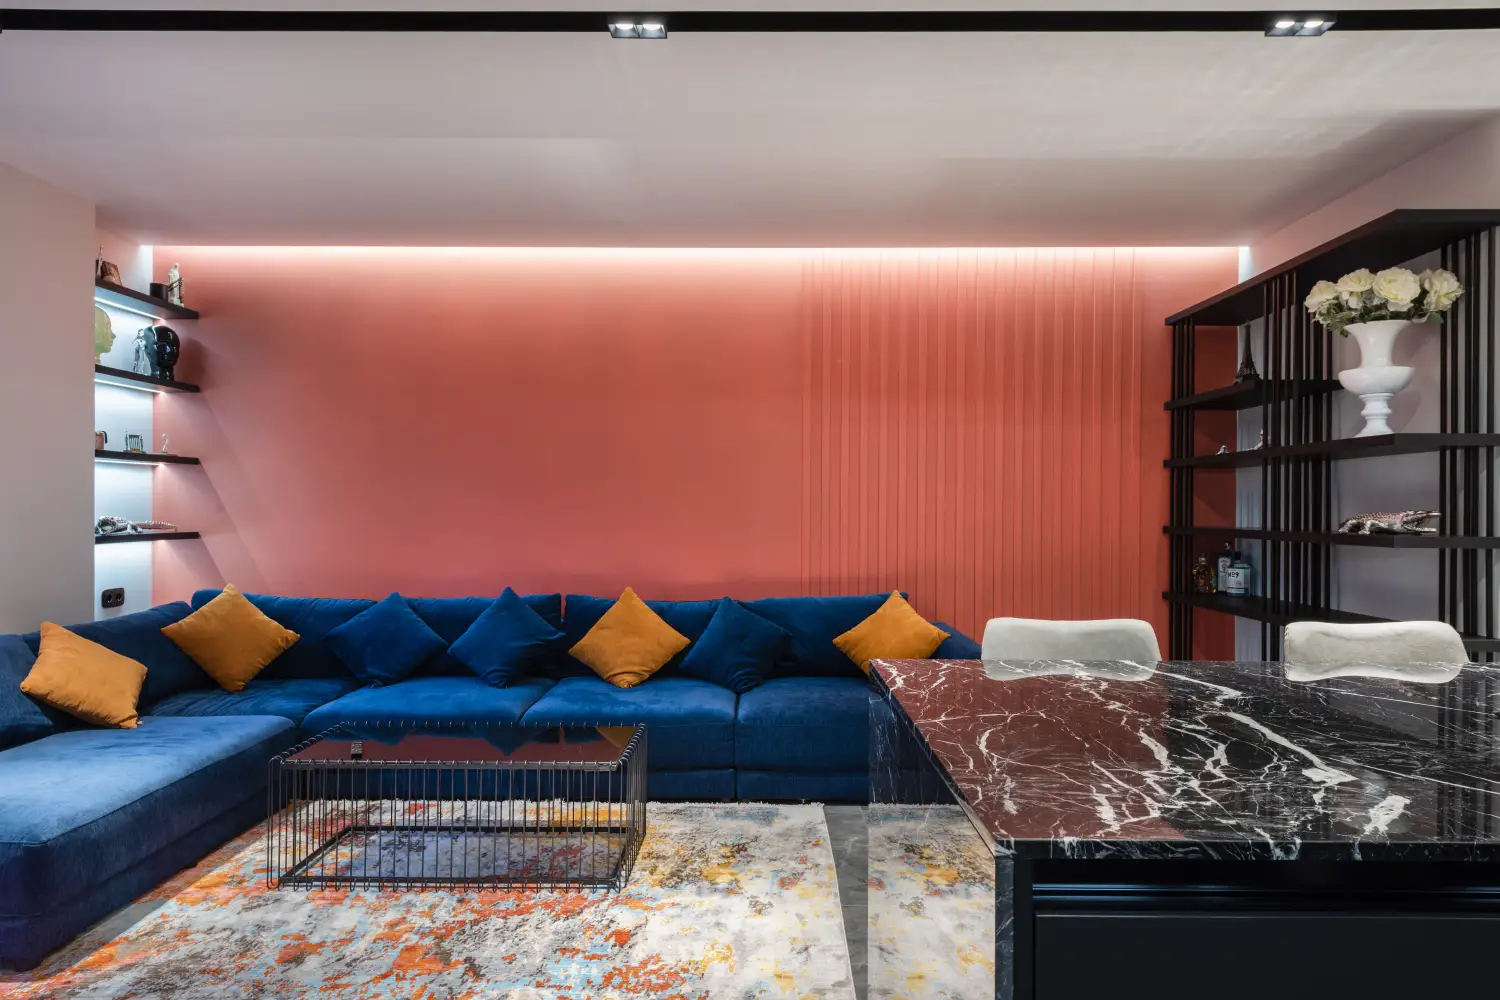
How Designers Decide Focal Point Placement in Living Rooms
See how designers choose between a fireplace, TV, or architectural focus—and how they layer both when a living room demands it. Quick scenario guide inside.
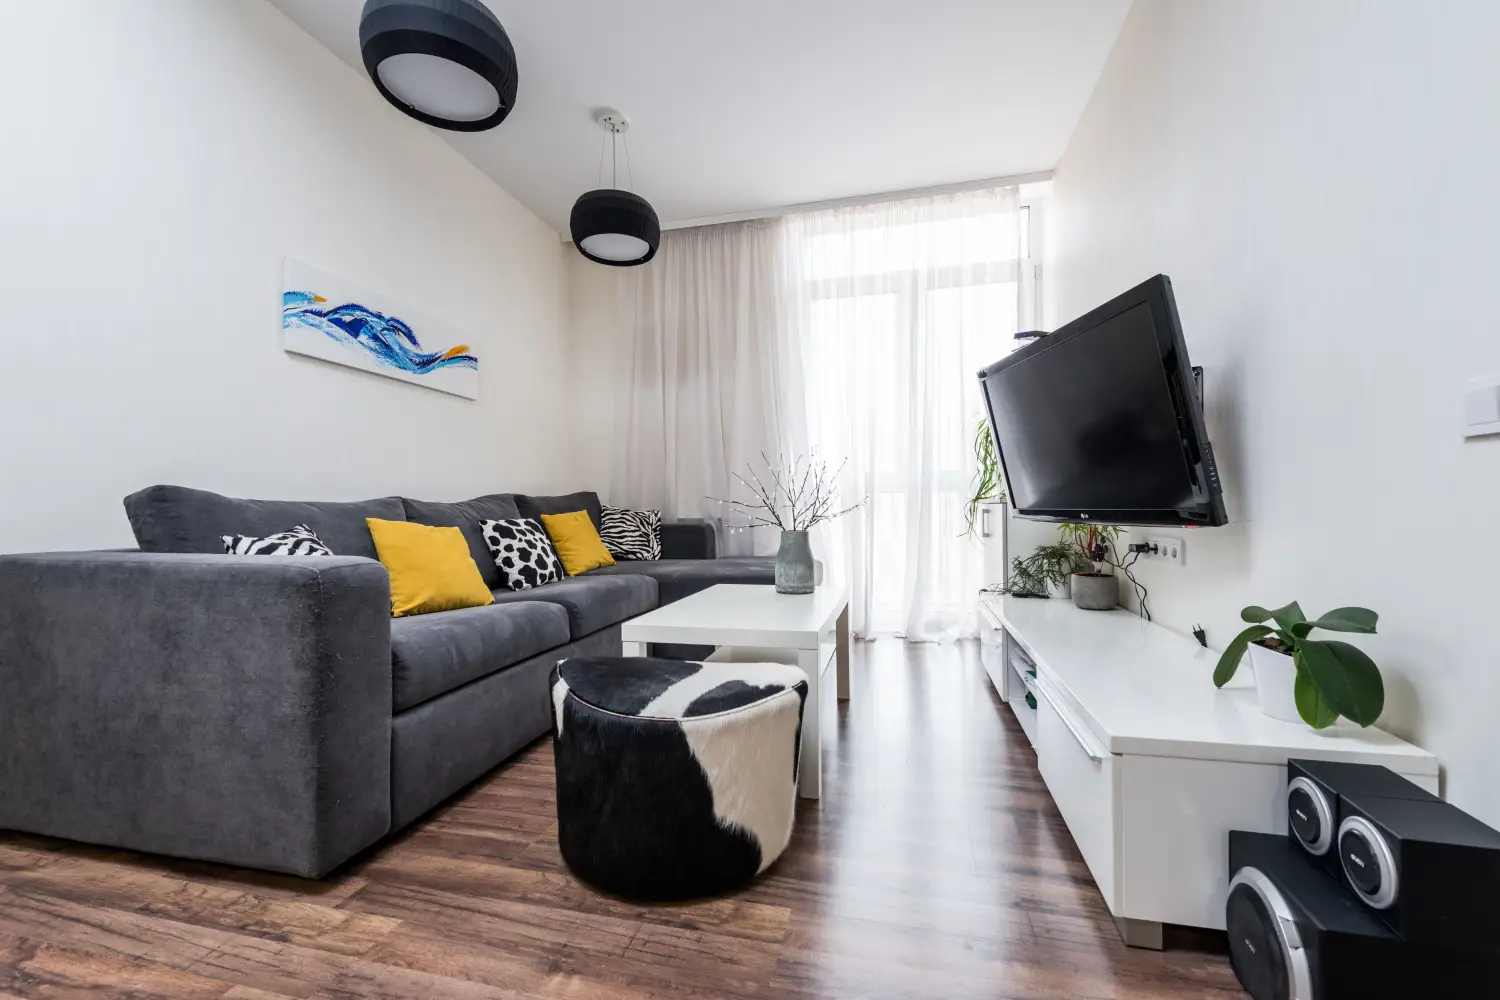
What's the Best Layout for a Small Living Room? Start Here
Find the best layout for your small living room based on its shape—narrow rectangle, square, or L-shaped. Step-by-step arrangements, rug tips, and a printable cheat sheet.