How to Zone an Open-Concept Kitchen Without Building Walls
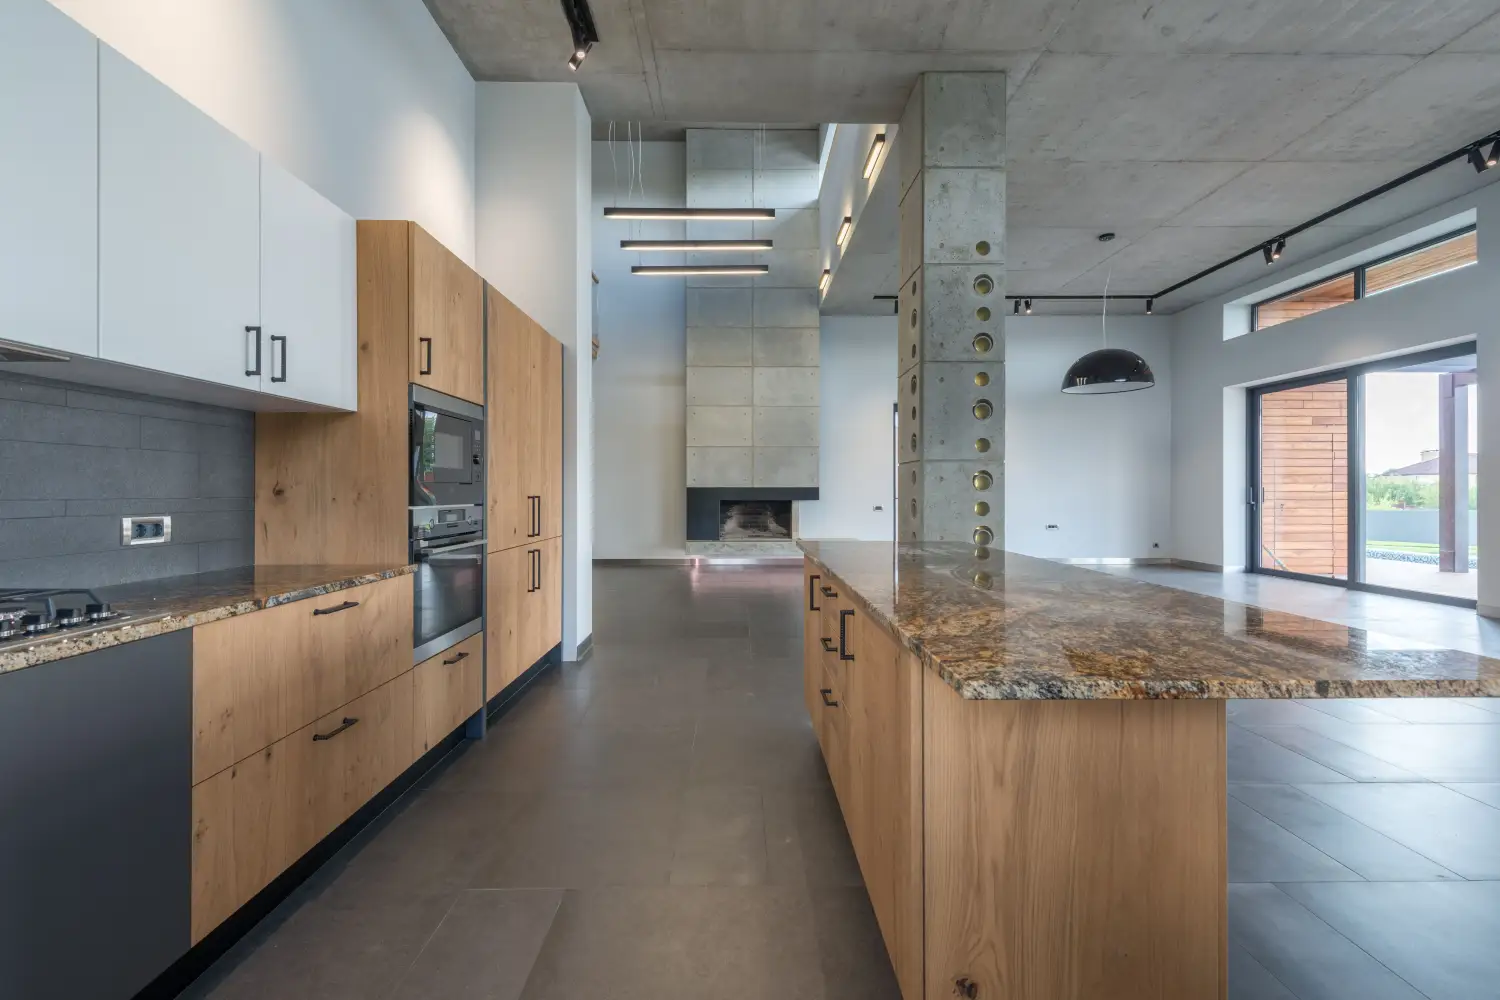
An open kitchen should feel welcoming and work without friction, but a room with no boundaries can quickly dissolve into a jumble of competing activities. The solution is to carve out four calm, purposeful zones—prep, cooking, clean-up, and storage—using three quiet cues: counter height shifts, clustered pendant light, and the right area rug. This method guides you through placing each element so every zone claims its own territory while the whole room still breathes as one.
What You Need Before You Start
- Tape measure (at least 25 feet) and a laser level.
- Graph paper or a floor-planning app to sketch your zone layout.
- Adjustable-height counter sections: a lowered prep counter (33–34 inches) or a raised bar counter (42 inches), depending on your plan. If you’re working with existing fixed counters, you can simulate height differences with a freestanding butcher-block island or a bar-height table.
- Two to three pendant light kits and the corresponding bulbs. Look for fixtures you can hang at different heights.
- A licensed electrician to add junction boxes in the ceiling where you want light clusters (unless you’re using plug-in swag pendants).
- One or two area rugs, sized to the zone they will define, plus non-slip rug pads.
- A stud finder and mounting hardware if you’re installing open shelving for visual storage boundaries.
The Three-Cue Method: Counter Height, Light, and Rug
1. Map Your Four Functional Zones onto the Floor Plan
Before any physical change, settle where each activity will live. Draw the kitchen footprint and gently assign four areas: prep (the longest stretch of counter near the fridge), cooking (range or cooktop wall), clean-up (sink and dishwasher), and storage (pantry and daily-access drawers). The layout should support a natural work triangle or a gentle straight-line flow. Keep walkways at least 42 inches wide so movement feels generous, never pinched. This plan becomes the spine for every cue that follows. The prep zone might claim a lowered counter, the cooking zone a pendant cluster, and the clean-up zone a rug.
2. Install a Lowered Prep Counter to Signal “This Is Where You Work”
Standard counters sit at 36 inches. Dropping a section to 33–34 inches immediately reads as a dedicated workspace—a place to knead, chop, or roll without shoulder strain. If permanent construction isn’t possible, a freestanding butcher-block island at that height serves just as well. The change in level acts as a quiet boundary: elbows settle differently, and the surface naturally pulls meal-prep away from the main counter’s bustle.
What to watch out for: Two counter heights flush against each other without a designed break can look like a measuring error. Insert a contrasting material or a crisp 4-inch gap so the shift reads as intentional, not accidental.
3. Hang a Pendant Light Cluster Directly Over the Cooktop
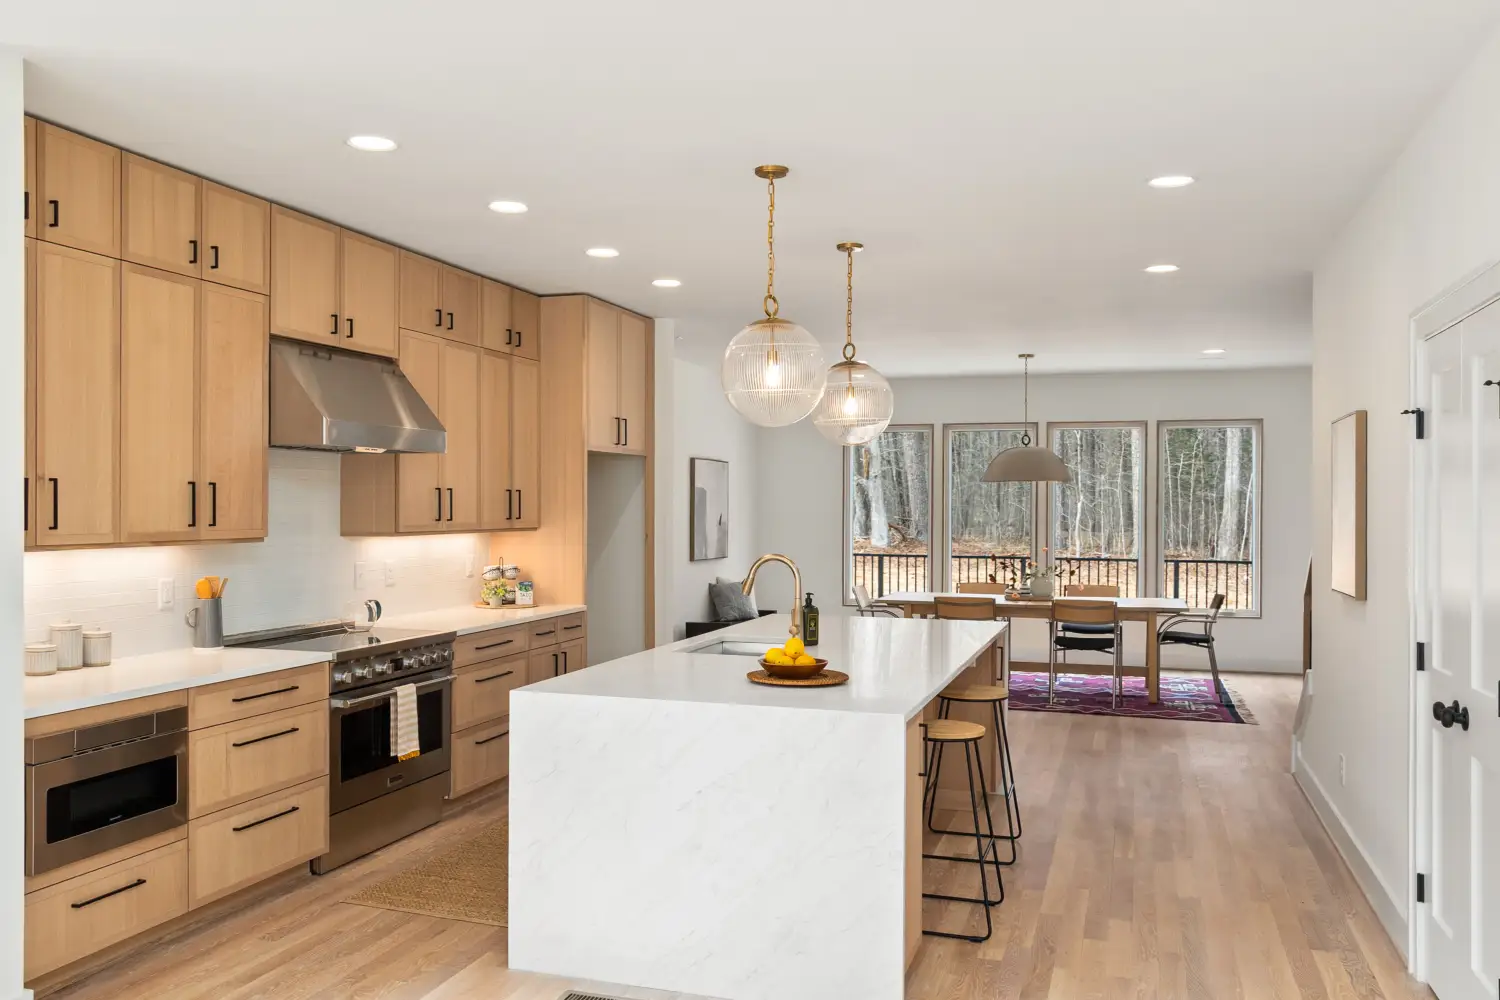
A tightly grouped set of pendants suspended 30–36 inches above the cooktop creates a column of light that anchors the cooking zone. That vertical compression sets the stove apart from the open volume around it. Choose three or five small pendants rather than one overscale fixture; multiple points of light define the zone’s footprint more cleanly.
What to watch out for: Lights hung too high lose their grounding effect. If the cooktop faces the living area, check sightlines from seated spots and adjust so the cluster doesn’t chop the view.
4. Place a Second Pendant Cluster Over the Clean-Up Sink or Island
A second, coordinated but slightly different pendant arrangement over the sink or island sends a clear signal: this is another distinct station. If the island also holds a prep sink, align the pendants with the basin rather than the island center so light falls exactly where hands work.
What to watch out for: Resist making the two clusters identical. Vary the number of pendants or their shape just enough to keep the room from feeling sterile; keeping the same finish preserves a cohesive thread.
5. Use an Area Rug to Anchor the Clean-Up or Traffic Zone
Hard flooring runs seamlessly through open plans. Placing a low-pile, washable runner in front of the sink, or a larger rug under island seating, interrupts that surface and marks a tactile boundary between cooking and dining or kitchen and living. A runner laid perpendicular to the main counter spells out, “You’ve stepped into the working kitchen now.”
What to watch out for: A rug tinier than the zone—say a 2x3 mat where a 6-foot runner belongs—floats and undermines the clarity you’ve built. The rug’s edge should sit at least 6 inches from base cabinets so it never bunches against toe kicks.
6. Turn Tall Storage into a Visual Wall for the Storage Zone
Floor-to-ceiling pantry cabinets or a run of open shelving creates a vertical mass that the eye reads as an enclosure, defining storage without a solid wall. Style open shelves with storage-led objects—baskets, canisters, meal prep containers—so the function stays front and center.
What to watch out for: Tall storage at the far end shouldn’t steal light from the work zones. Add under-shelf lighting if shadows gather where you need brightness.
Pitfalls That Undo Open-Plan Zoning—and How to Avoid Them
Rug Too Small to Anchor the Zone
A rug that’s too dainty feels like a missed opportunity, not a deliberate boundary. For a sink zone, a runner at least 5 feet long gives it weight; for an island dining area, extend the rug 2 feet beyond every side. Lay down painter’s tape first to test the scale before committing.
Pendants Hung at Uniform Height Across the Room
When every light hangs at the same level, the vertical rhythm that distinguishes zones flattens out. Vary the drop by at least 6 inches between clusters—one lower over the cooktop, slightly higher over the island—so the eye moves through the room with purpose.
Counter Heights That Are Too Subtle to Read
A 1-inch difference disappears from across the room. Aim for a clear 2-inch shift (36-inch main counter to a 34-inch prep surface) or use a contrasting material to make the boundary legible even from the sofa.
Ignoring the Traffic Path Between Zones
Zones should never create a bottleneck. If a rug or island forces an awkward jog between cooktop and sink, the daily friction will wear on everyone. Walk the path before finalizing any placement and keep that 42-inch clearance as the hard minimum.
Adapting the Cues for Different Layouts
For L-Shaped Kitchens
Let the inside corner become the storage or prep hub, and run a runner along the shorter leg to separate cooking from the open expanse. Hang the pendant cluster only above the cooktop; place a lowered counter on the opposite leg for prep.
For Galley-Style Open Plans
A long runner spanning the galley, paired with one linear pendant arrangement over the entire work aisle, can read as a strong, unified zone rather than chopped clusters.
For Rentals
Freestanding islands on casters, plug-in swag pendants, and removable rug pads allow all the zoning without permanent marks. Route pendant cords neatly with adhesive ceiling hooks.
Questions You’re Likely Asking
Can I zone an open kitchen without changing counter heights at all?
Yes. If existing counters are fixed, set a thick butcher block on top of a standard section to add visual weight. A bar cabinet at 42 inches placed next to a 36-inch counter can also suggest a zone shift without permanent alteration.
What’s the ideal pendant height over a kitchen island?
The pendant’s bottom should be 30–36 inches above the island surface. For taller households or when you want unbroken conversation, aim for the higher end.
Which rug material handles kitchen spills best?
Flatweave polypropylene or washable cotton rugs. They sit low so chair legs glide, and you can scrub or hose them when messes happen. Always use a non-slip pad rated for hard floors.
Do different counter heights hurt resale value?
Not if the shift is reversible or common, like a raised bar. A permanently lowered section can narrow appeal to a specific buyer, so stick with a freestanding piece if a sale is on the horizon.
The Quiet Confidence of a Zoned Open Kitchen
You’ve now mapped, lit, and anchored a kitchen that knows exactly where it needs to work—without a single wall. The prep counter sits lower, inviting you to gather and create. The pendant clusters glow above the cooktop and sink, pulling each task into gentle focus. The rug underfoot signals where the kitchen ends and the home begins. Together these cues bring ease to the openness.
Next step: Move through the kitchen during your busiest hour—morning coffee or evening dinner prep—and listen to how the zones interact. If one zone feels too tight or a light glares, nudge the rug by a few inches or lower a pendant by a link. These small, lived-in adjustments are what turn a good plan into a kitchen that truly serves the people in it.

Clara Bennett
After five years of transforming my 1920s bungalow room by room, I’ve refinished floors, hung blinds in bay windows, and spent more time choosing light bulbs than I’d like to admit. I learned paint sheens by painting my kitchen ceiling three times, and I found out the hard way that a rug too small makes a room feel unfinished. I believe every home can be both functional and beautiful, no matter the budget.
Related posts
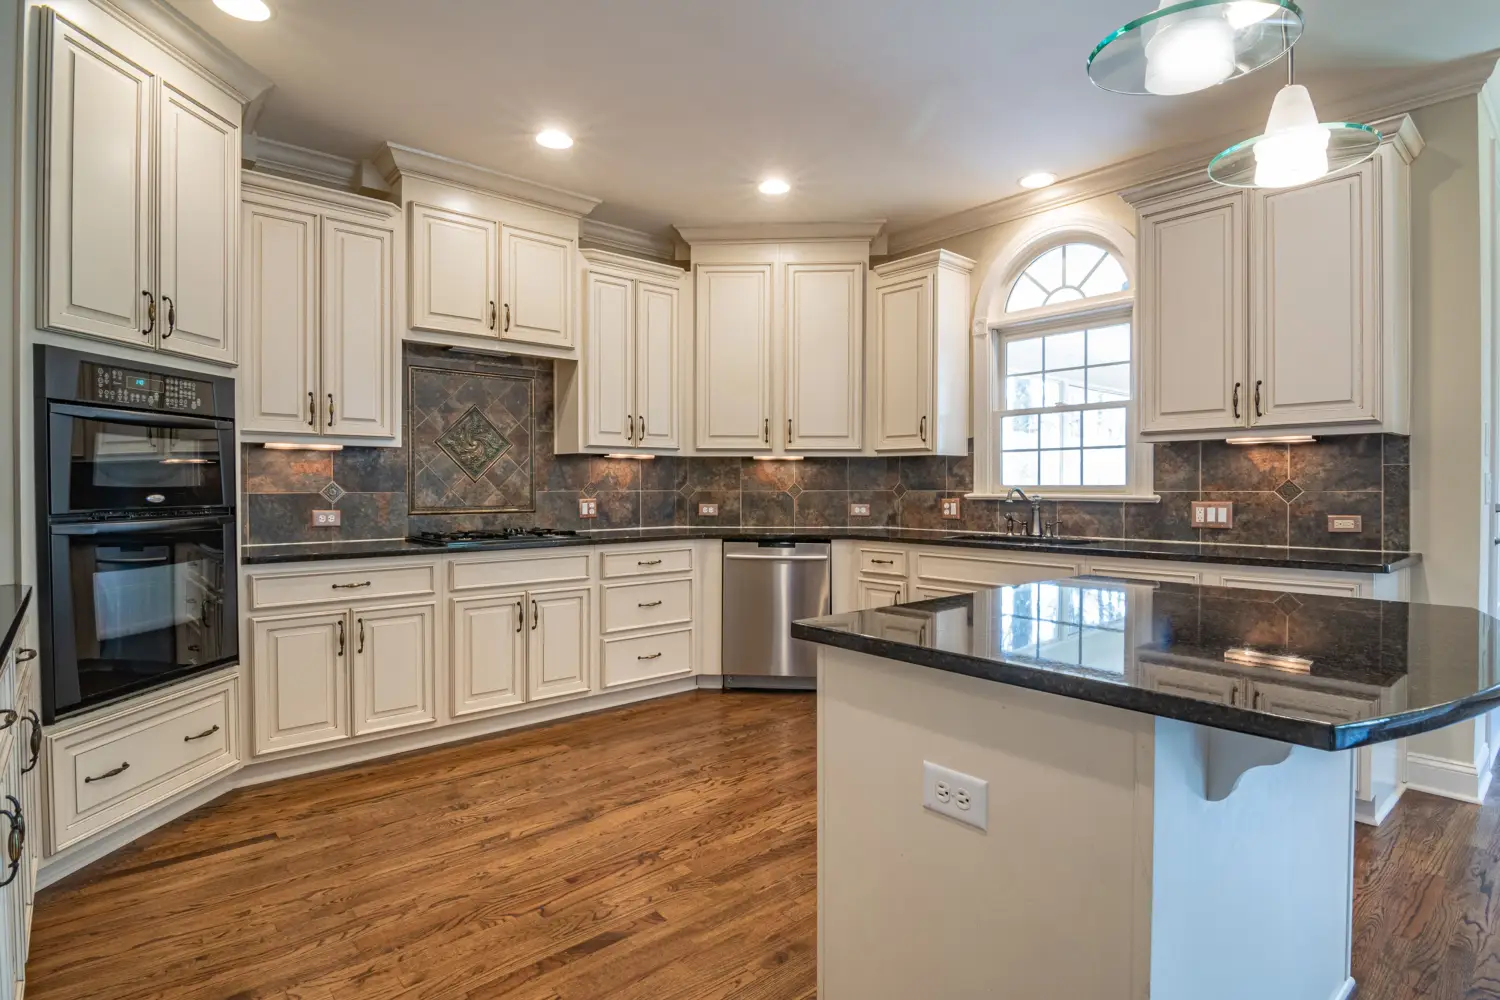
Designers’ Framework for the Perfect Kitchen Layout
Pick the right kitchen layout using objective criteria: work triangle efficiency, aisle widths, and traffic paths. Match your room's dimensions to one-wall, galley, L-shape, U-shape, or island.
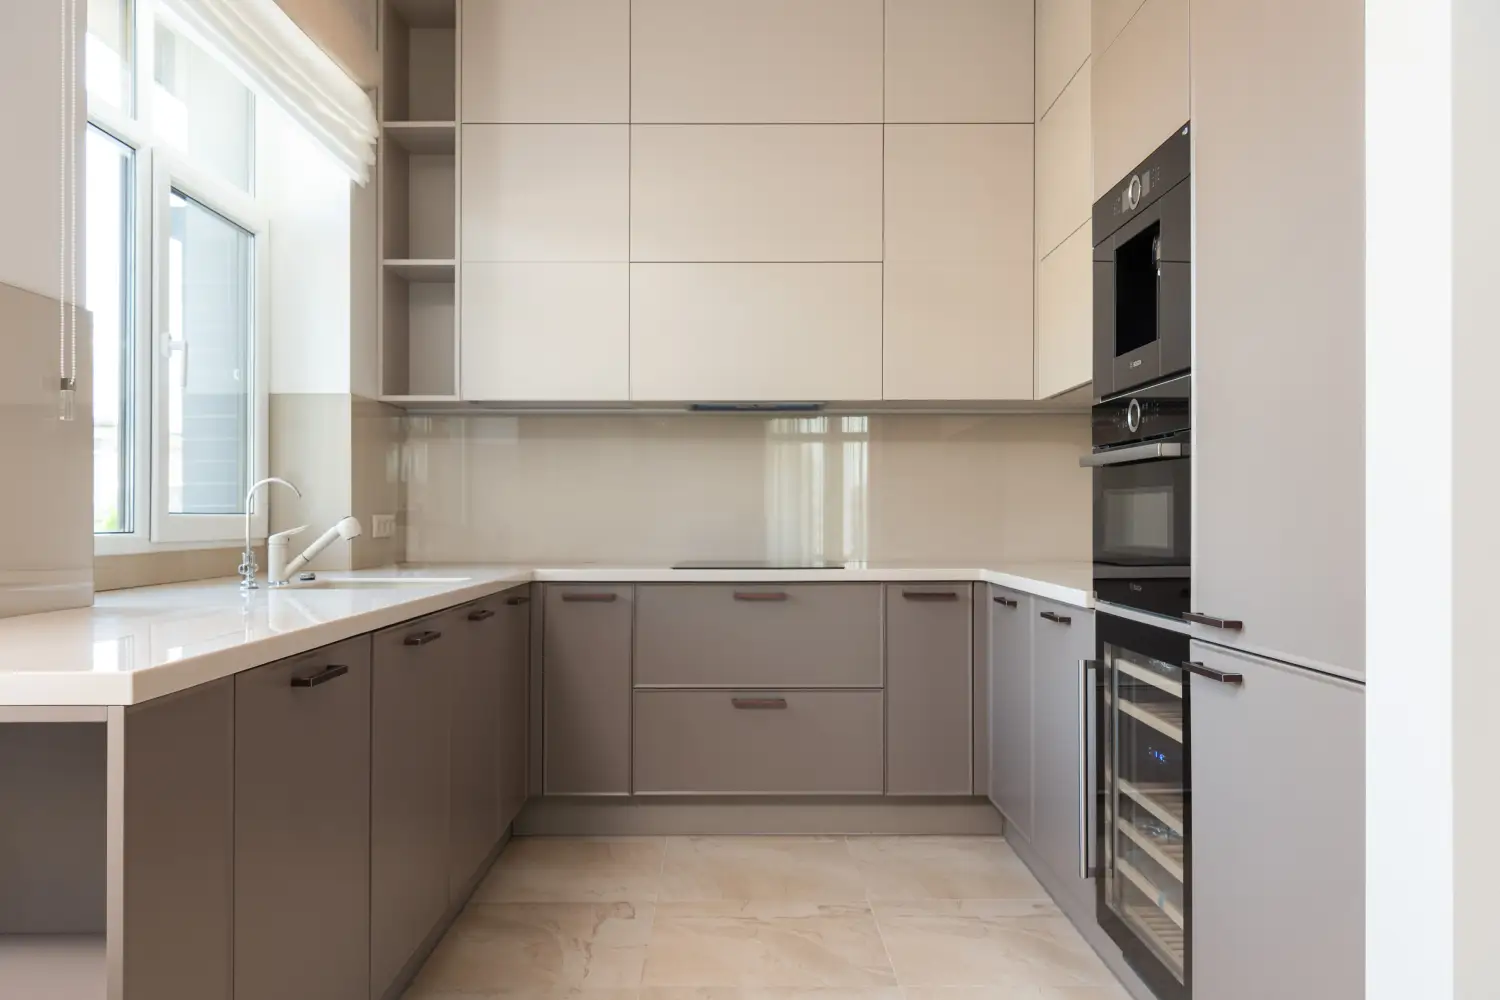
Why a U-Shaped Kitchen Often Fails Where a Galley Succeeds
A U-shaped kitchen often fails in rooms under 10 feet wide. See why a galley layout wins on workflow, storage access, and cost—with a direct comparison table.
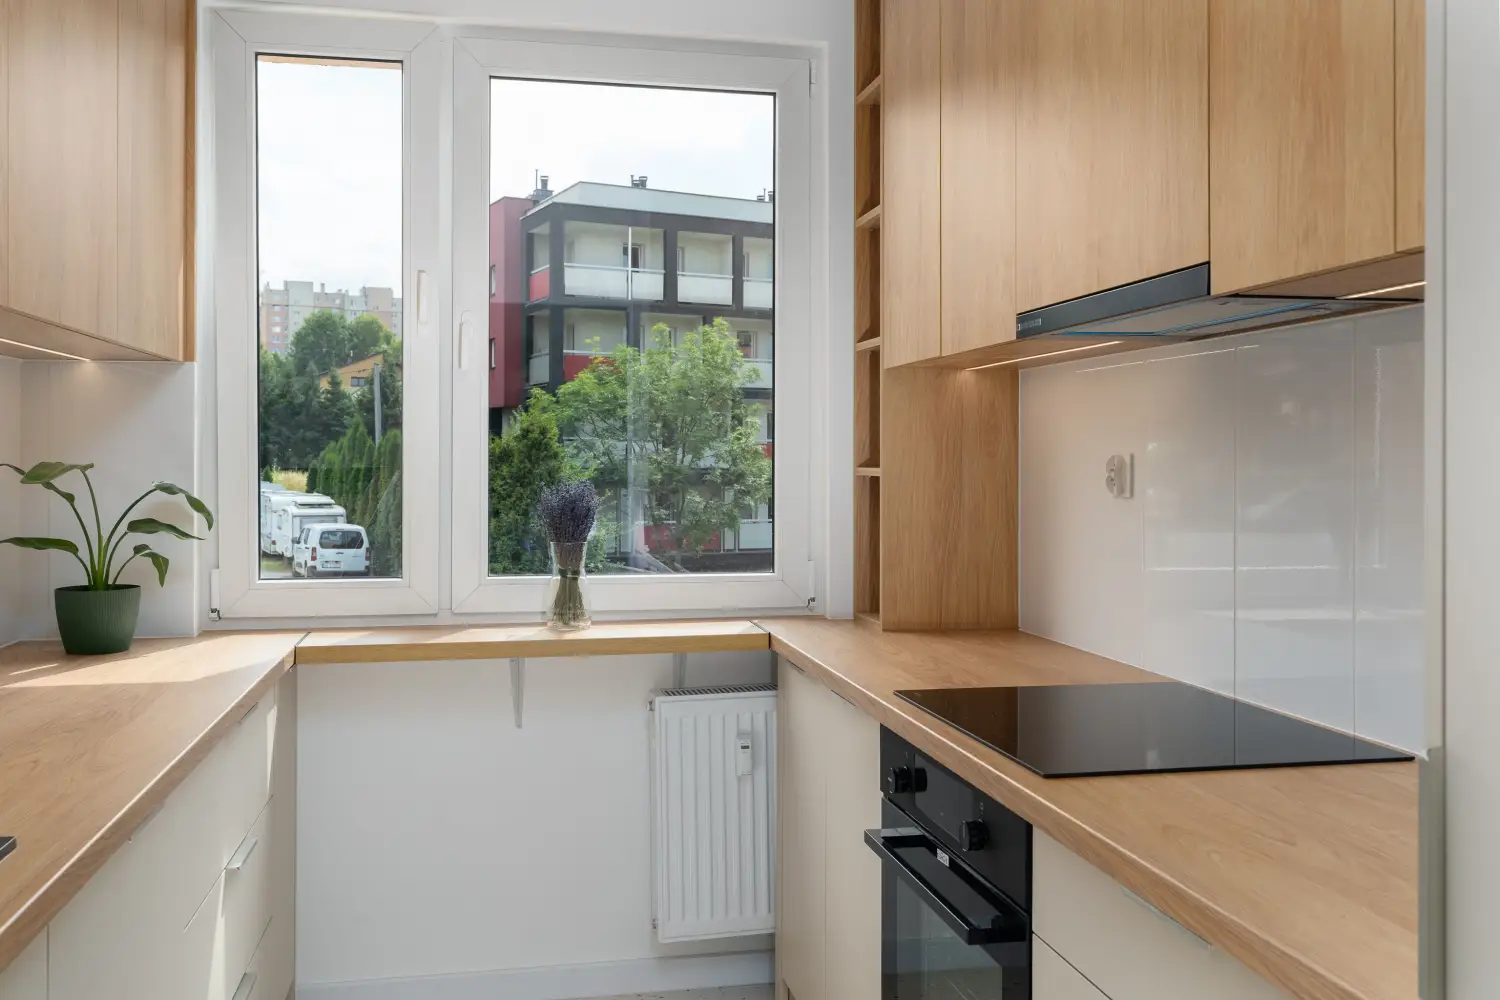
3 Small Kitchen Layouts That Make Under 100 Sq Ft Feel Spacious
Three code-compliant kitchen layouts—one-wall, double-galley, L-shape with peninsula—with exact dimensions and clearance specs for spaces under 100 square feet.
The Clearance Mistake That Makes Kitchen Islands a Nightmare
Missing just a few inches of aisle width or seating overhang can make an island a constant bottleneck. Learn the exact clearance numbers and the tape test that saves your layout.