The Clearance Mistake That Makes Kitchen Islands a Nightmare
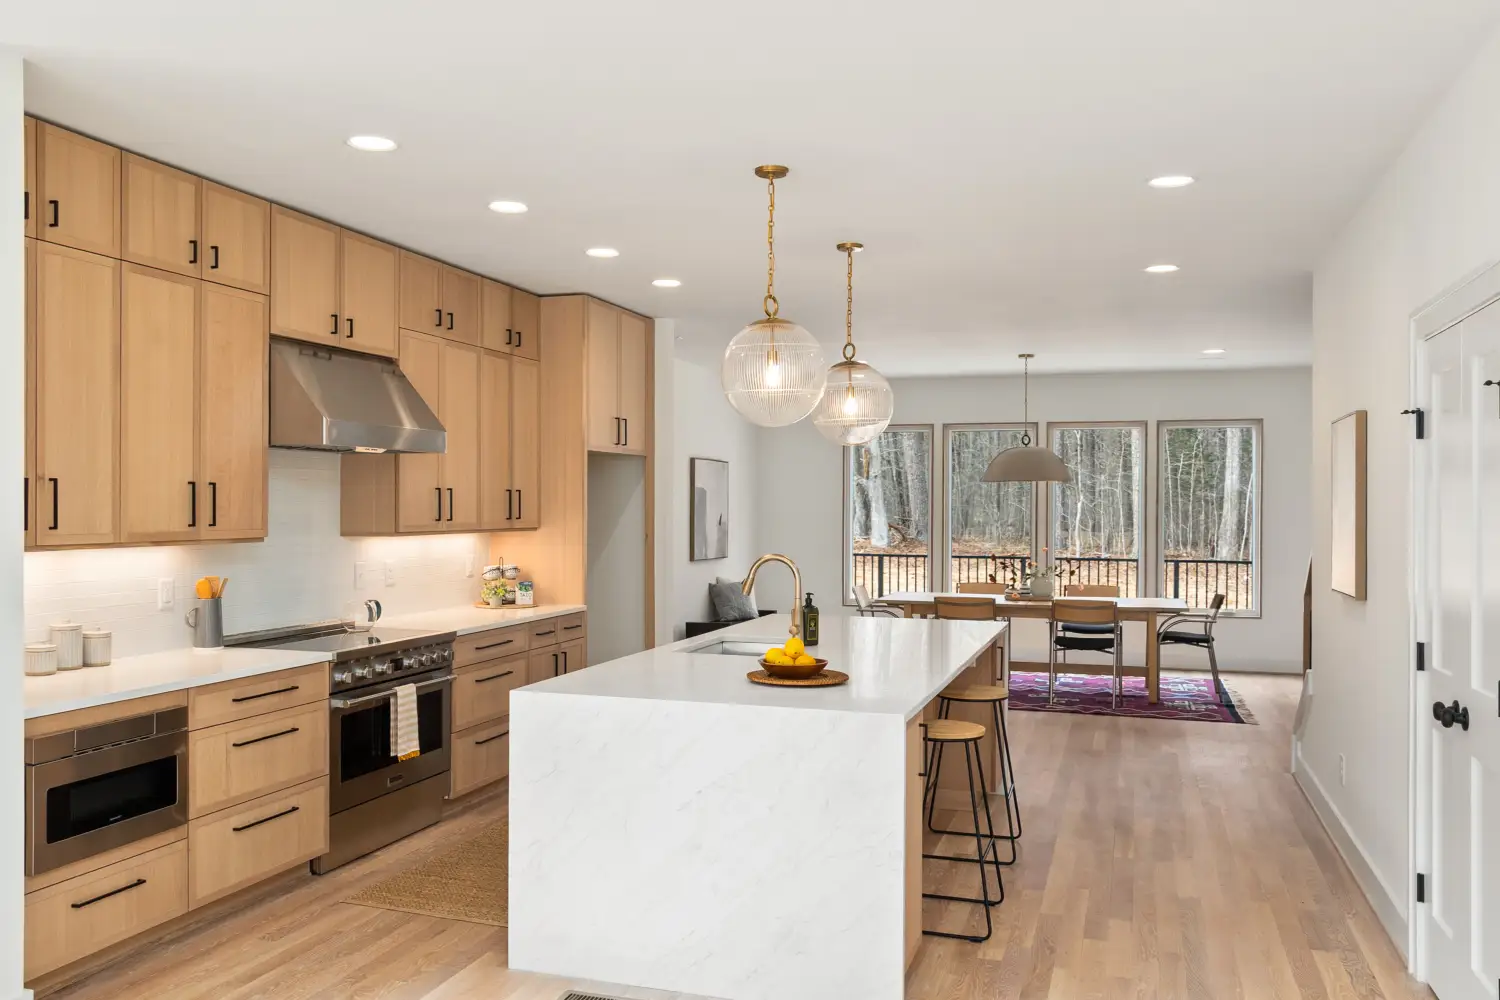
A kitchen island turns into a frustration machine the moment you ignore three clearance numbers. The walkway aisle width, the seating overhang depth, and the full circulation loop around the island. Miss any one of them and the island becomes an obstacle, not a workspace. The fix is a tape-test on your kitchen floor that takes five minutes and shows you instantly whether the layout will work. No guessing, no expensive rework later.
The Two Forces That Make or Break an Island Layout
A kitchen island succeeds only when it balances two conflicting demands: open floor space for movement and usable surface area for work and seating. When the island is too large or placed carelessly, the room’s flow collapses. Refrigerator doors swing into bar stools. Dishwasher doors block the walkway. These are not unfortunate accidents — they are clearance failures, entirely preventable.
Every critical distance in island planning comes down to three measurements: walkway width, seating overhang, and the full circulation loop. Once you know those numbers, you know the answer. The tape test makes sure those numbers hold up under real use.
The Three-Zone Clearance Framework
Work through these three checks in order. Each one depends on the one before it. Skip a step, and you will pay for it later.
1. Establish the Primary Walkway Aisle
Walkways around an island need 42 inches of clear width as a non-negotiable minimum. Measure from the island counter edge to the nearest fixed obstacle — a wall, base cabinet, or appliance face. The NKBA standard exists because anything narrower creates a pinch point that wears on everyone using the kitchen every single day. If two people cook together, push that number to 48 inches. Do not guess. Measure it.
To verify: From the countertop edge, measure perpendicularly on all four sides. If any side comes up short, shrink the island’s depth or shift its position until every aisle hits the mark. This measurement must work with a person standing at the island and another walking past behind them — not just on a clean floor plan.
2. Verify the Seating Overhang and the Aisle Behind It
If the island has seating, two numbers are non-negotiable. Overhang depth: 12 inches minimum for knee space at bar height (42 inches) or standard counter height (36 inches). If you have the floor space, go to 15 inches — it’s noticeably better. Second, the aisle behind a seated person: you need 60 inches from the island edge to any wall or obstruction. That’s 24 inches of chair depth plus 36 inches of passage space. Most failures happen because people measure from the island edge to the wall and completely ignore the chair.
Check it: Tape out the island position, including the overhang. Put a chair behind the tape line. Walk around it. If anyone has to twist sideways or suck in a breath, the layout is wrong. Adjust the island position or scrap the seating.
3. Test the Full Circulation Loop
Clearance is not a static number. It’s about what happens when the kitchen is in use. Map the primary work routes — refrigerator to sink, sink to stove, dishwasher to island. Open the refrigerator and dishwasher doors all the way. The swing of those doors cannot cross into a walkway aisle while someone is cooking. If the island forces a detour on any of these paths, shorten or reposition it.
Use blue painter’s tape to mark the island footprint. Walk every route while another person opens cabinets and appliances. If at any point you have to pause, step aside, or twist — that’s a hard fail. The tape test costs a few dollars and catches every conflict before any construction begins.
The Framework in Action: A 10×12-Foot Kitchen
Take a U-shaped kitchen 10 feet wide by 12 feet deep. The plan is a 4-foot-by-2.5-foot island in the center. Start with the walkway aisle on the long sides. The room width of 10 feet minus the island’s 2.5-foot width leaves 7.5 feet, divided into two 45-inch aisles. That clears the 42-inch minimum, so the first check passes.
Add seating with a 12-inch overhang on one side. The island’s total depth grows to 3.5 feet. The remaining floor behind the seating becomes 10 feet minus 3.5 feet minus 2 feet of opposite-wall cabinets — 4.5 feet, or 54 inches. That’s short of the required 60 inches for a seated-person walkway. The fix: shift the island 6 inches closer to the cooking side. Problem solved.
Finally, the circulation loop. With the island taped out, the path from fridge to sink is slightly blocked, forcing a detour. Shortening the island length from 4 feet to 3.5 feet clears the work triangle completely. The tape test shows exactly where the adjustment must go.
Where the Three-Zone Sequence Fails
Even knowing the right numbers, people skip steps. Here are the most common ways it goes wrong.
Neglecting the Loop Test After Nailing the Aisle Width
A floor plan with a tidy 42-inch aisle often fails in real life. Stand one person at the island to chop vegetables, and the actual passage width shrinks to about 24 inches. That’s not enough for anyone else to walk behind. Always test the aisle with a person in place. Static numbers alone are not enough.
Ignoring Appliance Door Swing
A dishwasher door lying flat can block 30 inches of walkway. If the island sits directly across from the dishwasher, the open door turns a comfortable aisle into an impassable wall. The same applies to the oven door and the refrigerator. For any island facing an appliance, measure the full swing radius and include it in the clearance calculation.
Overestimating Seating Depth
Chair depth — 18 to 24 inches — gets left out of planning far too often. The result is an aisle that feels tight every single day. When you calculate the aisle behind seating, always add the chair depth to the overhang. A 12-inch overhang plus a 22-inch chair consumes 34 inches of floor before a person even walks past. Plan for it.
Quick Reference: Clearance Numbers at a Glance
| Zone | Minimum Clearance | Key Action |
|---|---|---|
| Walkway aisle (one cook) | 42 inches from counter edge to obstruction | Measure perpendicular on all four sides |
| Walkway aisle (multiple cooks) | 48 inches | Widen the primary work aisle |
| Seating overhang (bar or counter height) | 12 inches (15 inches if possible) | Check knee room and chair fit |
| Aisle behind seated person | 60 inches from island edge to obstruction | Include chair depth in tape layout |
| Appliance door clearance | Door swing radius added to aisle width | Open all major appliances during tape test |
FAQ
What is the absolute minimum aisle width for a kitchen island?
42 inches is the NKBA minimum for one cook. Anything less creates a daily bottleneck. For real comfort, aim for 48 inches on the primary work aisle.
Can you put an island in a small kitchen?
Yes — provided the floor plan can hold a 42-inch walkway on all sides and the island stays slim. A 15-inch-deep island or a portable cart offers workspace without permanent clearance problems.
How do I test if my kitchen can fit an island before building?
Tape the island footprint on the floor, including any overhang. Walk all cooking routes, open appliances fully, and place a chair behind the seated zone. If you can move without twisting or waiting, the layout passes.
Does a kitchen island need an overhang on all sides?
Only the seating side needs a real overhang. The other three sides need only a standard 1.5-inch countertop projection — enough for a finished look without wasting aisle space.
Next Step: Start With the Tape Test
The three-zone framework — walkway width, seating overhang, and circulation loop — removes the guesswork from island design. Before you open a catalog or call a contractor, lay down tape exactly where you want the island and walk the paths. That five-minute test exposes every clearance conflict while there is still plenty of time to fix it.

Clara Bennett
After five years of transforming my 1920s bungalow room by room, I’ve refinished floors, hung blinds in bay windows, and spent more time choosing light bulbs than I’d like to admit. I learned paint sheens by painting my kitchen ceiling three times, and I found out the hard way that a rug too small makes a room feel unfinished. I believe every home can be both functional and beautiful, no matter the budget.
Related posts
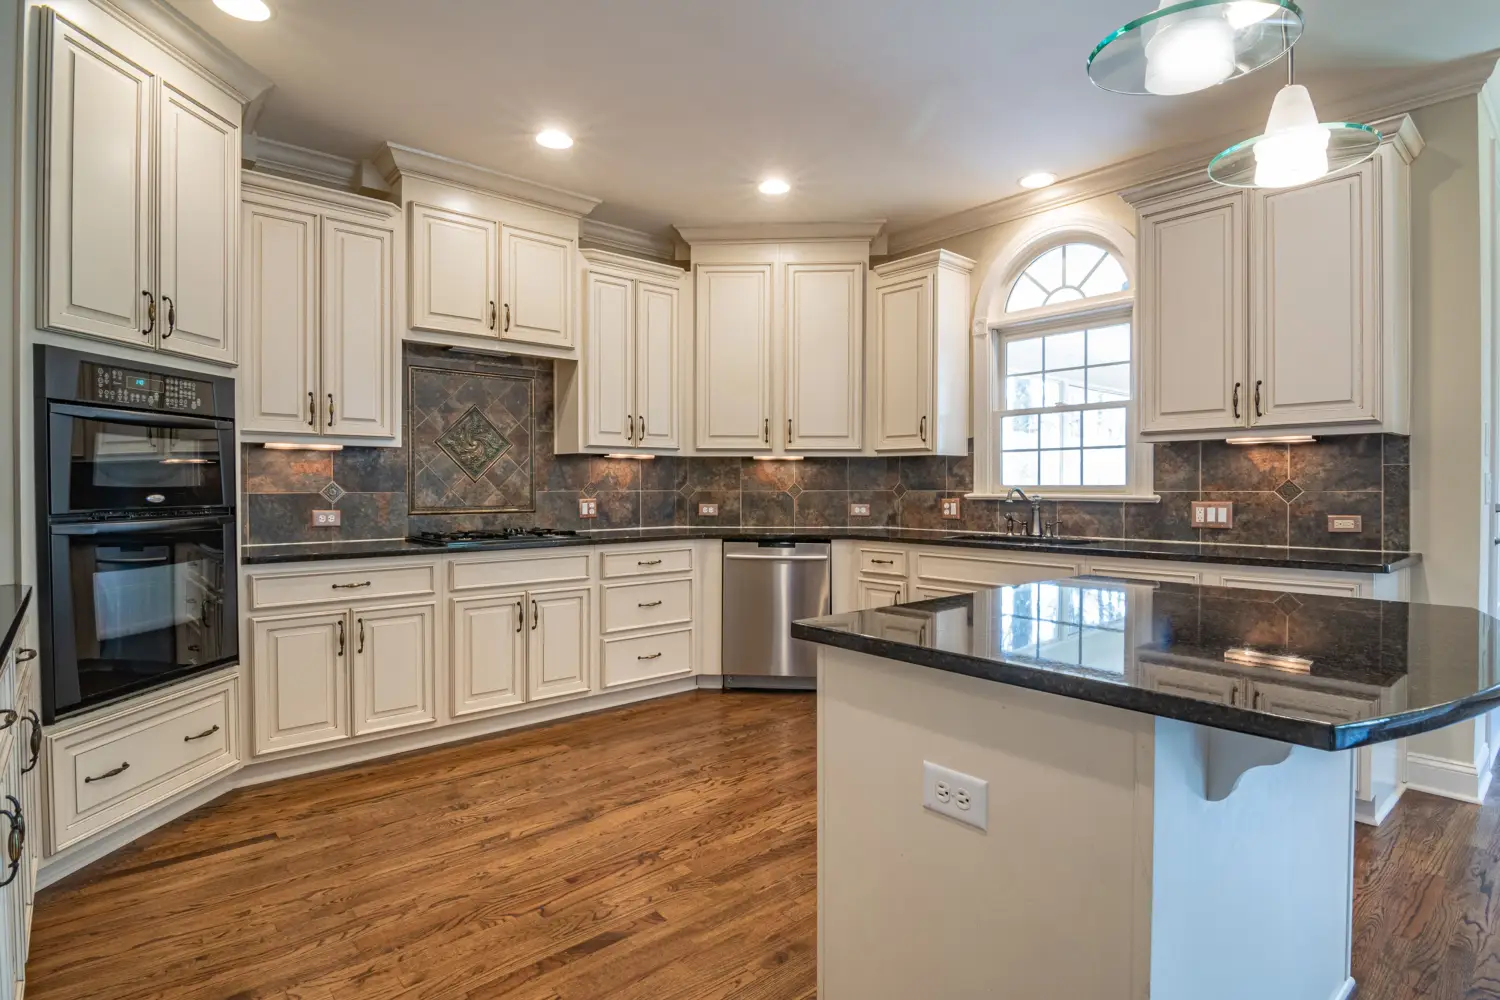
Designers’ Framework for the Perfect Kitchen Layout
Pick the right kitchen layout using objective criteria: work triangle efficiency, aisle widths, and traffic paths. Match your room's dimensions to one-wall, galley, L-shape, U-shape, or island.
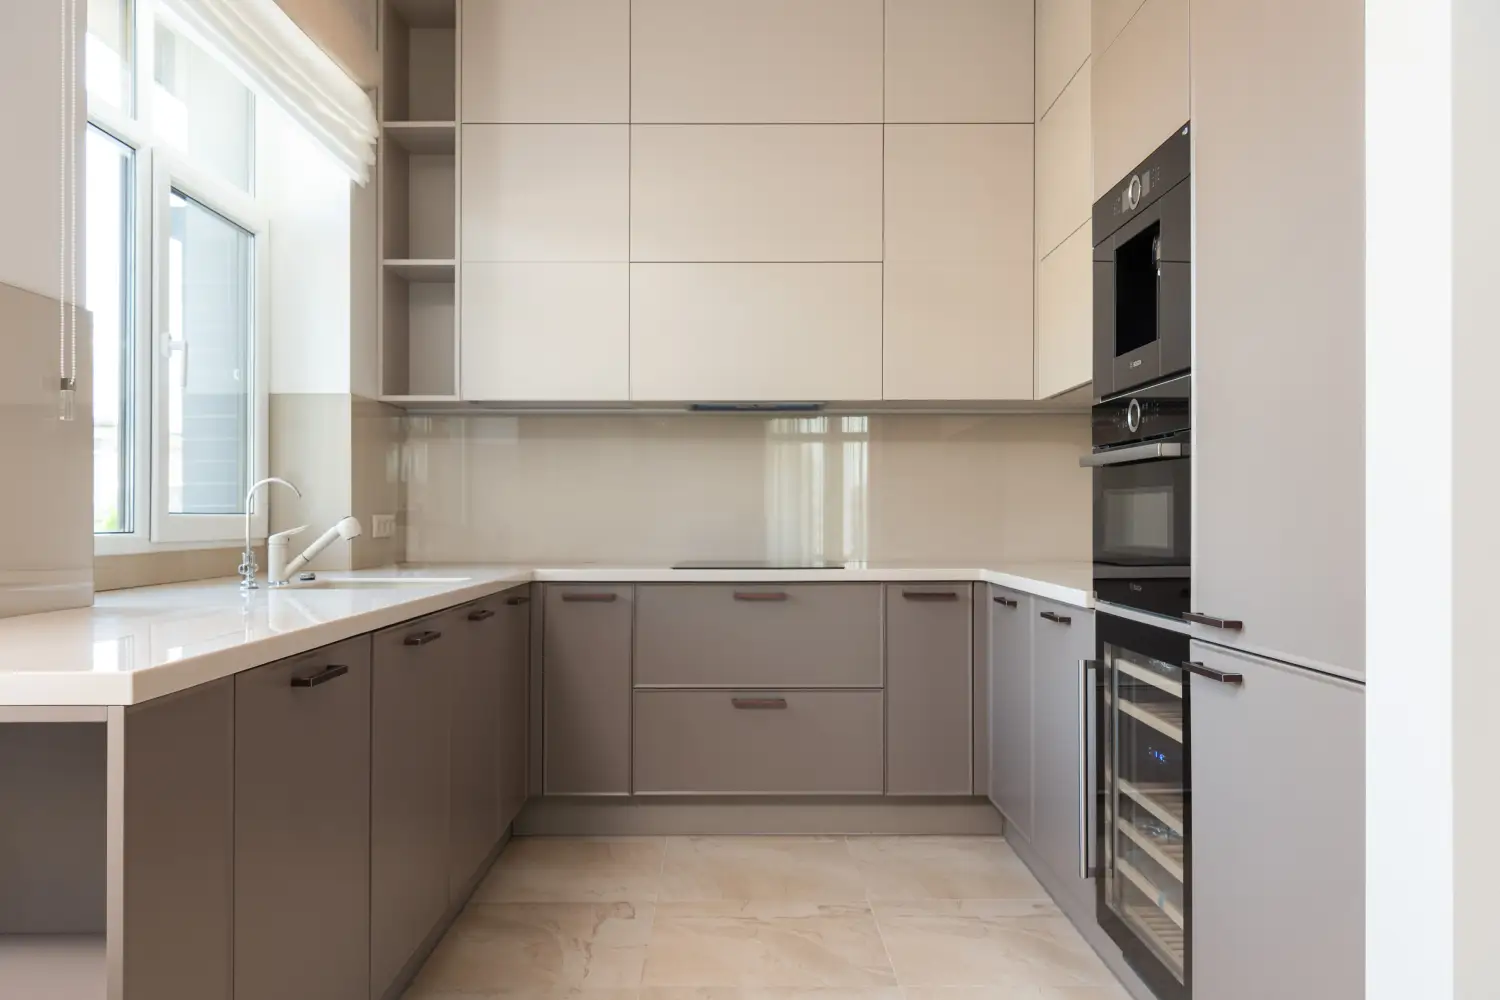
Why a U-Shaped Kitchen Often Fails Where a Galley Succeeds
A U-shaped kitchen often fails in rooms under 10 feet wide. See why a galley layout wins on workflow, storage access, and cost—with a direct comparison table.
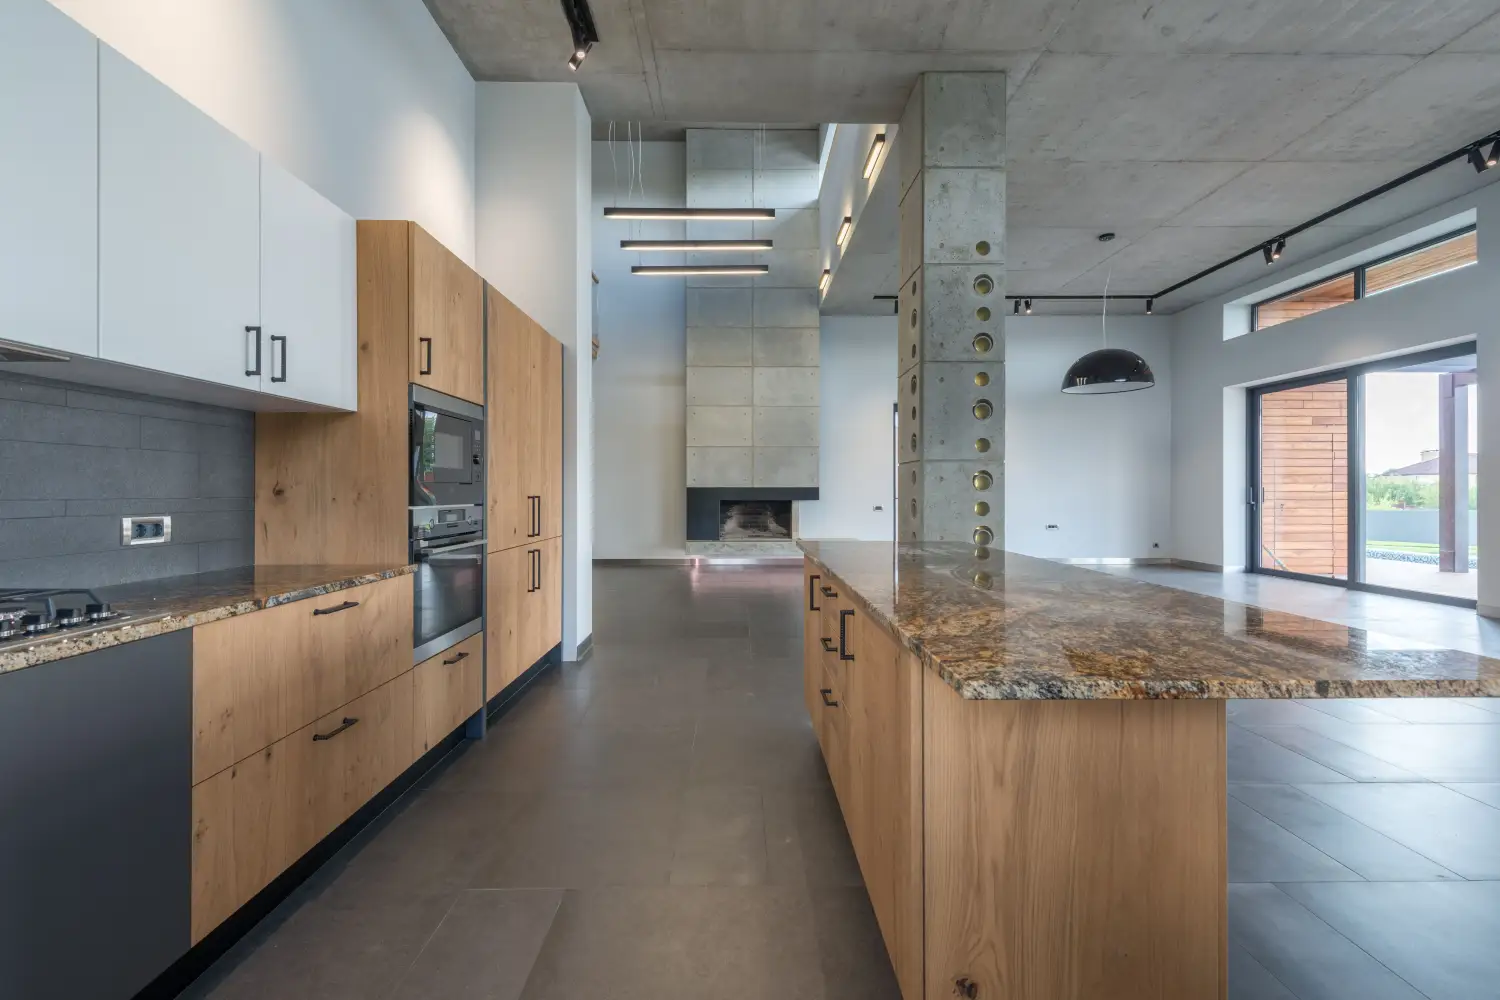
How to Zone an Open-Concept Kitchen Without Building Walls
Define prep, cooking, clean-up, and storage zones using counter heights, pendant light clusters, and area rugs—no walls needed. A calm, practical guide for open-plan kitchens.
3 Small Kitchen Layouts That Make Under 100 Sq Ft Feel Spacious
Three code-compliant kitchen layouts—one-wall, double-galley, L-shape with peninsula—with exact dimensions and clearance specs for spaces under 100 square feet.