Your First Bedroom Design: A Foolproof Step-by-Step Plan

You need a bedroom that works on the first attempt—no Pinterest drift, no pieces bought in the wrong order and sent back. The sequence that delivers that is non-negotiable: define function, lock layout, plan lighting, then pick color. In that order, the room falls into place. In any other order, you redo work, waste money, and stay stuck. This guide treats that sequence as four hard stages. Each stage tells you what to do, what not to do yet, and the exact point when you’re done and can move on.
Start by locating yourself among these four common starting points.
Identify Your Starting Point
A Completely Empty Room
Bare walls, no furniture, one ceiling fixture. Your route goes straight through all four stages in order. There’s nothing to undo, so you get the full chain without remedial steps.
A Room Full of Hand-Me-Downs and Misfits
You have furniture that sort of fits, but the room has no intention. Your route begins at Stage 2 (layout). Test whether those pieces earn their square footage; if they don’t, function overrides nostalgia and they go.
A Space That Already Has “Good Bones” but Feels Off
Decent floors, trim, neutral walls—nothing is wrong, yet the room doesn’t feel finished. Start at Stage 3 (lighting). The missing piece is layered light, not another wall color.
An Over-researched, Decision-Frozen Beginner
Two hundred saved photos and no decision. Start at Stage 1 (function). A clear primary use eliminates 80 percent of those images because they don’t match what your room actually needs to do.
Stage 1: Define the Room’s Function
Function decides what this room delivers every day. It prevents a layout that centers the bed out of habit and ignores the activity that actually defines the room.
List Every Activity Beyond Sleeping
Write down every use that happens here with any regularity: reading in bed, laptop work, makeup, storing out-of-season clothes, folding laundry, exercising, nursing. If it happens even once a week, it needs a physical place. The yoga mat leaning against the wall is a use that hasn’t been assigned a home yet.
Pick the Single Hardest Use to Accommodate
From that list, select the activity that demands the most from the space—morning grooming that requires strong, even light near a mirror, or a desk that must feel separate from the sleeping area. This hardest use sets the layout priority in Stage 2. Without naming it, you’ll default to bed-centric arrangement and spend every day working around a layout that fights you.
Name the Trade-Off
In a typical 10x12-foot bedroom, you can’t have it all. Decide now: bed against the wall to keep floor space open, or bed centered with a walkway that squeezes past the dresser. Write the sacrifice down. That clarity prevents a layout that tries to satisfy everything and ends up satisfying nothing.
Ready to Move On
In one sentence, you can state the room’s primary job and the one use you’ll de-prioritize if space forces a choice.
Stage 2: Map Out a Layout That Works
Layout is the spatial contract between the function you defined and the furniture you own or plan to buy. Get it wrong and the room feels cramped no matter what you hang on the walls.
Place the Hardest-Use Item First
Take the priority piece from Stage 1—the vanity, the desk, the nursing chair—and position it where it works best. That piece claims its spot before the bed. The bed, which is always the first thing people place, becomes a downstream decision. This single shift prevents the bed from dominating and forcing the real priority into a corner.
Enforce Clear Circulation Paths
Minimum 24 inches of clear width for main routes (door to closet, door to bed). Secondary paths (side of bed to wall) need 18 to 22 inches. Tape them on the floor with painter’s tape and walk them. If your body turns sideways at any point, the layout fails. Reconfigure until you walk freely.
Size the Rug to Anchor the Bed—or Skip It
If you use an area rug, it must extend at least 24 inches past the sides and foot of the bed. Anything smaller undermines the visual weight and makes the room feel unfinished, as anyone who has stood on a too-small rug can confirm. If those dimensions won’t work, skip the area rug and use small rugs on either side that sit fully on the floor and don’t slide underneath.
Test the Layout Physically
Draw a to-scale plan on graph paper or a free room planner app. Then move existing furniture into the approximate spots and live in it for a day—do your actual morning routine half-awake. The spot where you bump a dresser edge is what a floor plan won’t show you.
Ready to Move On
You have a fixed floor plan with all large furniture locked to specific walls. You’ve walked the room without obstruction and no adjustment remains that would make the flow better.
Stage 3: Plan Lighting Before Finishes
Lighting is infrastructure, not decoration. It demands decisions before paint and window treatments because it involves electrical placement and wiring—even if that means plug-in solutions. A single overhead fixture flattens a room. Three layered light sources give you control over how the room feels at any hour.
Build Three Layers
- Ambient: ceiling fixture or recessed lights, dimmable, 2700K–3000K warm white. This is the base wash.
- Task: swing-arm sconces by the bed, a directional floor lamp beside a chair, vertical light strips flanking a mirror. This is light you can point where you need it.
- Accent: picture lights, LED tape behind a headboard, a narrow beam grazing a textured wall. Accent is optional for a first bedroom, but it’s the difference between functional and finished.
Match Outlets and Switches to the Layout
With furniture positions fixed from Stage 2, mark on your floor plan exactly where you need outlets for reading lights, phone chargers, and a desk lamp. Add a switch by the door that controls the bedside sconces—no one wants to cross a dark room to turn off a light. If you’re not cutting into walls, use cord concealers and plug-in dimmers to gain the same control.
Choose Bulbs First, Fixtures Second
The bulb sets the light’s character; the fixture is a housing. For a bedroom, use high-CRI bulbs (90+) so skin tones and fabric colors read true under warm light. Drop a cool-white bulb into a beautiful lamp and it cancels every paint swatch you’ll later test.
Test One Light at Night
Set up the most critical task light—say, the one you’ll read by—and use it for an evening. Too bright? Swap the bulb before you drill into the wall for sconces. Getting intensity right here prevents the common mistake of over-lighting a bedroom and losing the sense of retreat.
Ready to Move On
You have a lighting plan with at least two layers, switches and outlets positioned per the layout, and the primary task light tested and brightness adjusted for nighttime use.
Stage 4: Choose a Color Palette That Ties It Together
Color comes last because its job is to support the function-layout-light structure, not lead it. By now you know exactly how daylight and artificial light fall on each wall. Color anchors those conditions.
Sample Under Real Light
Tape large peel-and-stick samples (12x12 inches minimum) on every wall the color will touch. Observe them in morning light, midday, and under the evening lights you tested in Stage 3. A gray-green can shift to mint under cool morning sun and turn muddy gray under a warm lamp. You must see both before you commit.
Pick Sheen for the Room’s Actual Life
- Flat/matte: hides wall imperfections; use if the room is low-traffic and purely for sleep.
- Eggshell: slight sheen, wipeable; appropriate for a bedroom that doubles as a workspace.
- Satin/semi-gloss: for trim, doors, and windows only—areas that need durability. Using semi-gloss on a bedroom wall highlights every drywall flaw and reflects harsh light; skip it unless the surface is flawless and you want drama.
Anchor the Palette to One Object
Don’t pull colors from a fan deck in isolation. Start with a piece already committed to the room—bed linens, a rug, art above the dresser. Extract a neutral wall color from its background tones, a trim color from its lightest element, and an accent color from its smallest pop, used sparingly on one wall or a piece of furniture. This method guarantees a palette that reads intentional, not matched to a display rack.
Paint the Ceiling Close to the Wall Color
In a standard 8-foot bedroom, paint the ceiling a lightened version of the wall color (25%–50% lighter) to erase the hard line and raise the perceived height. A pure white ceiling in a warm-toned room reads as stark and lowers the visual plane.
Ready to Move On
You’ve sampled wall colors under both day and night light, chosen sheens based on how you use the room, and identified trim, ceiling, and accent colors that form a complete palette.
Stage Completion Checklist: When to Move On
- After Function: One-sentence primary job stated; one use de-prioritized if needed.
- After Layout: All large furniture on a to-scale plan; room walked without obstruction.
- After Lighting: Two layers planned; outlets and switches placed per layout; primary task light tested and adjusted.
- After Color: Wall colors sampled under actual lighting; sheens chosen for real-use conditions; palette anchored to a physical object.
What You Can Safely Ignore Right Now
Curtains and Window Treatments
They depend on finished wall color and lighting quality. Delay until paint and primary light layers are installed.
Throw Pillows, Accent Decor, Gallery Walls
Accessories fill gaps but can’t fix a bad layout or poor light. They belong in the next phase after the four stages are complete.
“Timeless vs. Trendy” Debates
Proportion and placement matter more than style category. A trend that genuinely supports your function is a sound choice; a timeless piece that blocks the walkway is still wrong.
Exact Paint Brand or Product Line
Your priority is color and sheen, not the manufacturer’s tier. Once you’ve confirmed a color, any well-rated paint in that sheen will perform. Save the brand comparison for when you’re staring at two identical swatches later.
What Can Speed Up the Process (Without Cutting Corners)
Use a Free Room Planner Tool Early
Enter your dimensions into a tool like Roomstyler or Floorplanner. Test five layouts in the time it takes to sketch one by hand. The real accelerator is spotting a circulation problem in 3D that a 2D drawing hides.
Borrow Paint Swatches to Narrow Faster
Peel-and-stick samples are best, but borrowing a similar hue from a friend who painted recently helps you eliminate bad directions without cost. The borrowed color won’t be your final pick, but it speeds up elimination.
Order the Rug Pad With the Rug
If your layout calls for an area rug, bundle the pad. A rug that slides delays the finished feeling and forces a separate order later.
Frequently Asked Questions
What if I can’t change the overhead light fixture right now?
Add a floor lamp and a plug-in wall sconce with cord covers to create ambient and task layers without electrical work. Use smart plugs or inline dimmers for control. This temporary setup delivers lighting control while you save for permanent changes.
I have a very small bedroom—can I skip the rug?
Yes. When a correctly sized rug would nearly touch the walls, skip the area rug. Use small bedside rugs that sit fully on the floor instead; they add warmth without fragmenting the visual space.
Should I match the wall color to the bed frame?
No. Matching erases the bed’s silhouette. Contrast defines edges. A dark wood frame pops against a light neutral; a light upholstered headboard reads better against a deeper wall. Contrast gives the room structure.
How late can I change a paint color before it’s too expensive?
After you’ve painted multiple walls, repainting costs time and materials, but it’s cheaper than living with a color you hate. The truly expensive mistake is painting the whole room before testing samples under your actual lighting. Make the final decision after Stage 3 lighting tests; changing later is an inconvenience, not a disaster.
When do I bring in a designer or decorator?
If you’ve completed Function and Layout but stall at Lighting because the architecture is challenging—angled ceilings, unusual window placement—a one-hour consultation with a lighting designer saves time and money. For most first bedrooms, the four-stage process here is enough.
After All Four Stages, What You Have
The room is resolved, not just decorated. Every object earns its position from a decision about how you live, not from a showroom photo. The light is full and adjustable, the color belongs, and the layout doesn’t fight you. If you started with an empty room, pick up a pen and write down the one thing this bedroom must do beyond sleeping—that sentence steers everything that follows.

Clara Bennett
After five years of transforming my 1920s bungalow room by room, I’ve refinished floors, hung blinds in bay windows, and spent more time choosing light bulbs than I’d like to admit. I learned paint sheens by painting my kitchen ceiling three times, and I found out the hard way that a rug too small makes a room feel unfinished. I believe every home can be both functional and beautiful, no matter the budget.
Related posts
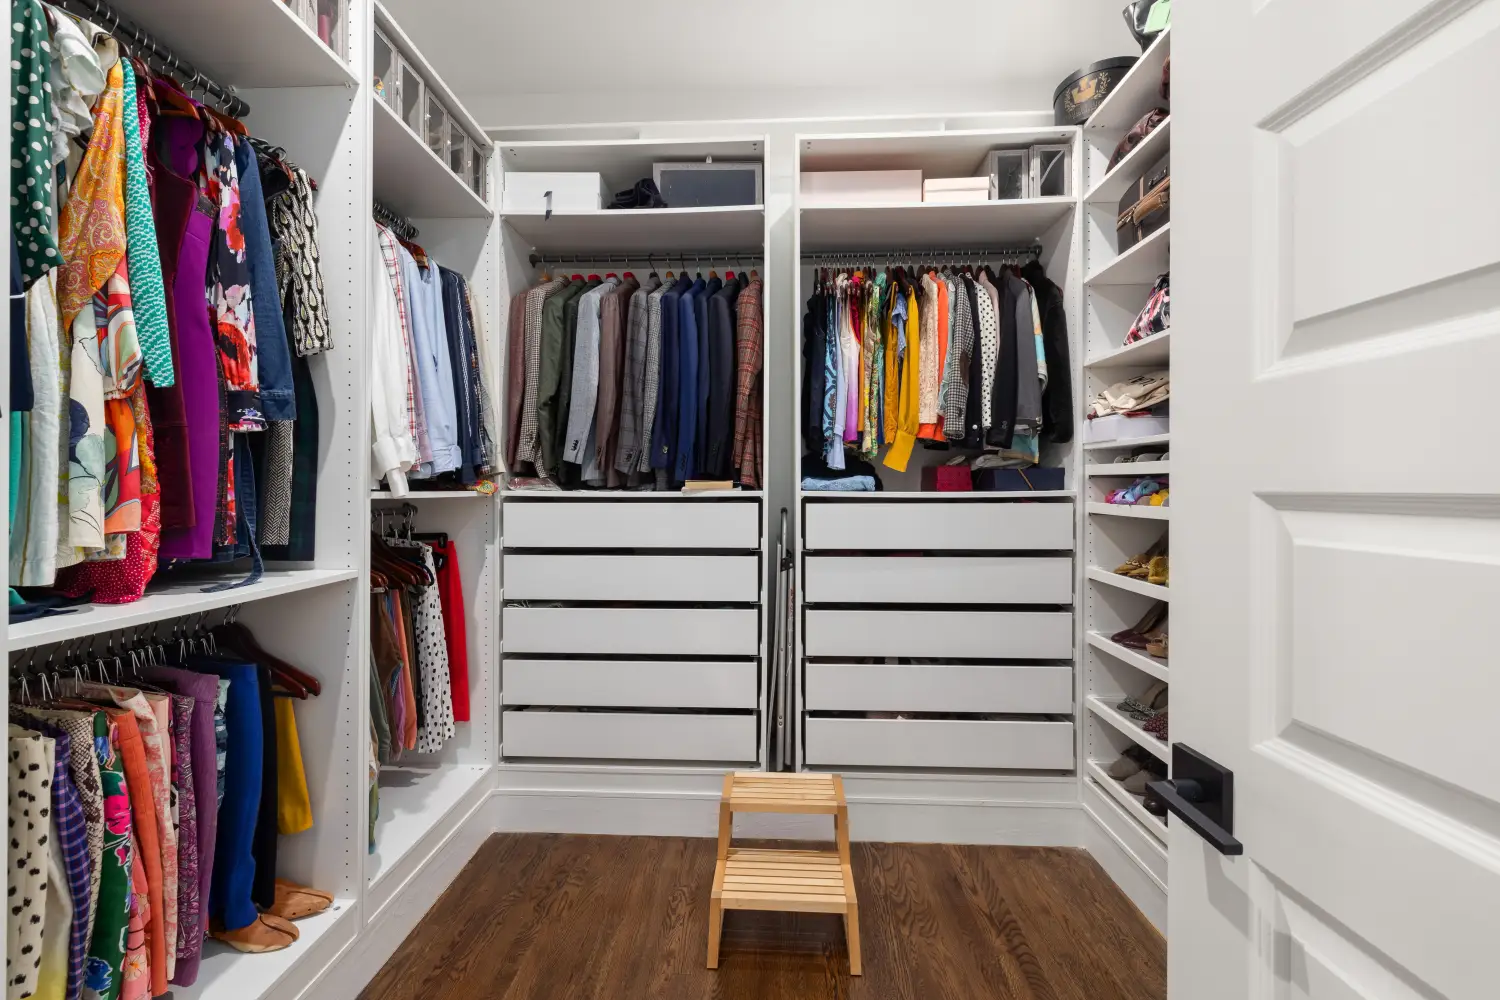
You Don't Need More Closets: Bedroom Storage That Works
Learn a 4-zone audit that reclaims vertical, under-bed, and multi-use storage without buying new furniture. Start with the one zone you're ignoring the most.
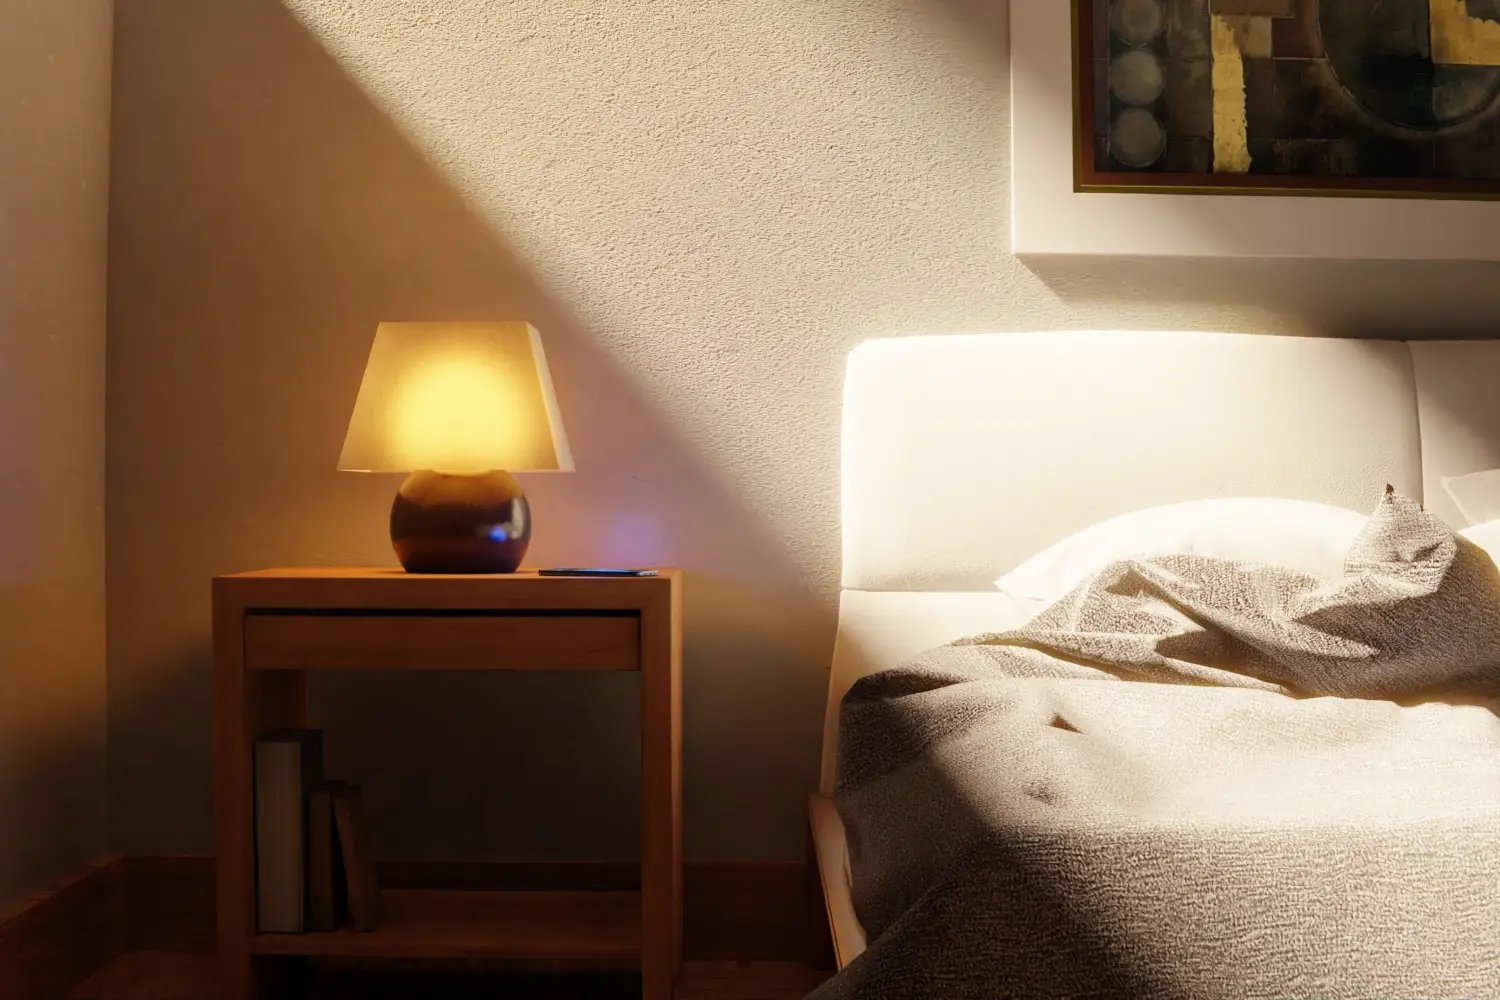
The 3-Layer Bedroom Lighting System Designers Use
Design a bedroom lighting plan with ambient, task, and accent layers for sleep, dressing, and reading. Fixture types, Kelvin ranges, and dimmers — no electrician required.
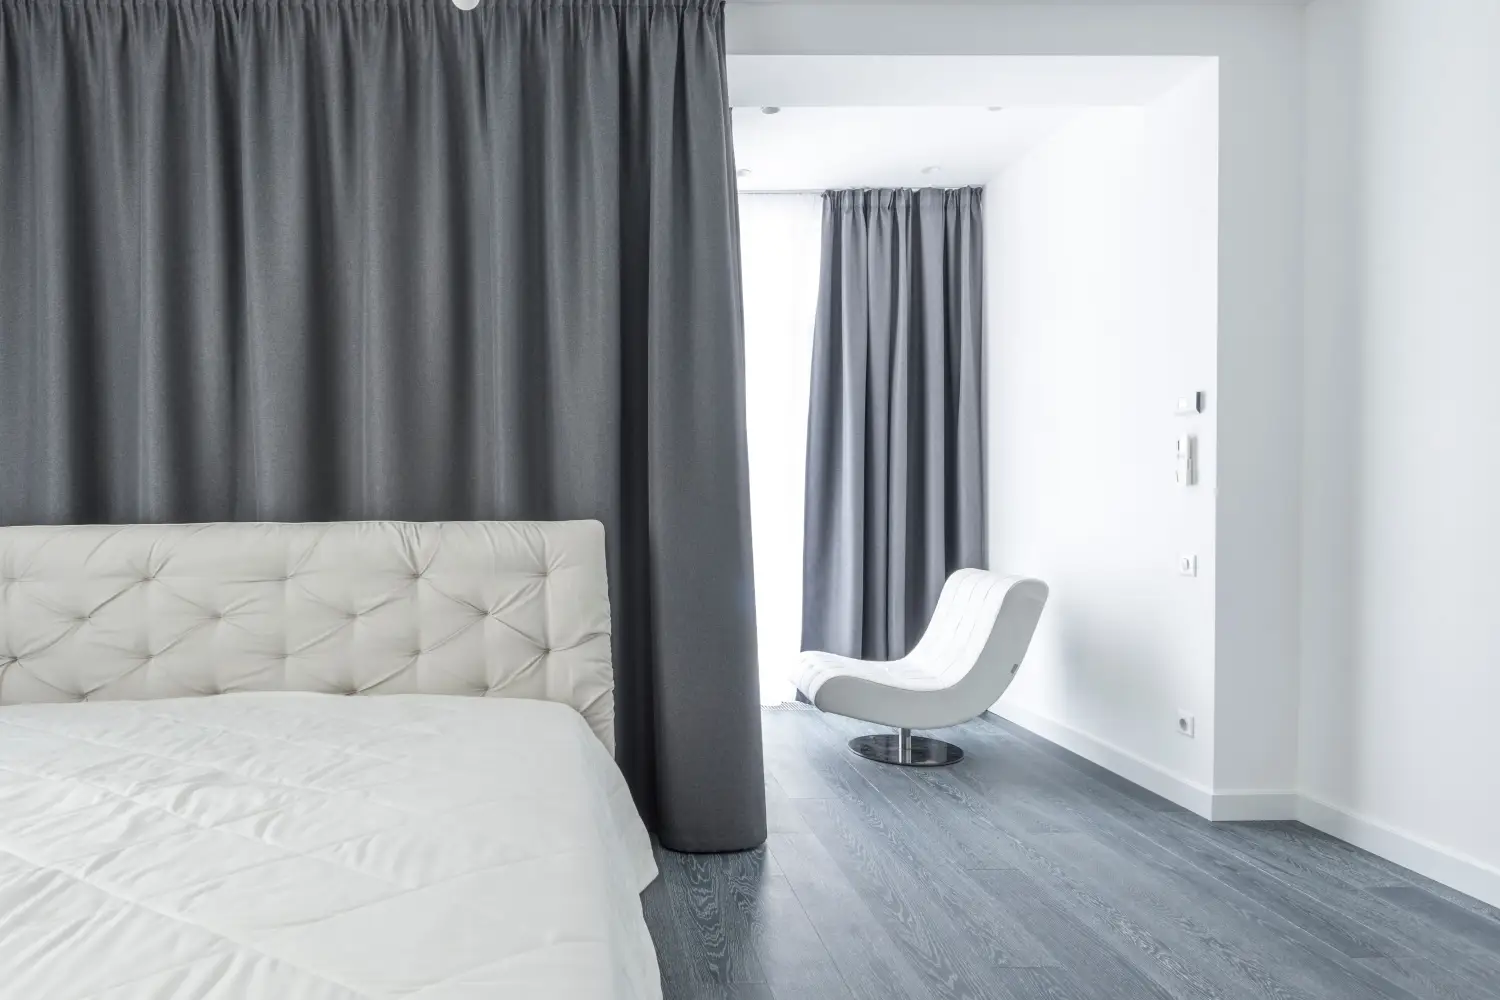
3 Clearance Rules That Fix Awkward Bedroom Layouts
Learn the three critical furniture clearances—bed-to-wall, walkway, and dresser access—with precise minimums to make any bedroom functional from day one.
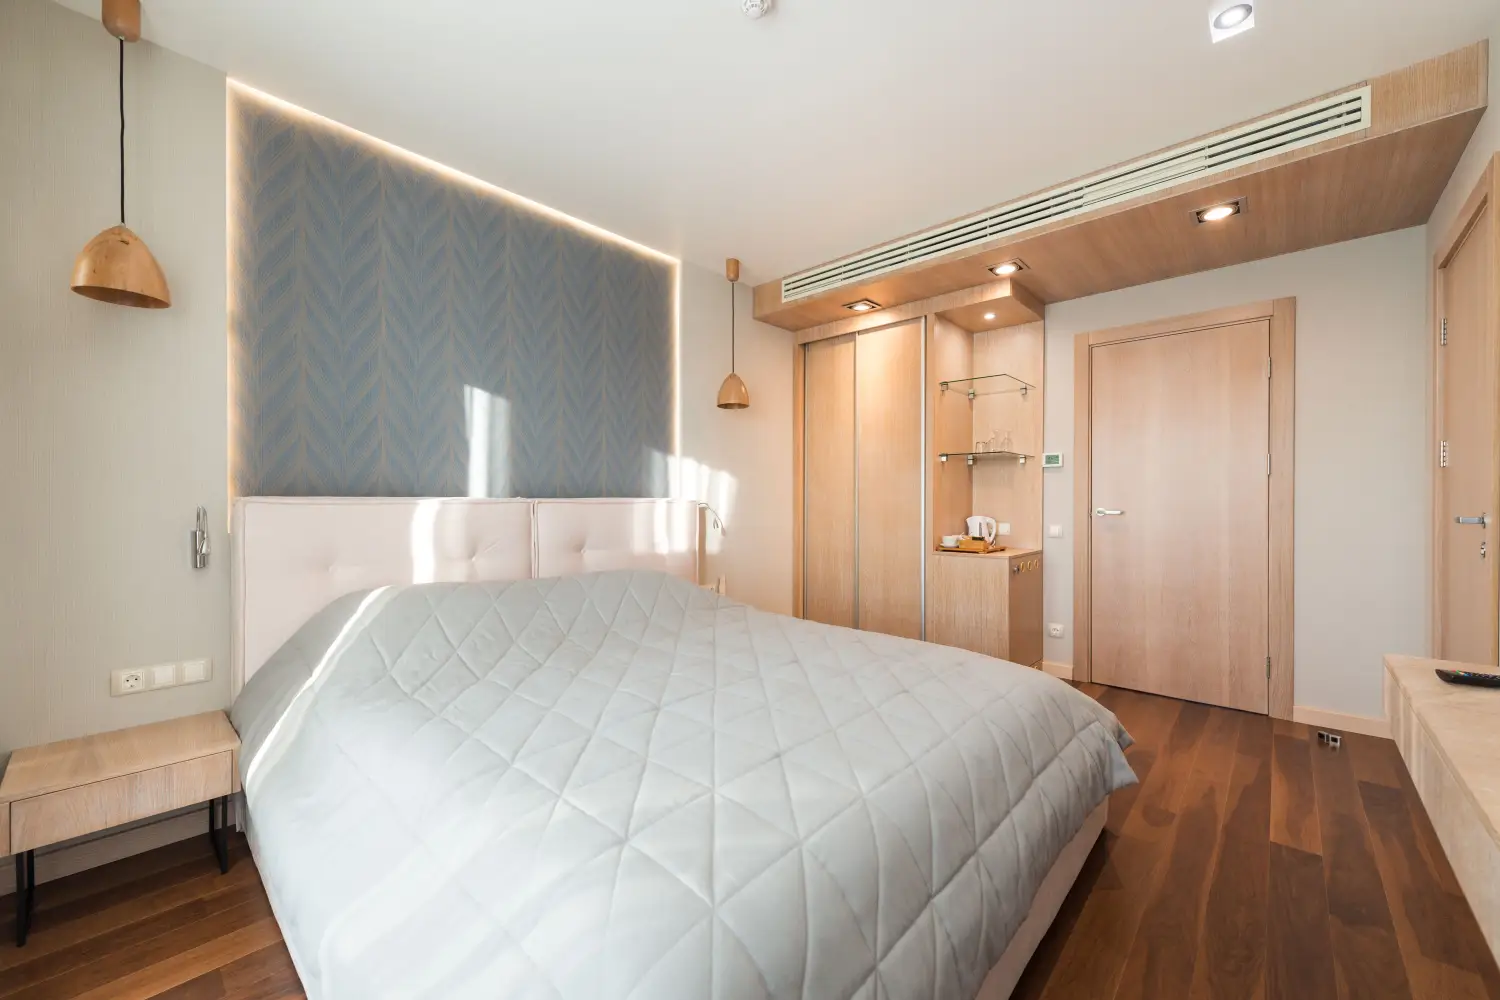
The Overlooked Element Behind Bedroom Color Choices
Discover how to layer wall color, textiles, and lighting temperature into a circadian-friendly palette that supports alert mornings and calm evenings.

Are Your Bedroom Windows Quietly Undermining Your Sleep?
If light or temperature swings mess with your sleep, your window coverings likely need a reset. Learn the opacity-mounting-safety decision tree that works.