Finish Your Bathroom Without Regrets: The Pro's Decision Sequence
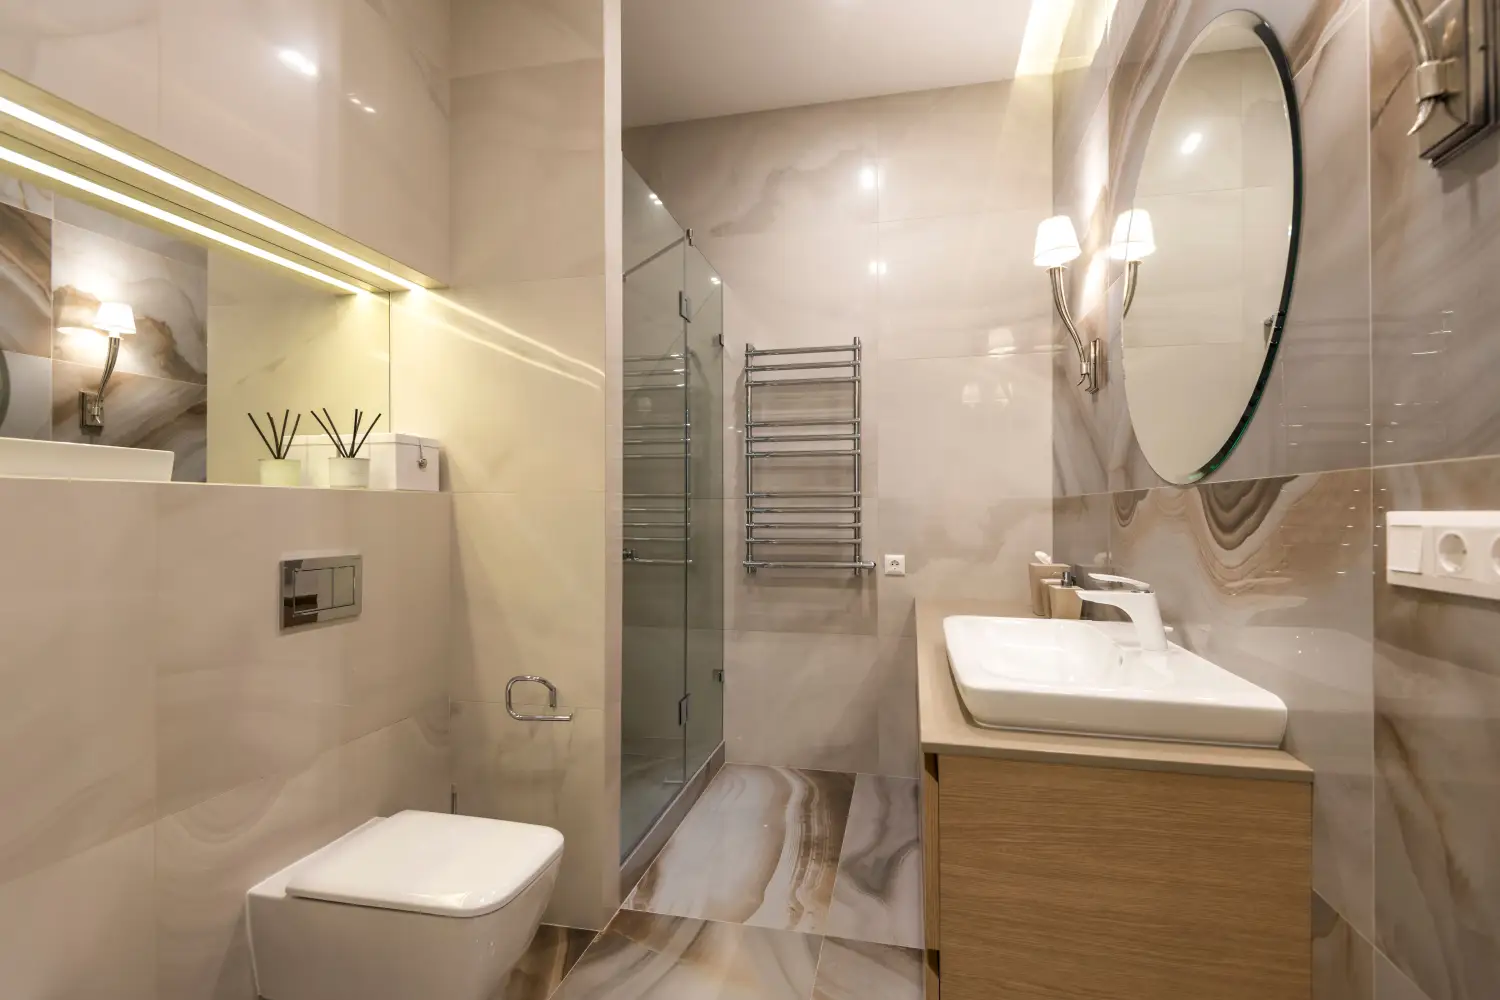
Regret in a bathroom renovation almost always comes from deciding out of order. The room looks done until the paint clashes with the tile, or the towel bar lands awkwardly off a grout line, or worse—a toilet has to move after the floor is in. The sequence that prevents all of that is rigid for a reason: layout, then plumbing rough-in, then large finishes, then grout and paint, then hardware. Every step validates the one before it. Skip the sequence and you pay twice.
Your Starting Point: A Gut Renovation, a Cosmetic Refresh, or Your First Home Update
No two projects start in the same place, but the sequence still holds. Where you begin determines how strictly you follow each stage.
Gut renovation. The room is down to studs and the plumbing layout is open. This is the cleanest path: every stage applies from the first measurement onward. Commit to the full order because the cost of backtracking here is the highest—moving a shower valve after tile is a four-figure mistake.
Cosmetic refresh. The footprint stays, the pipes stay, and the goal is a new surface. The trap is ordering tile first. Without verifying the exact position of the existing shower valve and drain, that tile pattern will collide with a plumbing stub-out. Start by mapping what exists and choosing tile that works with it, not the other way around.
First-home update. The bathroom works but looks tired. Money comes in phases. The sequence dictates starting with the most permanent layer: the shower rough-in or surround, not the paint. Painting a wall that later gets opened for valve work is wasted effort. Small upgrades now stay compatible with bigger ones later because the order keeps the permanent decisions in front.
Lock the Layout Before You Touch a Single Finish
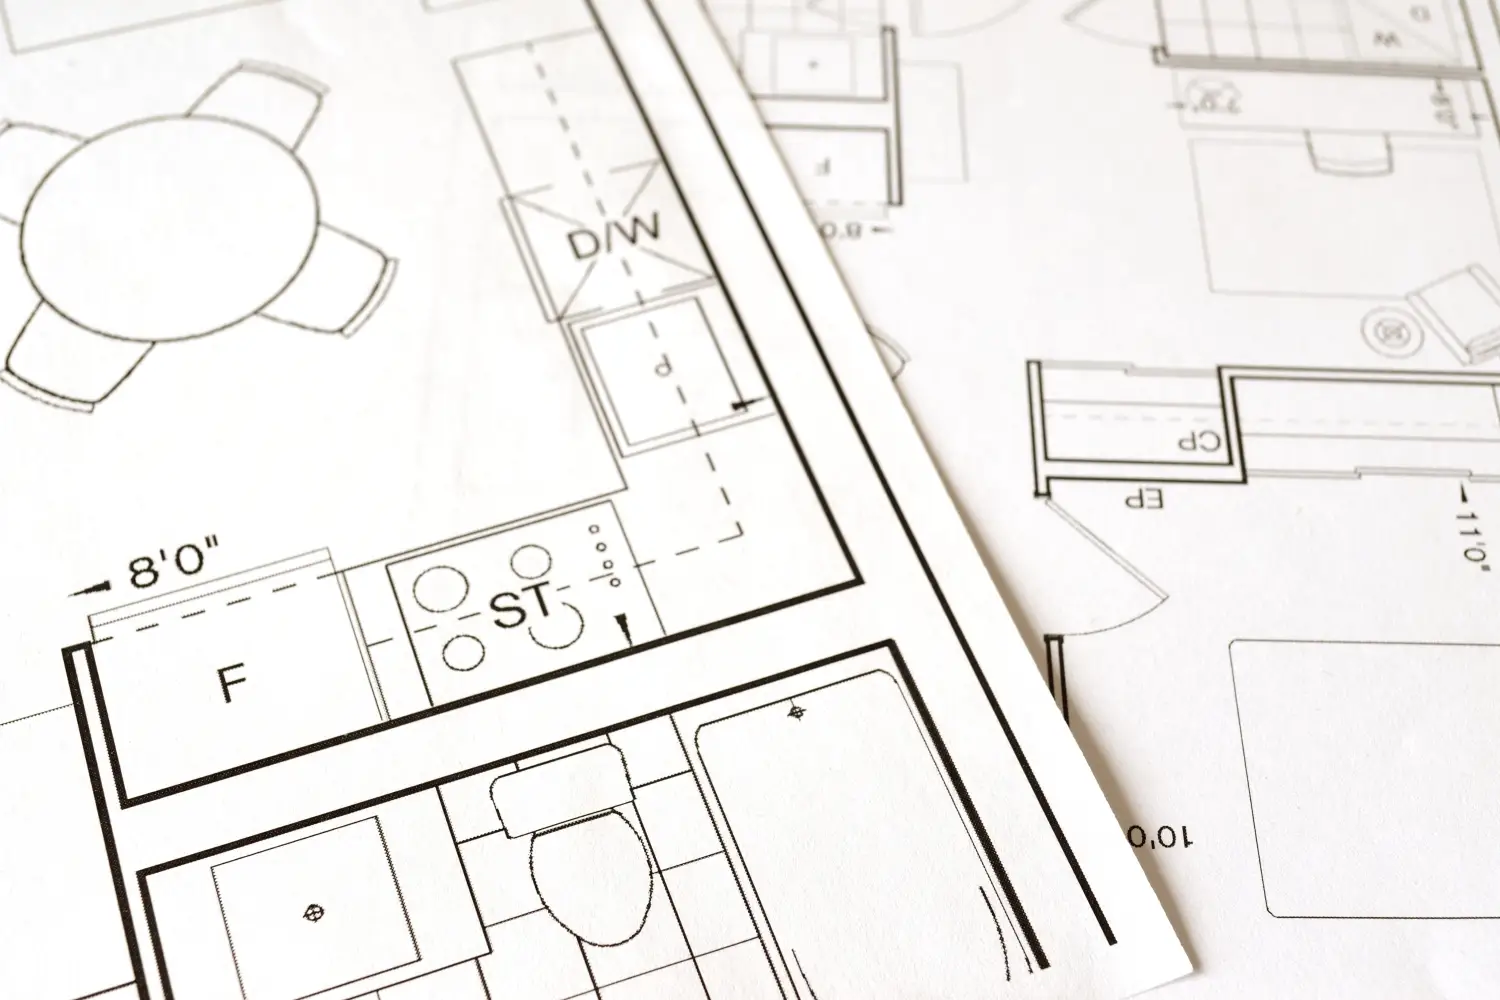
The layout is the only thing in a bathroom that is genuinely irreversible once the walls close. Changing a shower position after tile means demolition, new drain routing, and redoing everything that sat on top. The goal of this stage is a floor plan so solid that nobody can change it without a crowbar.
What Must Happen
All fixture centerlines get marked on the subfloor. If a toilet rough-in is off by two inches, it violates clearance and the floor tile has to come up. So the measurement is taken and double-checked. The shower type—walk-in, tub-shower—is set, because the drain location for a walk-in is different from a tub and cannot be swapped later. The vanity width and sink drain trap position are tested against drawer storage; a vanity with a center drawer that hits the P-trap is a common, avoidable headache.
Concrete Actions
- Measure room dimensions including soffits and ceiling height.
- Lock the shower location and type; mark the drain center.
- Mark the toilet rough-in center and verify code clearance from side walls and the vanity.
- Determine vanity size and check whether the drain trap will block drawers or cabinet shelves.
- If moving drains, have a plumber verify venting and joist clearance before you frame.
Ready to Move On
Centerlines are on the subfloor, no one can ask to move the toilet later, and the door swing, light switch, and storage all work with the plan. That permission to proceed is a locked layout.
Rough In the Plumbing and Fixtures Next — Not After the Tile
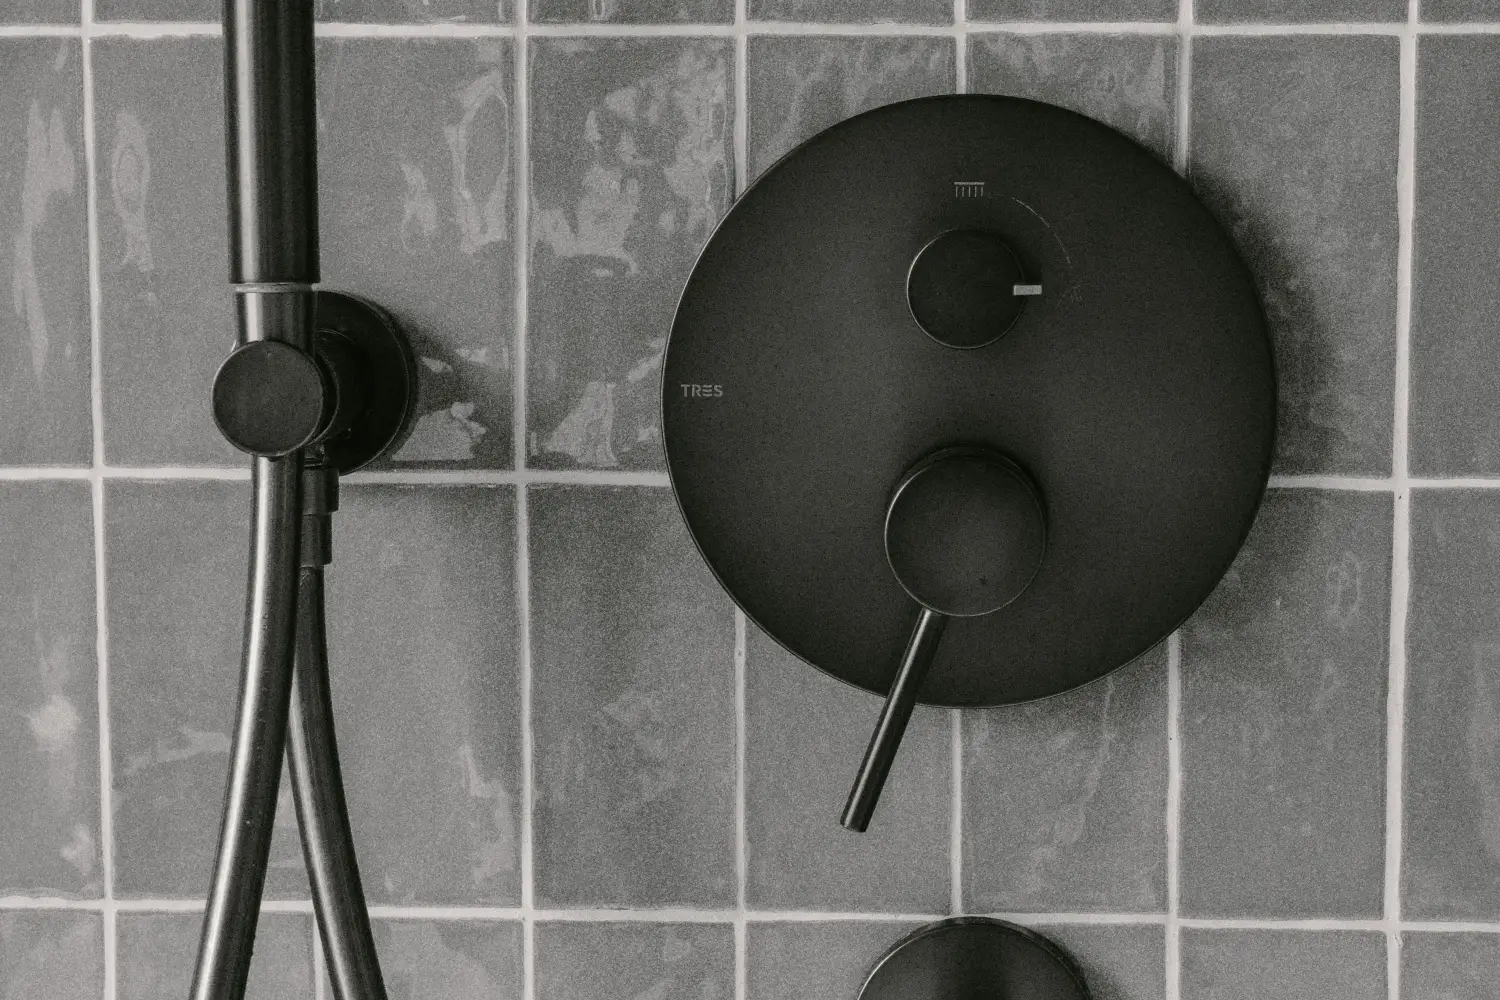
Rough-in work hides inside the walls and under the floor. It is permanent. The valve body—the brass block inside the shower wall—must be selected now because the trim that covers it only fits one specific valve. Order the trim later, and you may find it does not fit the rough-in already buried in tile and waterproofing.
What Must Happen
A standard valve installed for a thin acrylic surround will not accept the deeper rough-in required by a thick tile wall with a membrane. The trim handle will sit too far out, or worse, cannot be tightened. That mistake costs either a new valve (which means opening the wall) or a clumsy extension kit that leaves a gap. Get the exact valve model, match it to the trim, and measure the finished wall depth.
Concrete Actions
- Select the shower valve type (thermostatic, pressure-balance, or volume control) and order the matching trim kit.
- Choose the tub filler style and ensure the rough-in aligns with the tub’s deck or deck-mount location.
- Confirm sink faucet hole spacing (single-hole, widespread) and set the drain rough-in height for the vanity.
- Pressure-test all supply lines and cap stub-outs at the depth the trim kit manual specifies.
Ready to Move On
The valve bodies sit at the correct depth, the system holds pressure, and the trim kit is physically on site or guaranteed to arrive before tile starts. No guesswork remains inside the wall.
Choose the Large-Scale Finishes That Define the Room
Tile and flooring set the color temperature, pattern, and reflectivity for everything that follows. They get chosen and installed before paint, before grout, and absolutely before any decorative hardware. The reason is simple: tile is limited and expensive to change; paint and grout are cheap and flexible.
What Must Happen
A soft blue paint selected from a magazine looks nothing like itself next to a cool gray tile under 3000K LED light. The blue turns greenish. Repainting is easy, but the goal is to avoid rework, so the sequence puts tile first, then lets the paint react to it. The tile’s final appearance also depends on grout joint width, which should be decided before ordering tile so the quantity accounts for layout, but the grout color can—and should—wait until the tile is up and the light is on.
Concrete Actions
- Bring tile samples into the bathroom and view them under the actual bulbs at different times of day.
- Choose layout pattern (running bond, stacked, herringbone) and joint width; order tile accordingly.
- Select and install the waterproofing system.
- Install tile, beginning with the shower pan, then walls, and protect the finished surfaces before working on the floor.
Ready to Move On
Tile is set, cured, and free of lippage. The permanent lighting works, so the real color and sheen are visible. Only then does the room become a reliable backdrop for color decisions.
Decide on Grout, Paint, and Trim Only Once the Tile Is Installed
With the tile physically in place, the bathroom finally shows its true palette. Grout color can radically change the tile’s character—contrasting grout emphasizes the pattern, matching grout makes it recede. Paint reads differently next to a finished tile wall than it does on a swatch card. Both decisions belong at this point, not earlier.
What Must Happen
Grout color is tested with sticks or small batches against a full square foot of installed, dried tile. No one tests on a single loose tile and gets an accurate read. Paint samples go on boards that move around the room next to the tile, examined under the final bulbs and through a full day’s light cycle. Paint is applied only after tile installation to avoid grout dust and sanding debris sticking to fresh walls. Trim paint uses a semi-gloss or high-gloss sheen for durability and easy cleaning.
Concrete Actions
- Test two or three grout colors against the installed tile in both natural and artificial light.
- Choose wall paint sheen (eggshell or satin) and paint a moveable sample board to check next to the tile.
- Pick trim color (semi-gloss or high-gloss) and paint baseboards, door casing, window trim.
- Seal the grout after it cures.
Ready to Move On
Grout is applied and sealed, wall and trim paint are finished with no need for touch-ups. No wet work or dust remains in the room.
Mount Hardware, Accessories, and Towel Bars Last
All hardware is mounted on finished walls after tile, grout, and paint. The exact positions depend on the tile layout, vanity placement, and door swing—which are now permanent. Drilling a hole earlier guarantees misalignment.
What Must Happen
Towel bar height aligns with a grout line or the center of a tile where possible—usually 48 to 52 inches above the floor. Robe hooks avoid the shower spray zone, and the toilet paper holder sits within the standard reach zone. The shower door is measured and ordered only after the tiled opening is complete; a quarter-inch discrepancy in a tiled opening means a custom glass recut.
Concrete Actions
- Mark and drill towel bar anchors, aiming for visual alignment with the tile pattern.
- Mount robe hooks at 60 to 70 inches, clear of direct water.
- Position the toilet paper holder 26 to 28 inches above the floor and 8 to 12 inches in front of the bowl.
- Center the mirror on the vanity or light fixture.
Ready to Move On
Every accessory is secure, the shower door fits, and the bathroom functions with nothing left to patch or repaint.
How You Know It’s Time to Move Forward: The Full Checklist
Each stage produces a specific verification. Skip none.
- Layout is locked: fixture centerlines marked, no plumbing conflicts, door swing and storage work.
- Plumbing rough-in is done: valve bodies match trim, stub-out depths are correct, system passed pressure test.
- Tile is installed: no lippage, permanent lighting is on, true colors are visible.
- Grout and paint are final: grout color works with the installed tile, paint is dried and covers completely.
- Hardware is up: towel bars align with grout lines, shower door fits, no holes are misdrilled.
Worries That Can Wait (And the Exact Point They Become Urgent)
New homeowners lose time worrying about decisions that simply aren’t ripe yet. Delay these deliberately.
The exact paint color. A wall color chosen before tile is a guess. Postpone until the tile is in and the final lighting is operational.
Matching finishes across the house. The bathroom only needs to coordinate within its own four walls. Hardware continuity with other rooms can be addressed during later projects.
Towel bar placement. It cannot be finalized until the tile pattern and vanity are installed. Any hole drilled before that is likely to end up off-center.
Specialty light fixtures. A damp-rated sconce or chandelier can be chosen after tile and paint because its scale and finish must relate to what the room actually looks like, not what was imagined during rough-in.
Questions That Usually Come Up at This Point in a Bathroom Renovation
Can I pick the paint first and choose tile to match?
You can, but the risk is high. Tile palettes are narrow; paint is nearly unlimited. Matching a paint swatch to a tile often fails because undertones shift. Choose the tile first, then test paint against it.
What if the tile I selected goes out of stock after the plumbing is done?
Confirm inventory before you schedule the tile installer. The plumbing rough-in does not depend on the tile being in the house, only on the tile selection being final. If a supply issue arises, you still have time to reselect without touching the pipes.
Should I hire a designer to pick finishes?
A designer can prevent expensive color clashes, but a good one will never ask you to pick grout before the tile is on the wall. The sequence is a non-negotiable workflow, professional or not.
What is the biggest mistake beginners make with this sequence?
Buying everything during a single sale, then forcing those items into the project out of order. The sequence requires staged purchasing; missing a discount is cheaper than undoing installed work.
When should I hire a plumber versus doing the rough-in myself?
All inside-the-wall work—drains, vents, water lines, valve installation—belongs with a licensed plumber. A hidden leak behind tile is far more expensive than the inspection and labor.
Does the sequence change with a prefab shower pan or tub surround?
No. The pan or surround still must fit the rough-in, and the surrounding wall finishes must coordinate with the unit’s color. Install the surround before paint and hardware.
A finished bathroom with no regrets is one where the permanent choices—layout, plumbing, tile—were made so early that nothing later had the power to undo them. For the most common starting point, a cosmetic refresh, the very first action is confirming the plumbing stub-out locations and measuring the exact tileable area on paper. That single step locks the sequence in place and keeps the work from ever going backward.

Clara Bennett
After five years of transforming my 1920s bungalow room by room, I’ve refinished floors, hung blinds in bay windows, and spent more time choosing light bulbs than I’d like to admit. I learned paint sheens by painting my kitchen ceiling three times, and I found out the hard way that a rug too small makes a room feel unfinished. I believe every home can be both functional and beautiful, no matter the budget.
Related posts
How Choosing the Wrong Bathroom Tile Invites a Slip Hazard
The wrong bathroom tile stays wet and slick. See how porcelain and ceramic compare on slip resistance, water absorption, and cold-floor comfort before you make a costly mistake.
Using the Wrong Bathroom Paint Sheen Invites Mold
Flat bathroom paint traps moisture. See when satin or semi-gloss prevents mold, and the rare case where flat can work with perfect ventilation.
Bathroom Lighting: 3 Zones That Stop Shadows and Glare
Stop bathroom shadows and glare. Learn to layer ceiling, mirror, and shower lights for precise makeup, safe showering, and a relaxing atmosphere.
Why the 5x8 Bathroom Floor Plan Works—and How to Tweak It
The 5x8 bathroom layout relies on two clearance rules. Learn what pros adjust when square footage changes, from double vanities to walk-in showers, and what instantly rules a plan out.
The Rule Pros Use to Mix Bathroom Hardware Finishes
Pros don't match finishes—they match shapes. Learn why faucet silhouette must coordinate with cabinet pulls before you layer a second metal finish.