Bathroom Lighting: 3 Zones That Stop Shadows and Glare
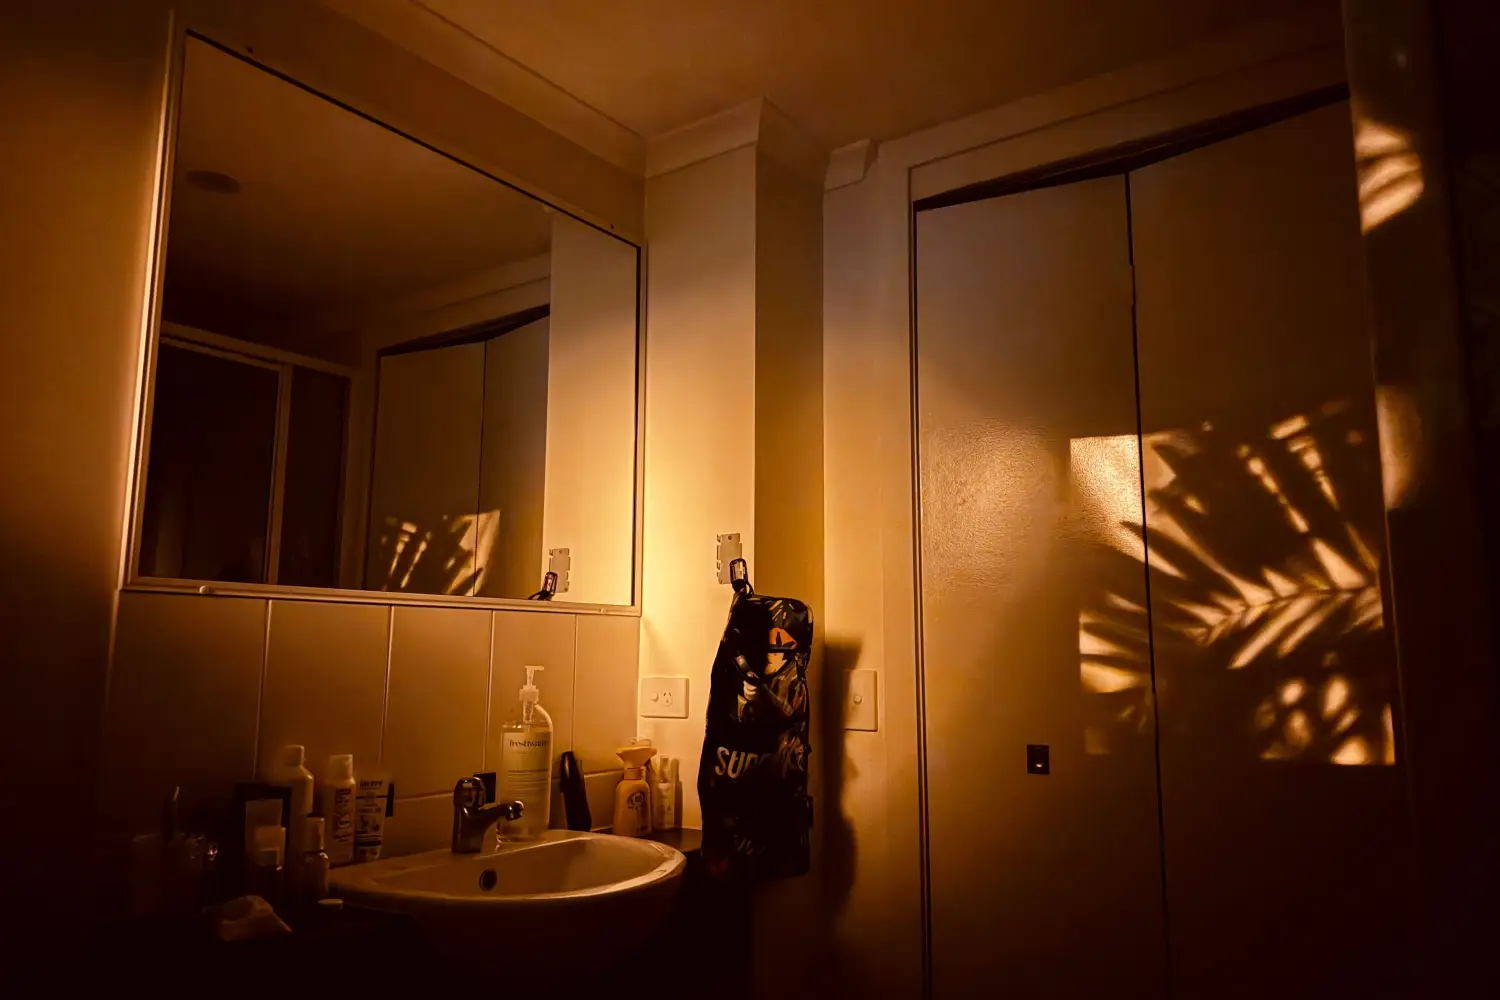
The choice between squinting into shadows and flinching under harsh overhead glare disappears when you light a bathroom by zone. Three separate layers — ceiling, mirror, and shower — solve both problems at once. This guide lays out the exact placement and fixture choices that deliver precision grooming, safe showering, and a space you can actually relax in.
The Ceiling Zone: Why One Overhead Fixture Isn’t Enough
A single ceiling light dead center throws shadows straight down onto the face — precisely where you need clarity — and flattens the rest of the room into a dull wash. The ceiling zone is your ambient foundation, and it demands more than one point of output to stop shadows and glare.
Mount two diffused flush or semi-flush fixtures instead of one. Frosted glass or acrylic lenses spread light evenly, keeping bulbs out of direct sight. For standard-height bathrooms, place one fixture over the sink area and a second over the open floor. In larger rooms, recessed downlights (4-inch or 6-inch, damp-location rated) ring the perimeter — never directly overhead — to deliver indirect, shadow-softening illumination.
Ceiling lights also set the mood for relaxation. Wire them to a dimmer. Without it, even well-placed fixtures feel clinical when you want calm. Lock the color temperature at 2,700 K to 3,000 K for evening routines; the warmth reinforces a space that actually relaxes you, not one that interrogates you.
The Mirror Zone: Task Lighting That Eliminates Face Shadows
Shadows on the face ruin makeup application and shaving. Overhead light alone carves dark pits under eyes and below the nose and chin. The mirror zone fixes this with face-height light coming from both sides.
Vertical sconces or LED bars mounted on each side of the mirror at eye level — 60 to 66 inches from the floor — wrap light across the entire face without a single shadow pocket. If a narrow vanity forces you to use a fixture above the mirror, make it a bar that spans the mirror’s full width. Short globes or tiny brackets still leave temples and jawline in shadow; they don’t do the job.
For makeup precision, bulb quality is everything. Demand a CRI of 90 or above and a color temperature between 3,000 K and 4,000 K. This range gives daylight-neutral color rendering without the blue bias that distorts foundation and concealer. Evenings-only bathrooms can drop to 2,700 K and still flatter, but they trade away accuracy. A practical workaround: use fixtures that take standard bulbs and keep a set of 4,000 K bulbs for morning makeup and 2,700 K bulbs for winding down.
The Shower Zone: Water-Safe Lights That Prevent Slippery Shadows
Shower lighting is not optional. Relying on a fixture outside the enclosure leaves dim corners and kills depth perception on wet tile. A dedicated light inside prevents the hazard, but the placement must dodge reflective glare off shiny surfaces.
Only wet-location-rated fixtures go directly over a shower. A recessed can with a gasketed shower trim seals out moisture and steam — the standard, correct choice. Position it above the showerhead or toward the wall opposite the spray. Never directly over where you stand: that sends blinding light into your eyes the moment you tilt your head back.
Porcelain, chrome, and glass throw light around aggressively, so glare control matters even inside a small stall. Put the shower light on a dimmer. Even a simple dimming function lets you cut brightness to a gentle glow during a long rinse without stepping into darkness. When a switch outside the enclosure is awkward, use a remote-controlled bulb or a fixture with a pull chain. For extra safety, keep a low LED strip at toe-kick height near the shower floor — it guides without any glare at all.
How to Combine All Three Zones for Everyday Use
Each zone handles one job, but the full payoff arrives when they operate independently. A bathroom that forces all lights on or all lights off forces compromise. Wire three circuits — or at minimum three switchable groups — so you can match the light to the moment.
For morning grooming, run the mirror zone and ceiling zone together. Ambient fill around the mirror kills the tunnel-vision effect of a bright face floating in a dark room. In the evening, cut the mirror lights, dim the ceiling to a low glow, and leave the shower zone at full safety brightness. A three-zone layout also handles midnight trips and quick clean-ups without blasting every fixture to full power.
Switch placement deserves attention. Use a three-rocker plate or a smart panel inside the bathroom entrance. Light the ceiling zone before you step into a dark room. That small ergonomic decision eliminates the very problem — shadows and glare — the lighting was designed to prevent.
Bathroom Lighting Zone Checklist
- Ceiling zone: multiple diffused fixtures or perimeter recessed lights on a dimmer, never a single center light.
- Mirror zone: vertical side fixtures at face height; high-CRI bulbs between 3,000 K and 4,000 K.
- Shower zone: wet-rated recessed light with a gasketed trim, placed off-center to avoid downward glare.
- Combine zones: separate switches or dimmers for each zone so lighting matches the task and time of day.
- Switch placement: controls just inside the door, clearly labeled, so no one fumbles in the dark.
Common Bathroom Lighting Questions
What is the ideal color temperature for a bathroom?
Ceiling and shower layers work best at 2,700 K to 3,000 K for warmth and relaxation. For the mirror zone where color accuracy counts, use 3,000 K to 4,000 K. Anything 5,000 K and above reads cold and clinical — wrong for a home bathroom.
Can I install a regular ceiling light in the shower?
No. Every fixture above a shower or tub requires a wet-location listing. A damp-rated fixture will corrode and become a shock hazard. Use only enclosed recessed trims with gaskets or sealed surface-mount lights built for direct water contact.
How many lumens do I need for a bathroom?
For a typical 50-square-foot bathroom, target 4,000 to 6,000 total lumens across all zones. The ceiling supplies about 2,000–3,000 lumens of ambient fill, the mirror delivers 1,500–2,000 task lumens, and the shower adds 500–1,000 lumens. Dimmers let you pull those numbers back anytime full output feels excessive.
What does CRI mean and why does it matter for bathroom lighting?
CRI (Color Rendering Index) measures how faithfully a light source shows color compared to daylight. At the mirror, demand a minimum of 90 CRI. Lower ratings wash out skin tone differences and makeup shading, which leads to over-applied blush or foundation that looks wrong outside.
A bathroom free of shadows and glare doesn’t start with expensive fixtures — it starts with placing the right fixtures in three deliberate zones. The single most effective move: stand at your mirror, note which features disappear into shadow under your current light, and mount a pair of vertical side lights at eye level. That one change fixes the most persistent bathroom lighting complaint and sets the standard for the rest of the room.

Clara Bennett
After five years of transforming my 1920s bungalow room by room, I’ve refinished floors, hung blinds in bay windows, and spent more time choosing light bulbs than I’d like to admit. I learned paint sheens by painting my kitchen ceiling three times, and I found out the hard way that a rug too small makes a room feel unfinished. I believe every home can be both functional and beautiful, no matter the budget.
Related posts
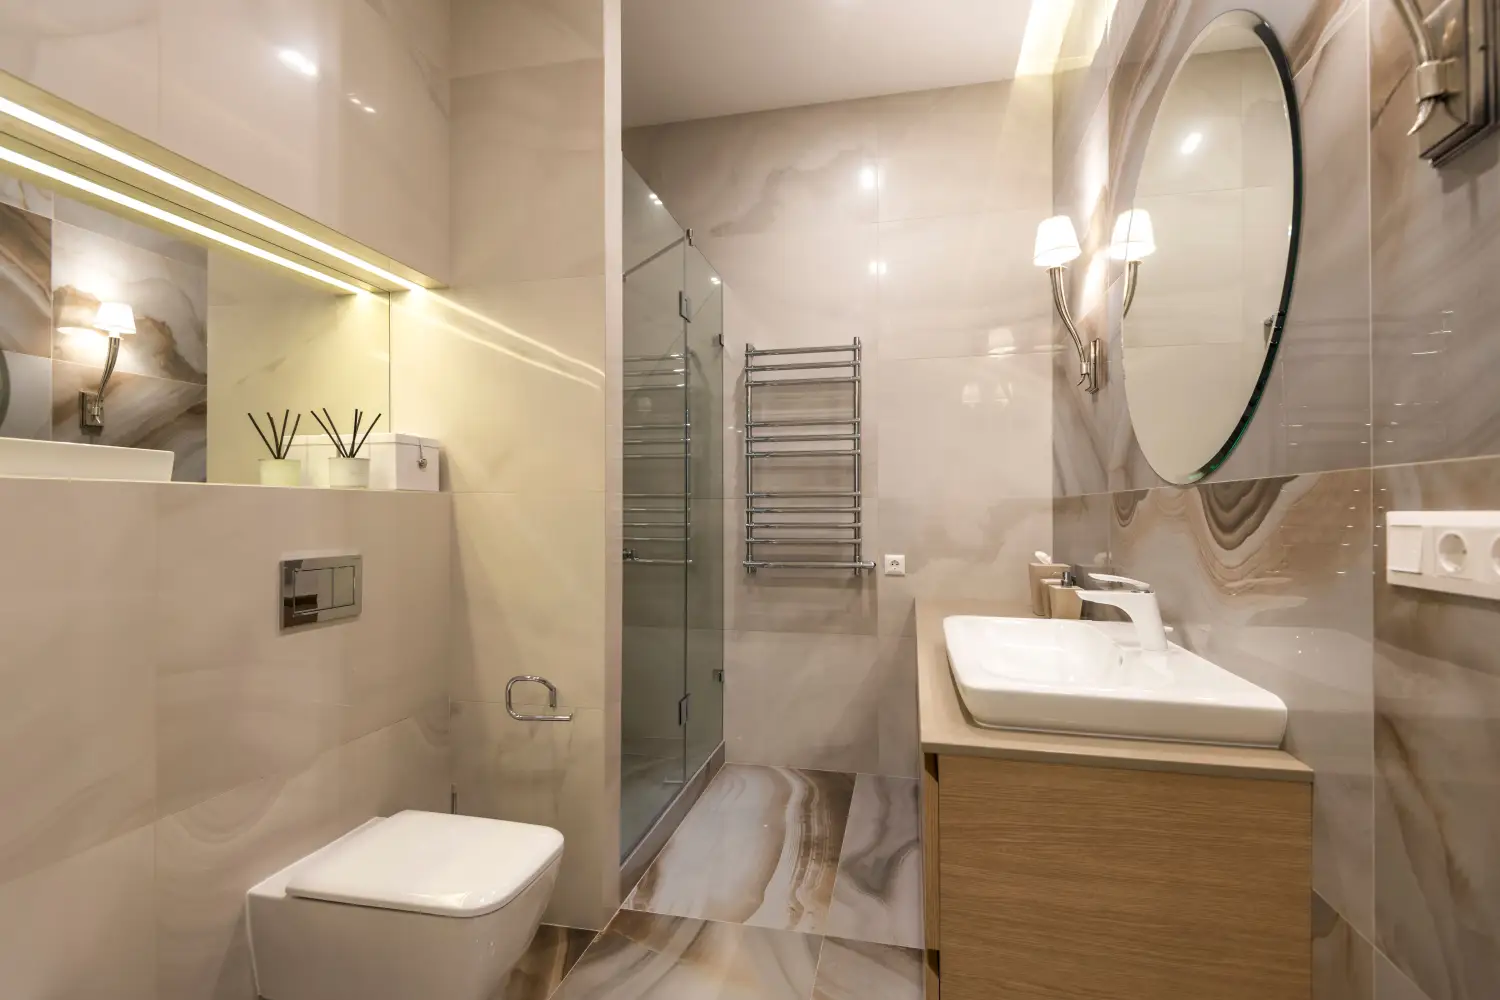
Finish Your Bathroom Without Regrets: The Pro's Decision Sequence
Follow the exact sequence of bathroom finish decisions—from layout and plumbing to grout and hardware—to avoid repainting, re-tiling, and renovation regret.
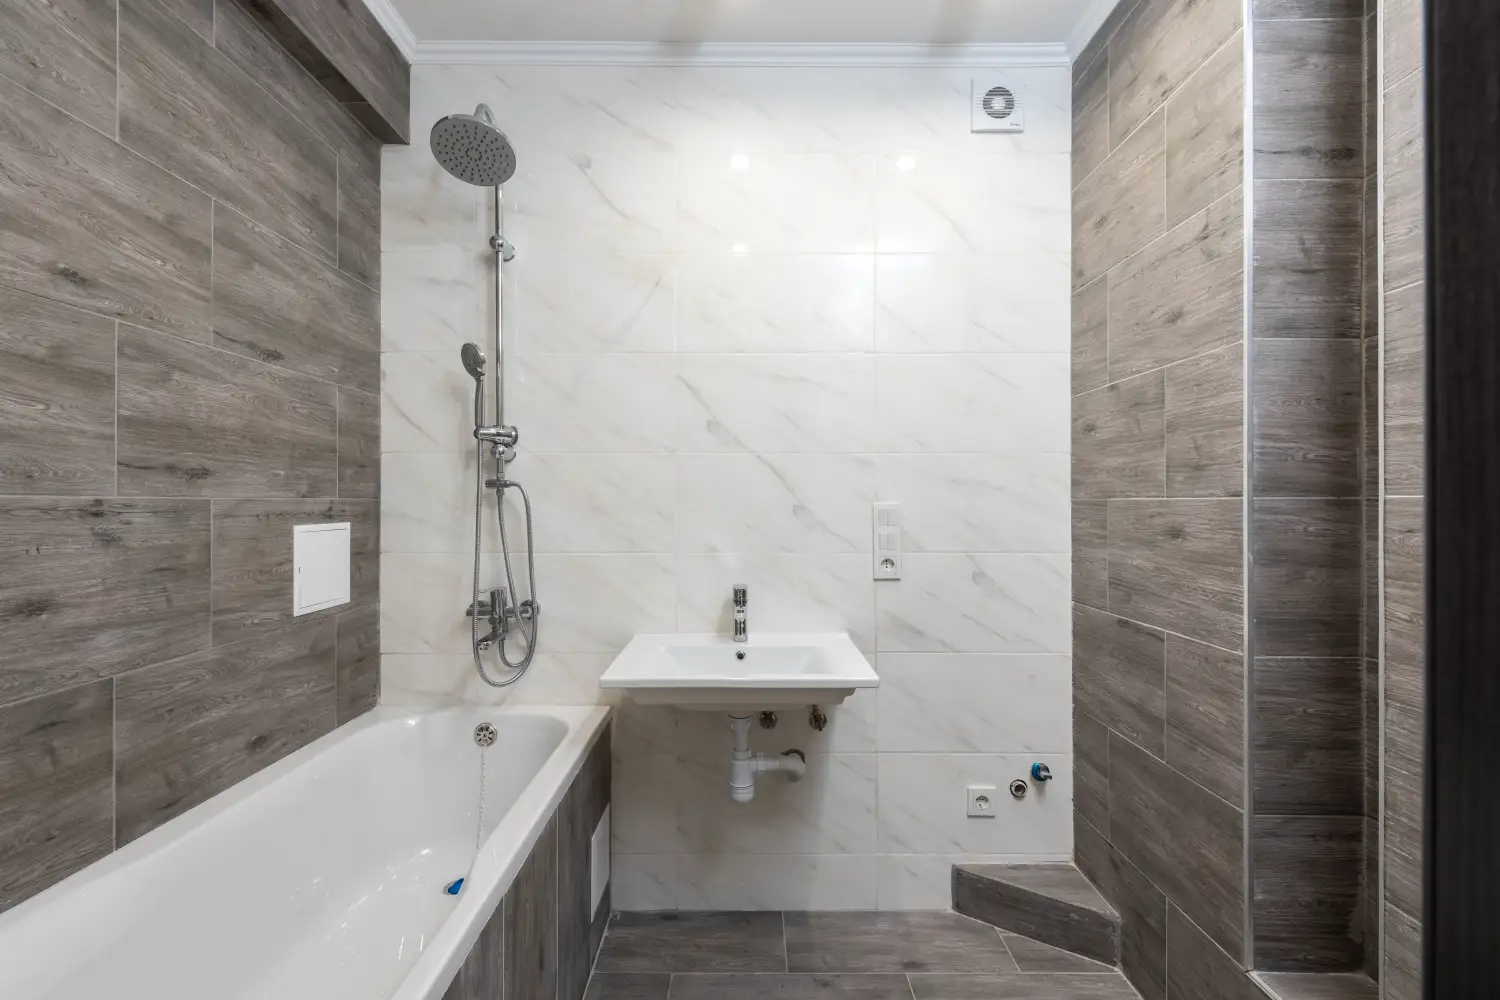
How Choosing the Wrong Bathroom Tile Invites a Slip Hazard
The wrong bathroom tile stays wet and slick. See how porcelain and ceramic compare on slip resistance, water absorption, and cold-floor comfort before you make a costly mistake.
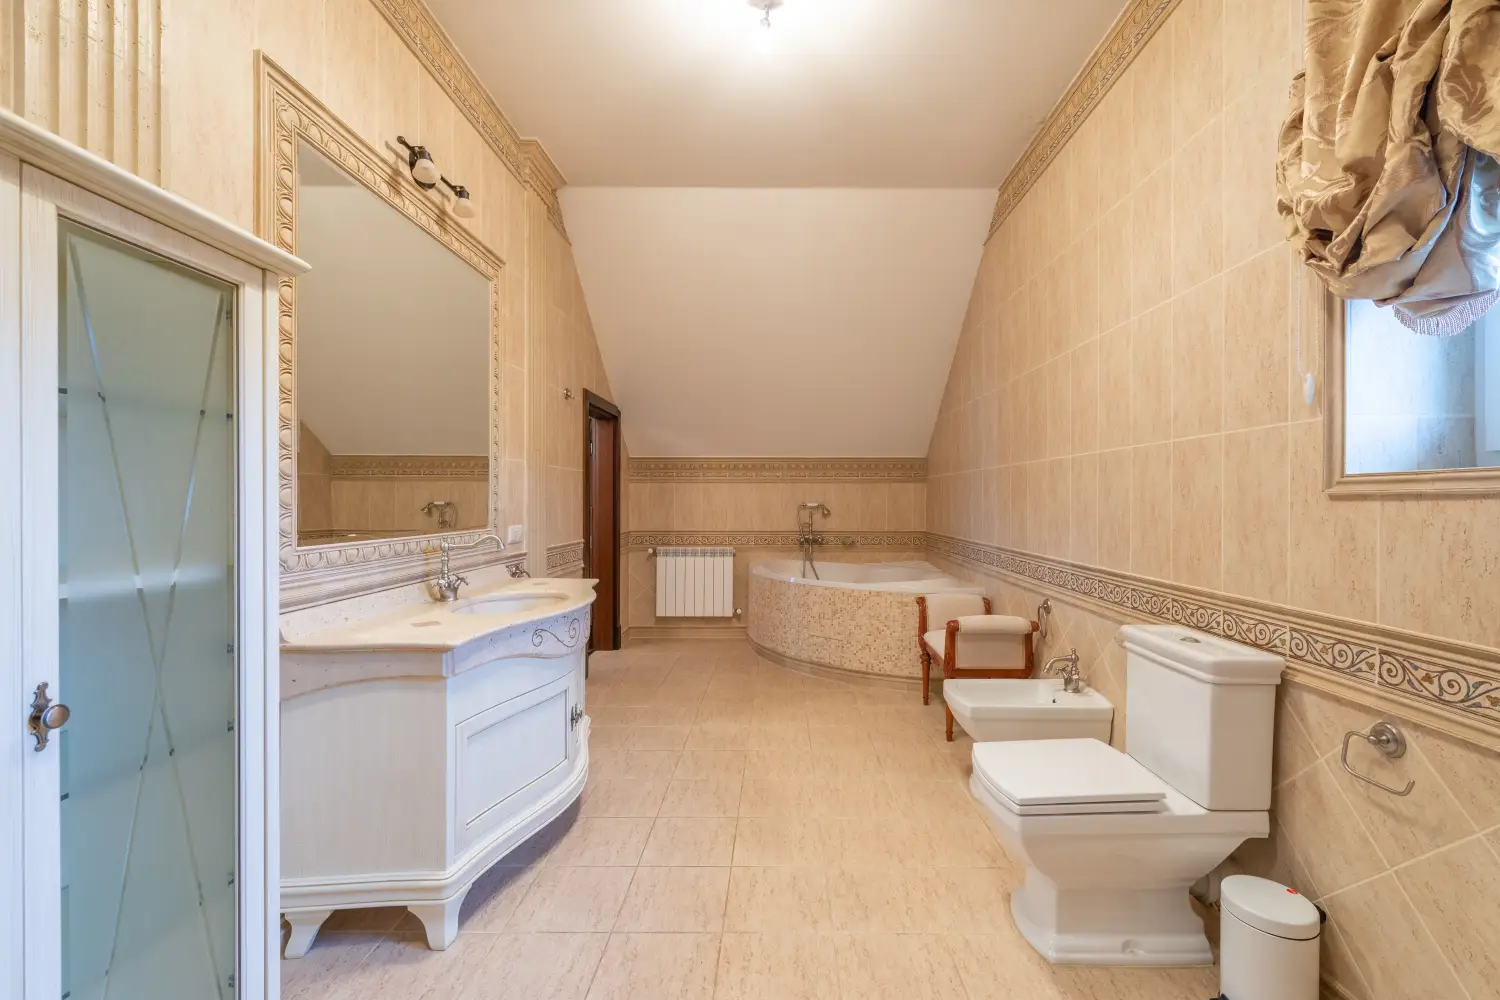
Using the Wrong Bathroom Paint Sheen Invites Mold
Flat bathroom paint traps moisture. See when satin or semi-gloss prevents mold, and the rare case where flat can work with perfect ventilation.

Why the 5x8 Bathroom Floor Plan Works—and How to Tweak It
The 5x8 bathroom layout relies on two clearance rules. Learn what pros adjust when square footage changes, from double vanities to walk-in showers, and what instantly rules a plan out.
The Rule Pros Use to Mix Bathroom Hardware Finishes
Pros don't match finishes—they match shapes. Learn why faucet silhouette must coordinate with cabinet pulls before you layer a second metal finish.