The Lighting Layer Most Rooms Miss (and How to Fix It)
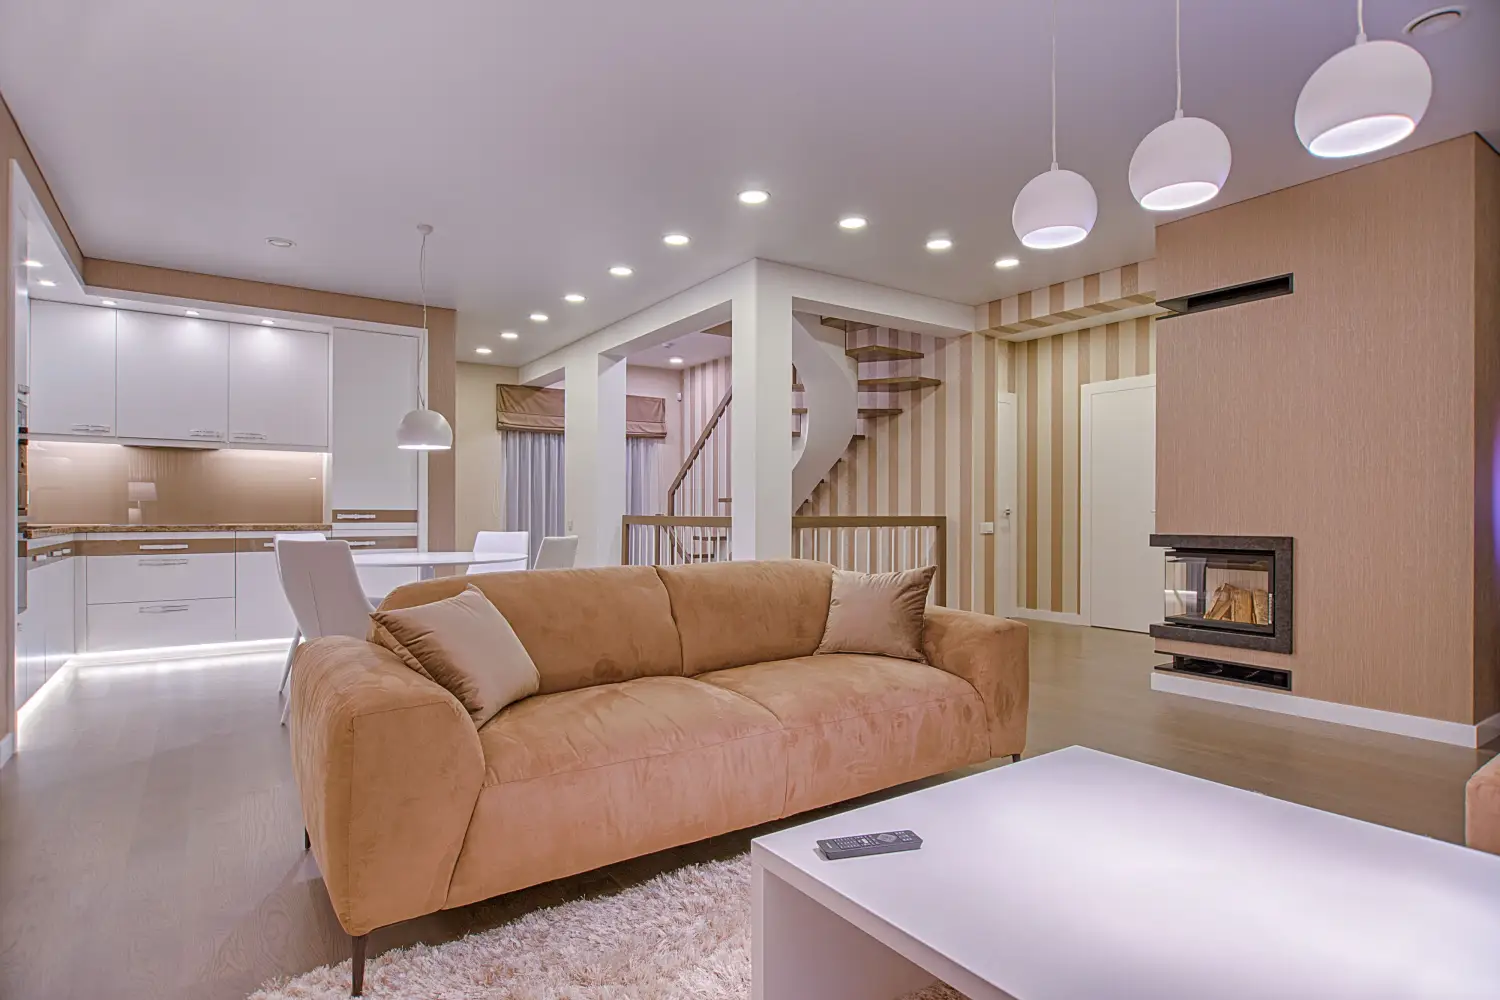
Most living rooms operate with exactly two light sources: a ceiling fixture and maybe a floor lamp in a corner. The layer that goes missing in nearly every case is the mid-height or eye-level tier—task and accent lighting between 30 and 60 inches off the floor. Without it, that ceiling light reflects straight off the TV screen, corners stay dark regardless of wattage, and the room reads as flat. To demonstrate how this layer gets fixed, we’ll take a single 8.5-foot-ceiling living room through four layered setups—a sub-$100 weekend job, an upgraded dimmable version, a design-conscious midrange, and a custom plan—each solving the same set of real problems: screen glare, shadow pockets, and missing depth.
The Real Culprit: Why 8.5-Foot Ceilings Make Lighting Feel Flat
In a room with a standard 8.5-foot ceiling, any ceiling-mounted light introduces three simultaneous failures. First, the beam hits the TV screen at a near-direct angle, producing a mirror reflection that degrades contrast. Second, because the ceiling is low, light can’t fan out far enough to reach the far corners or under furniture—the geometry creates permanent shadow zones regardless of lumen count. Third, seated eye level sits around 40 to 44 inches, so every overhead source casts shadows down across the faces of anyone trying to read or watch. The missing layer—fixtures placed near seated height—solves all three: it fills dark corners, keeps usable light off the screen, and visually pulls the eye away from a single hot spot.
The Layering Fix: 4 Stages That Solve Glare, Shadows, and Flat Light
The solution is not about adding more lumens or buying brighter bulbs. It’s about sequencing light sources so each handles exactly one job. The four-stage process below is built around the constraints of an 8.5-foot ceiling.
Stage 1: Map the Dark Corners, Glare Spots, and Activity Zones
Turn on only the existing overhead light at night and walk the room. Mark every place you see a shadow (the pocket behind the sofa, the far corner farthest from the fixture, the wedge under a side table), note where the TV catches a direct reflection, and identify every seat or surface used for reading or other close work.
Why this comes first: without mapping, any lamp purchased tends to duplicate the coverage the ceiling already provides or ends up placed where it looks good rather than where it solves a problem. Done well, you have a simple sketch showing three categories: dark zones, glare sources, task spots. That sketch becomes the shopping list.
Stage 2: Anchor the Room with Eye-Level Ambient Light
Add one fixture that delivers soft, indirect light from a height of 50–65 inches. For an 8.5-foot ceiling, this is typically a torchiere (an upward-firing floor lamp that bounces light off the ceiling and walls) or a large floor lamp with a translucent shade that diffuses in all directions. The job is to raise base illumination without introducing a visible hot spot or beaming anything across the TV.
This anchor replaces the overhead as the room’s primary light. Done well, the room feels evenly filled and glare-free with only this fixture on. The ceiling appears higher because the brightest surface is now the illuminated ceiling rather than the light source itself.
Stage 3: Add Task-Specific Light Where Seating Actually Happens
Target each seat mapped in Stage 1. Deploy an adjustable source per spot: a swing-arm floor lamp next to a reading chair, a clip-on lamp on a side table near the sofa, a wall-mounted sconce placed just behind the seating line. Angle every beam so it never crosses the TV screen—aim it down toward the lap or toward a wall, never toward the screen.
This layer eliminates squinting and dark reading corners. Done well, each seat allows reading without strain, and nobody casts a shadow across their own page.
Stage 4: Use Accent Light to Sculpt Depth
With the functional layers in place, add low-level accents that signal a finished room. Plug-in LED strips behind the TV console reduce eye strain (bias lighting). A small picture light over wall art or a narrow-beam floor lamp aimed at a plant or bookshelf adds dimension. Keep all accent light below eye level or directed away from the main viewing axis.
Done well, the room acquires visual layers that make the space feel intentional and three-dimensional. This stage adds zero glare, costs very little, and is the component most people skip after buying the basics.
One Room, Four Budgets: How the Same 8.5-Foot Living Room Transforms
The test subject is a 12 × 16-foot living room. TV is centered on the north wall, a sofa faces it eight feet back, a recliner occupies the east corner, and the west corner near the window is a dead zone. There was originally only a flush-mount ceiling fixture directly above the coffee table—hot spot on the TV, a dark recliner, a sofa that always felt underlit. Here’s how each budget level solved the same floor plan through the four stages.
The $100 Weekend Refresh
- Anchor: a thrifted torchiere in the dark west corner. Its upward beam reflected off the ceiling and filled the whole room without reaching the screen.
- Task: a $15 clip-on reading lamp attached to the side table next to the sofa, aimed away from the TV.
- Accent: a $20 plug-in LED strip behind the TV console, providing bias light and turning the shadow behind the furniture into an intentional element.
- Total: roughly $55, with a few dollars left for cord concealers. The room felt guided, not just washed in light.
The $250 Step-Up
- Anchor: a dimmable arc floor lamp that reached over the coffee table, diffusing light upward and downward through a large linen shade. Dimming allowed switching between daytime brightness and evening calm.
- Task: a plug-in swing-arm sconce mounted on the wall above the sofa, connected to an existing outlet with a cord cover. It served the entire seating length.
- Accent: a small picture light above a wall print on the east wall, plus the same TV bias strip.
- Total: about $220. Dimming and the dedicated sofa light adapted the room to any time of day and removed the shadow that used to fall under the recliner arm.
The $500 Design Edit
- Anchor: a semi-flush ceiling fixture with opal glass that threw light half upward, half downward, replacing the old flush mount. It evenly washed the ceiling and table.
- Task: two hardwired wall sconces on either side of the sofa, on a separate dimmer, turning the seating area into a defined zone.
- Accent: a low-voltage monorail track kit with two adjustable heads positioned over a plant shelf and an art corner, plus TV bias lighting.
- Total: about $480, including an electrician for the sconces. The ceiling appeared taller, and the room gained three distinct visual planes.
The $1,200 Custom Plan
- Anchor: a linear LED pendant centered above the coffee table with a Lutron dimmer. Indirect light bounced off the ceiling; the fixture itself was a design element.
- Task: recessed adjustable gimbal trims aimed toward the sofa corners—not the TV—on a separate switch. An articulated wall-mounted reading light served the recliner.
- Accent: dedicated art lights, a narrow-beam accent on a sculptural floor vase, bias lighting behind the TV console and media unit, and a tiny under-shelf LED for the remote and books.
- Total: roughly $1,100–$1,200 with labor. A scene button changed the room’s light profile instantly, and screen glare never materialized.
The 3 Mistakes That Undo a Layered Lighting Plan
Even with the right concept, a few predictable missteps will drag a room back to flatness and glare.
Buying Lamps Without Mapping First
When a lamp is purchased simply because it coordinates with a sofa, it typically ends up illuminating the same area the ceiling light already covers—or it creates a new reflection on the TV. The result is persistent dark corners and a budget spent on redundant light. The map makes every purchase defendable.
Relying on Floor Lamps Alone
A tall floor lamp with an opaque shade behaves like a spotlight. At seated height, it hits the top of the head and casts a strong downward shadow across laps and books. Without a soft ambient anchor first, floor lamps create harsh pools of light and dark. The sequence matters: diffuse ambient, then directional task.
Using Recessed Cans Where They Reflect Straight Onto the TV
A grid of recessed ceiling lights is common in newer builds, but in a room with a TV as the focal point, the wide beams become a glare minefield. Unless every can is angled away from the screen and dimmed substantially, the TV turns into a mirror. On 8.5-foot ceilings, recessed lighting requires careful gimbal adjustment and an independent ambient layer to function without wrecking picture contrast.
The Layering Fix at a Glance
| Stage | Goal | Key Action |
|---|---|---|
| 1. Map problem zones | Eliminate blind spots | Walk the room with only overhead light, note dark corners and screen reflections |
| 2. Add eye-level ambient anchor | Soft, glare-free base illumination | Place a torchiere or diffused floor lamp at 50–65 inches; aim indirect light up or out |
| 3. Add task-specific light | Readable, directed light at each seat | Position an adjustable lamp per seating spot, angled away from TV |
| 4. Add accent light | Depth and visual finish | Install low-level sources behind furniture, under shelves, or on art |
Questions About Fixing the Missing Layer
How do I stop lights from reflecting on my TV screen?
Avoid any fixture that points directly at the screen. Upward-facing floor lamps (torchieres) and side-placed lamps that cast light onto walls or surfaces work, while bias lighting behind the TV—a cheap LED strip—reduces perceived glare by balancing the brightness around the screen.
What type of ceiling light works best for 8-foot ceilings?
Semi-flush or flush-mount fixtures that send light upward and diffuse downward through an opal glass or fabric shade perform well. Bare bulbs and exposed downward beams are problematic. In many low-ceiling rooms, replacing the ceiling fixture entirely with a large, indirect floor lamp as the primary light yields better results.
Can I add layered lighting without an electrician?
Yes. The $100 and $250 setups described use only plug-in fixtures: torchieres, clip-on lamps, swing-arm wall lamps that mount with drywall anchors and plug into an existing outlet, and LED strips. Cord covers painted to match the wall keep the result deliberate. Hardwired sconces or recessed lights do require an electrician.
My living room has no wall outlets—how do I get light to the corners?
Long, flat extension cords run along baseboards behind furniture can power floor lamps and strips. A plug-in track lighting kit mounted to the wall or ceiling feeds from a single outlet. For a permanent solution, adding outlets in the corners is often a one-day job for an electrician.
Is bias lighting behind the TV really necessary?
It’s not essential, but it solves two problems simultaneously: it reduces eye strain in a dark room by cutting the contrast between the bright screen and the dark wall, and it adds an accent layer that visually anchors the TV area without adding glare. At under $20, it’s one of the most effect-dense changes available.
Start with Stage 1 Tonight
The missing layer is mid-height task and accent light, and fixing it follows four stages: map your room’s dark spots and glare, anchor with indirect ambient light, add directed task light to every seat, and finish with low-level accent sources. The most effective first step requires no money—turn off everything but the existing overhead, note where shadows and reflections live, and draw a simple sketch. The rest falls into place from that.

Clara Bennett
After five years of transforming my 1920s bungalow room by room, I’ve refinished floors, hung blinds in bay windows, and spent more time choosing light bulbs than I’d like to admit. I learned paint sheens by painting my kitchen ceiling three times, and I found out the hard way that a rug too small makes a room feel unfinished. I believe every home can be both functional and beautiful, no matter the budget.
Related posts
Lighting Fixtures for First-Time Homeowners: Where to Start
Stop impulse-buying light fixtures. Use this room-function and layering framework to sequence whole-house lighting that works before it decorates.
Flush or Semi-Flush? How to Pick the Correct Ceiling Light
Flush or semi-flush ceiling light? Here’s the clearance formula that settles it: ceiling height minus fixture drop must leave at least 7 feet. Rely on the numbers, not guesswork.
Ceiling Fans with Lights: Stop Guessing Blade Span and Lumens
Stop guessing on ceiling fan size and brightness. Measure square footage, match blade span from our chart, then check lumens. Dark blades lower the ceiling feel.
LED vs. Socket Fixtures: 10-Year Cost Comparison
See which option—integrated LED or replaceable socket—costs less over a decade in kitchens, bathrooms, and living rooms. The cheaper upfront choice often isn't.
Chandelier or Pendant? Height Rules That Make or Break a Room
Exact hanging heights for dining tables and islands, and how visual weight makes one fixture win in open floor plans. Stop guessing and use the measurements that actually work.