Why Most Home Office Setups Fail—and the Order That Works
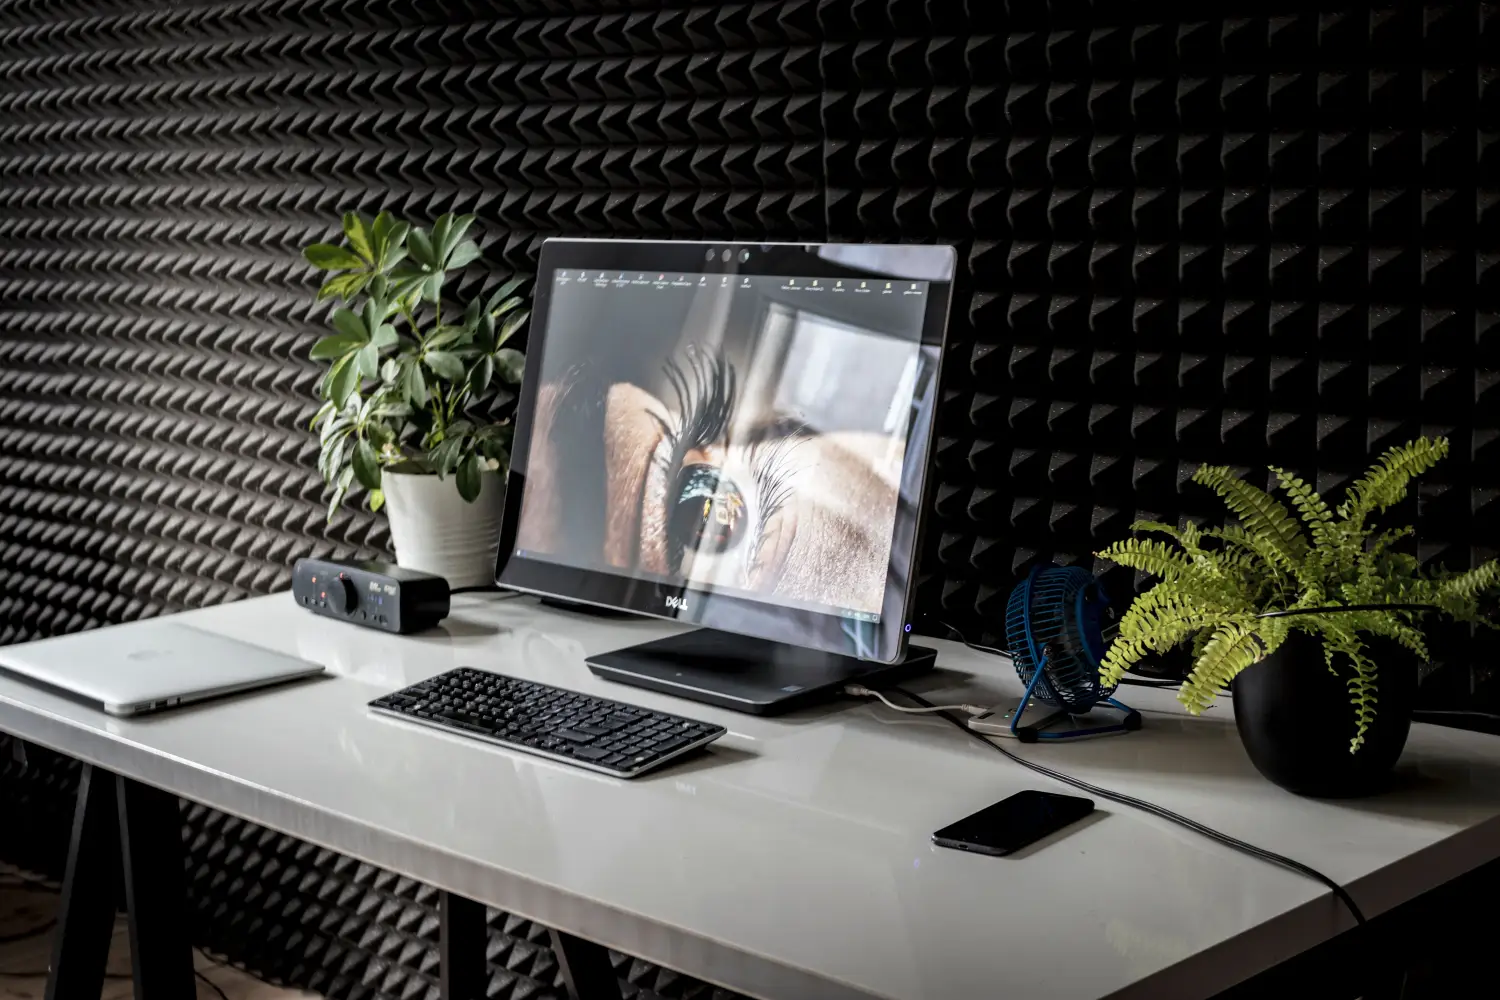
Most home office setups don't fail because of money or square footage. They fail because the first thing people buy is a desk that looked good in a photo. They treat the space as a decorating project, not a machine for work. The predictable result is a room that looks finished but feels wrong by 11 a.m.—neck strain, screen glare, a chair that never quite gets low enough, cables that snake across the walking path. The fix is a single, non-negotiable order: measure your body, map your tasks, position for light, then—and only then—choose furniture that fits the numbers. Everything else is rearranging deck chairs.
When you enforce that sequence, the office becomes a transparent tool that supports concentration. When you skip it, you spend months compensating with aftermarket risers, footrests, and monitor arms that exist only because the original measurement was never taken.
Three Entry Points into a Functional Home Office
Which starting point matches your situation? Each route through the sequence is different.
- First-time remote worker with a blank space. You have an empty room or corner and a browser full of design-oriented furniture picks. Your path: execute the full measurement-first sequence before buying a single item. The goal: your first purchase is your correct purchase, no do-overs.
- Upgrader who is already uncomfortable. You already own a desk and a chair, but workdays end with physical complaints or visual fatigue. Your path: identify which step was skipped—nearly always the body measurements or the lighting placement—and insert it now, before spending on more accessories.
- Restarter whose previous setup collapsed. You assembled furniture, called the room “done,” and within weeks you were working from the dining table instead. Your path: strip the space back to bare essentials and rebuild from ergonomic baselines, treating every object as something that earns its spot through function first.
Get Three Numbers Before You Open a Single Catalog
A desk is not a standard height. The number that matters is your seated elbow height, measured from the floor while your upper arms hang relaxed and your forearms are roughly parallel to the ground—about 90 degrees at the elbow. Record that number. It is not a suggestion. It is the target height for your keyboard surface, and you will reject any desk that cannot meet it.
Measure your eye height from the floor while looking straight ahead. The top of your primary monitor must sit at or slightly below that mark so your gaze angles down, not up. A screen positioned above eye level forces neck extension; a screen too low rolls the shoulders forward. Neither is acceptable.
Finally, measure the depth from the front of your knees to the wall behind your chair while seated comfortably. Add four inches for movement. That figure is your minimum desk depth. A desk shallower than this number forces you to hunch forward or sit unevenly; no amount of tray adjustment fixes that if the surface itself is too short from front to back.
Write all three numbers down. Tape them to the wall of the future workspace. These are the filter through which every subsequent choice passes.
Observable sign you are ready to move on. You have three concrete measurements, you understand that no furniture purchase is valid until it satisfies all three, and you have removed from consideration any desk or chair that cannot match them.
Where You Sit Is Determined by Light, Not by Where the Wall Looks Best
Most people choose a desk location based on available wall space or visual balance. That decision is the fastest way to ruin a workstation. Natural and artificial light govern screen contrast, facial visibility on video calls, and cumulative eye fatigue. The rule: position your primary work surface relative to light sources first, then fit everything else around that.
Analyze the room during the hours you normally work. A window directly in front of you backlights the screen; your eyes battle extreme brightness differentials all day. A window behind you silhouettes you on camera. The only orientation that resolves both problems is perpendicular—side light striking your face and keyboard without hitting the screen straight on.
If the room has no windows or you work after dark, task lighting takes over the same role. Place a lamp or an adjustable LED panel at a matching side angle. Overhead lighting alone is insufficient; it casts downward shadows that make screens harder to read and faces appear flat or hollow on video.
Test the location before you commit. Put a temporary chair and a laptop there, and do real work for an hour. If you catch yourself squinting, tilting the screen, or adjusting posture to see clearly, the light angle is the problem—not the screen brightness setting.
Observable sign you are ready to move on. You have identified a specific desk orientation and worked in that spot for at least a morning or afternoon without eye strain, screen glare, or backlighting issues on camera. The position feels instinctively comfortable before any furniture is in place.
Surfaces and Seating Follow the Numbers, Never a Catalog Photo
You now know the exact height, depth, and light orientation your setup requires. This means you are filtering products by specification, not by visual appeal. The desk’s working surface height—whether fixed or adjustable—must land at your elbow number. If your elbow height is 24 inches, a 29-inch tabletop is an ergonomic failure.
Depth follows the same hard rule. If your knee clearance measurement demands 20 inches, a desk with an 18-inch surface depth offers no viable footprint for a keyboard and monitor. In practice, depths of 25 to 30 inches cover most body sizes and screen setups, but verify against your own number, not a showroom average.
The chair’s job is mechanical, not aesthetic. Seat height range must place your feet flat on the floor while your elbows align with the desk. Seat pan depth must leave about two to three fingers’ width between its front edge and the back of your knees when you sit all the way back. Lumbar support should contact the small of the back without pushing the torso forward. Armrests, if present, must adjust low enough or wide enough that they don't intercept the desk edge; otherwise they are an obstacle, not a feature.
Ignore the word “ergonomic” on a label. It is marketing unless the chair passes these physical tests. Buy from a retailer with a return window, set the chair up with the desk, and test it under actual work conditions before you decide to keep it.
Observable sign you are ready to move on. You can sit at the desk with feet flat, elbows close to 90 degrees, and the top of your screen at eyebrow level—without added risers, footrests, or rolled towels. The physical setup feels neutral, not something you have to think about.
Cable Routes and Storage Are a Workflow Layer, Not a Decor Afterthought
Once desk and chair are locked in, place your actual daily devices—monitor, laptop, keyboard, mouse, external drives, phone charger—exactly where you will use them. Their positions define the cable paths. Map those paths before you add any cable management accessories.
Identify any cable that would cross foot space or chair travel. Those are your priority routes. Solve them with under-desk trays, adhesive clips, or a vertical spine fixed to a desk leg. The goal is functional clearance, not a magazine-worthy cable sleeve. Aesthetics come later, if at all.
Storage follows the same logic. Items you reach for multiple times an hour—headphones, notebook, water bottle—belong in an open top tray, a desk-mounted pocket, or the drawer nearest your dominant hand. Items used once a week can live farther away. If fetching a pen requires you to stand up every time you take a call, the layout is wrong; adding more drawer units won't fix that, only redistributing what is already present will.
Treat power strips as part of the plan. Mount a strip underneath the desk or on the wall at desk height so plugging and unplugging requires no crawling. Label each plug with the device name. A workstation where you have to bend under the desk to find an outlet adds a small friction that compounds over months.
Observable sign you are ready to move on. You can work a full afternoon without a single dangling cable intruding on your peripheral vision, without kicking a power strip, and without leaving your chair to grab anything you need in a typical hour of work.
Run a Mock Workday Before You Declare It Done
The gaps in the plan never surface on paper. They emerge only under real use. Dedicate one full workday to the space—your normal start time, all your normal tasks, including back-to-back video calls, deep-focus work, a lunch break, and quick file retrievals. Observe what interrupts you.
At the end of the day, note the three strongest friction points. Typical finds: the monitor is still an inch too high after an hour, the chair armrests collide with the desk edge at certain angles, a charge cable pulls taut when you take a call while standing, or the room darkens severely in the late afternoon in a way the planned lighting didn't catch. Adjust those elements and test again the next day.
This trial also exposes the “looks right, works wrong” category. A shelf that seemed logical may block an arm movement. A lamp positioned for visual appeal may cast a reflection directly onto the screen. Fix these before you mount anything permanently or drill holes in walls.
Observable sign you are ready to move on. You complete a full workday without repositioning your body to escape discomfort, without searching for a tool you thought was within reach, and without your attention being pulled by the workspace itself. The office disappears into the background of your concentration.
Signs You've Crossed Each Stage
Use this running checklist of observable signs, in the required order.
- Three body measurements are written down and all furniture candidates have been validated against them.
- A light-optimized orientation is identified and tested for half a day without eye strain or screen glare.
- You can sit at the desk with feet flat, elbows at roughly 90 degrees, and screen top at eyebrow level—no makeshift adjustments.
- No cables cross foot or chair paths, and every daily-use item is reachable without standing.
- A full workday passes without physical discomfort, fumbling, or workspace-triggered distraction.
Don't Worry About These Yet
Common advice pushes people into buying accessories and making decorative decisions far too early. The following items are real concerns, but addressing them before the workflow foundation is solid creates new issues or wasted expense.
- Premium ergonomic chair features (lumbar firmness, tilt tension, memory foam). These become relevant only after you have used the chair for at least a week and can pinpoint a specific pressure point or restriction. Buying for spec-sheet features before you have a real-world complaint is guesswork.
- Standing desk motor and programmable presets. Worry about this only once you have used a fixed-height desk and can document—with actual daily logs—that you need and will consistently use position changes. An expensive motorized base that never leaves its lowest setting is a power cord with a warranty.
- Wall color, artwork, and decorative shelving. These improve morale in a space that already works. Before the workspace functions, they are a distraction from the sequence that matters. A pleasing wall color does nothing for a desk that is three inches too high.
- High-end monitor arms, cable raceways, and desk organizers. Live with the baseline placement first. Most positioning tweaks can be handled with a stack of books or simple stands. Upgrade only when the limitation is clear and persistent across multiple days.
- Acoustic panels and sound management. Relevant only after you have recorded audio or taken calls and can identify a specific echo or ambient noise artifact. Many home offices already have enough soft surfaces from rugs, curtains, and bookshelves to dampen sound sufficiently.
Questions That Come Up Once You Start Building
What’s the most important thing to get right first?
The physical relationship between your body and the work surface. If the desk height and monitor position are wrong, no chair, lamp, or accessory overcomes the mismatch. Start with the three body measurements.
How much should I spend on an ergonomic chair?
Price is not a predictor of fit. Spend enough to get independent adjustability in seat height, seat depth, and lumbar position, then test. A generous return policy is more valuable than a high sticker price.
Do I need a standing desk, or is a regular desk fine?
A fixed-height desk that matches your body measurements works for many people indefinitely. Introduce a standing option only after you have documented a verified need to alternate positions—confirmed by days of actual use, not by a productivity blog post.
What’s the best desk shape for a small home office?
Shape is secondary to depth. A straight desk that provides the leg clearance and screen depth you measured is superior to an L-shape that compromises those dimensions and forces torso twisting. Measure first, then choose a shape that fits the space without violating the depth requirement.
How do I set up a home office in a shared room?
Apply the identical measurement and light-placement sequence. Define a dedicated zone with visual boundaries—a folding screen, a tall bookcase—and enforce cable routing to match. The only additional factor is negotiating light orientation with others who share the space, which is a communication problem, not an ergonomic one.
At the end of this sequence, your home office is no longer a decorated corner. It is a transparent workspace that aligns with your body and your daily tasks. For the first-time remote worker starting from zero, the very first action is to measure seated elbow height, eye height, and leg clearance, write those numbers on a card, and pin it to the wall where the desk will go.

Clara Bennett
After five years of transforming my 1920s bungalow room by room, I’ve refinished floors, hung blinds in bay windows, and spent more time choosing light bulbs than I’d like to admit. I learned paint sheens by painting my kitchen ceiling three times, and I found out the hard way that a rug too small makes a room feel unfinished. I believe every home can be both functional and beautiful, no matter the budget.
Related posts

How Lighting Designers Layer Home Office Lights for Focus
Learn the commercial lighting tricks pros use for even face lighting on video calls and shadow-free paperwork—using the 3:1 contrast ratio and backward shadow analysis in your home office.

Struggling to Focus at Your Desk? The Right Wall Color Can Help
Learn how matte deep blue, satin pale green, and eggshell warm neutrals create focus zones for analytical work, video calls, and versatile office space—with color psychology to back it.
The Ergonomic Mistake That Will Cost You Years of Back Pain
Generic ergonomic rules ignore your body’s dimensions. Use knee clearance, elbow height, and eye level to set your desk and chair precisely—and stop back pain at its source.

What Home Office Cable Guides Won't Tell You About Wire Routing
Get a floating, wire-free home office by planning cable paths before placing furniture. Use raceway and an under-desk tray—no millwork needed.