The Ergonomic Mistake That Will Cost You Years of Back Pain
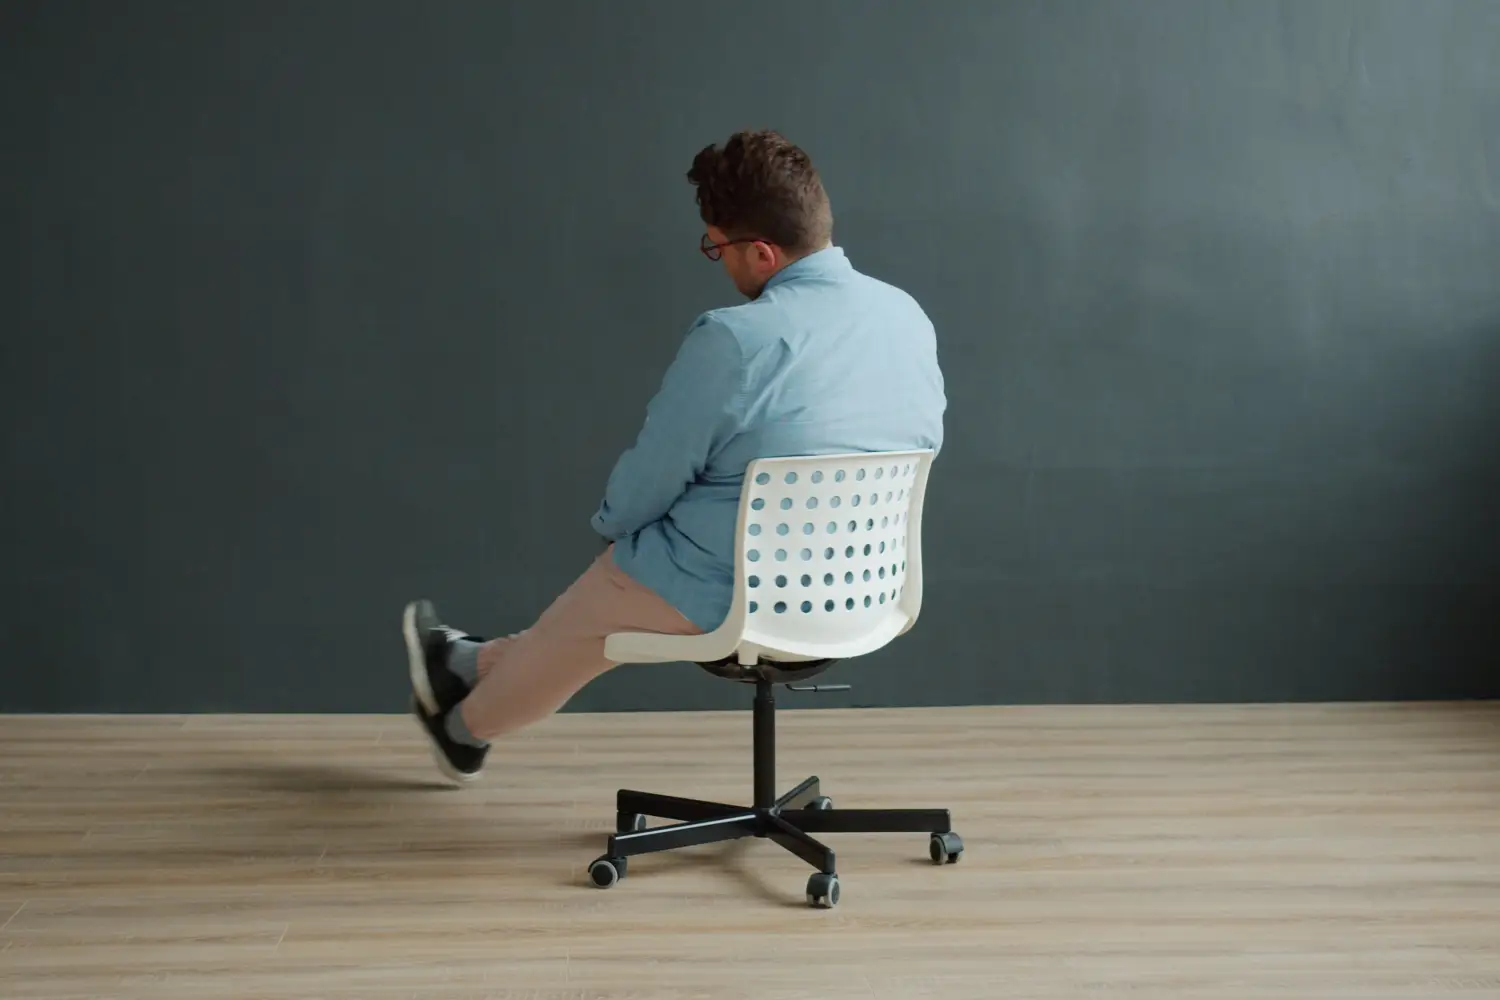
If you’ve bought an ergonomic chair and still finish the day with a stiff lower back, the chair isn’t the problem—you set it up to somebody else’s dimensions. Generic advice says elbows at 90 degrees and monitor at eye level, but those numbers mean nothing without the three measurements that actually determine fit: knee clearance, elbow height, and eye level.
Ignoring body variance is the ergonomic mistake that will cost you years of back pain. When your workspace doesn’t match your own critical dimensions, your spine compensates by slouching, rounding, or twisting, and that load builds into chronic discomfort. The solution is to treat your workstation like a piece of tailoring that starts with your body’s numbers, not a one-size-fits-all formula.
The 3-Measurement Setup in 5 Adjustments
- Measure your seated knee clearance and set chair height so your thighs are parallel to the floor with at least 2 inches of space under the desk.
- Find your relaxed elbow height and match the desk surface (or keyboard tray) to that elevation.
- Position your monitor so the top of the screen or a point just below it aligns with your seated eye level.
- Adjust lumbar depth and seat pan so your lower back stays in neutral without sliding forward.
- Verify your keyboard and mouse allow flat wrists—no upward or downward bend—without reaching.
Dialing in Each Critical Fit Point
Finding Your Knee Clearance and Setting Chair Height
Sit on a firm surface with feet flat, knees bent at roughly 90 degrees. Measure from the floor to the top of your kneecap. That number is your minimum clearance. Add at least 2 inches so your legs can move without hitting the desk. Raise or lower the chair until your thighs are parallel to the floor and your feet rest flat. Slide your hand, palm-down, between your leg and the desk underside—if it doesn’t fit, clearance is insufficient.
If the chair can’t go low enough, use a footrest to lift your feet and keep knees below the desk edge. With a fixed desk that’s too high, dropping the chair helps your knees but ruins elbow height—address that next with a keyboard tray. If the desk is too low and you’re already at the chair’s minimum height, add risers under the desk legs.
Matching Desk Height to Your Elbow Level
While seated with shoulders relaxed, measure the distance from the floor to the bony point of your elbow. That is your working elbow height. The typing surface—desk or keyboard tray—should sit at or slightly below that point so your forearms stay parallel to the floor.
For a desk that’s too high, lower your chair to align elbows with the surface, then restore knee clearance with a footrest. If the desk is too low, raise the chair and use a thicker footrest. Armrests should be set just below the desk so they support the forearms without pushing the shoulders up. Armrests set too high force the shoulders into a shrug that strains the neck.
Screen Positioning That Respects Your Eye Level
Sit upright, looking straight ahead, and measure from the floor to your eyes. The top edge of the monitor should sit 1 to 2 inches below that line, or position the upper third of the screen at eye level. This downward gaze angle reduces strain on the eyes and discourages the forward head position that loads the cervical spine.
If you wear bifocals or progressives, you’ll tilt your head back to see through the lower portion—lower the screen further, with the top 3 to 4 inches below eye level. For two monitors, keep the primary screen directly in front at the measured height and angle the secondary so its center matches eye height. Use a stand, monitor arm, or solid books to get the measurement right.
Adjusting Lumbar and Seat Depth for Full Lower Back Support
With heights set, check back support. The lumbar curve should fill the small of the back without shoving you forward. Set seat depth so two to three fingers fit between the front cushion edge and the back of your knee. This gap prevents pressure on the popliteal area and maintains thigh support.
If the chair lacks adjustable lumbar, a rolled towel at belt level works temporarily. A seat pan that’s too deep—typical for shorter users—can be shortened with a back cushion or aftermarket depth reducer. If the pan is too shallow, slide the backrest forward if the chair allows it, or look for a chair with a shorter seat.
Wrist Neutrality: Keyboard and Mouse Placement
With elbow height correct, keep the keyboard and mouse close enough that your upper arms hang vertically and your wrists stay straight—no extension or flexion. A soft palm rest under the heel of the hand can help, but it cannot fix a desk that’s at the wrong height.
On a deep desk that forces a reach, pull the keyboard to the front edge and use a compact design so the mouse stays within the same horizontal plane. With a laptop, raise the screen on a stand to hit eye level and use a separate keyboard and mouse; otherwise, you’ll exchange neck pain for wrist strain.
Verifying the Fit: Three Quick Checkpoints
- Knee clearance: Your flat palm should slide easily between your thigh and the desk, at least 2 inches of space, and your feet rest firmly on the floor or footrest.
- Elbow alignment: With arms hanging naturally and then bent, the elbow tips should be level with the desk surface; no need to lift or drop the shoulders.
- Eye level: Briefly close your eyes, then open them while looking straight ahead. Your gaze should hit the top bezel or address bar. Adjust if you have to tip your head up or down more than a small amount.
When the Measurements Don’t Fix the Pain
Knees Still Hit the Desk
Check seat tilt. A forward-tilted seat drops the knees and can mask clearance. Level the seat and remeasure. Also inspect the desk underside—a thick crossbeam or modesty panel may be the actual obstruction, not the desktop itself.
Shoulders Hunch Forward While Typing
This signals elbow height set too low relative to the work surface. If the chair is already at its highest, lower the surface with a keyboard tray. A thicker wrist rest might buy a little time, but it won’t replace getting the typing plane down to your natural elbow line.
Neck Aches After an Hour of Screen Time
Even with the monitor top at eye level, a user leaning back changes the effective height. Move the chair slightly closer and remeasure eye level from that position. Glasses wearers should apply the lower-screen rule earlier; progressive lenses cause head-tilting that defeats a seemingly correct placement.
Quick Answers to Common Fit Questions
What if my desk doesn’t have adjustable height?
Use knee clearance as the anchor. Set chair height for thigh support and knee gap first, then add a footrest if needed. If the desk is too high for your elbows, install a keyboard tray. If too low, raise the desk with risers or a sit-stand converter.
I share a desk with someone taller or shorter. How do we both get a good fit?
A chair with a broad adjustment range and a sit-stand desk with memory presets helps. Each person stores their own profile: chair height, armrest position, monitor height, footrest use. With a fixed shared desk, the shorter user gets a footrest, the taller one may need to drop the chair—an imperfect compromise improved by keyboard trays.
Can I skip the floor measurement and just eyeball it?
Eyeballing returns to generic settings, which caused the problem. Measuring takes five minutes and gives repeatable numbers you can reset after cleaning or moving the desk.
My back hurts even after setting up perfectly. What else could be wrong?
Three likely issues: prolonged sitting without movement (take a two-minute posture break every half hour), lumbar support pushing into an exaggerated arch, or a monitor too far away causing forward lean. The screen should be about an arm’s length from your face.
Once your setup matches your body’s critical dimensions, the difference is noticeable within the first hour. Next, work a full day at the adjusted station and write down any stubborn tension points; most will resolve with a small change to one of the three measurements.

Clara Bennett
After five years of transforming my 1920s bungalow room by room, I’ve refinished floors, hung blinds in bay windows, and spent more time choosing light bulbs than I’d like to admit. I learned paint sheens by painting my kitchen ceiling three times, and I found out the hard way that a rug too small makes a room feel unfinished. I believe every home can be both functional and beautiful, no matter the budget.
Related posts
Why Most Home Office Setups Fail—and the Order That Works
Most home offices fail because design comes first. Learn the measurement-based sequence that builds a workspace around your body and workflow, not furniture trends.

How Lighting Designers Layer Home Office Lights for Focus
Learn the commercial lighting tricks pros use for even face lighting on video calls and shadow-free paperwork—using the 3:1 contrast ratio and backward shadow analysis in your home office.

Struggling to Focus at Your Desk? The Right Wall Color Can Help
Learn how matte deep blue, satin pale green, and eggshell warm neutrals create focus zones for analytical work, video calls, and versatile office space—with color psychology to back it.

What Home Office Cable Guides Won't Tell You About Wire Routing
Get a floating, wire-free home office by planning cable paths before placing furniture. Use raceway and an under-desk tray—no millwork needed.