How Lighting Designers Layer Home Office Lights for Focus
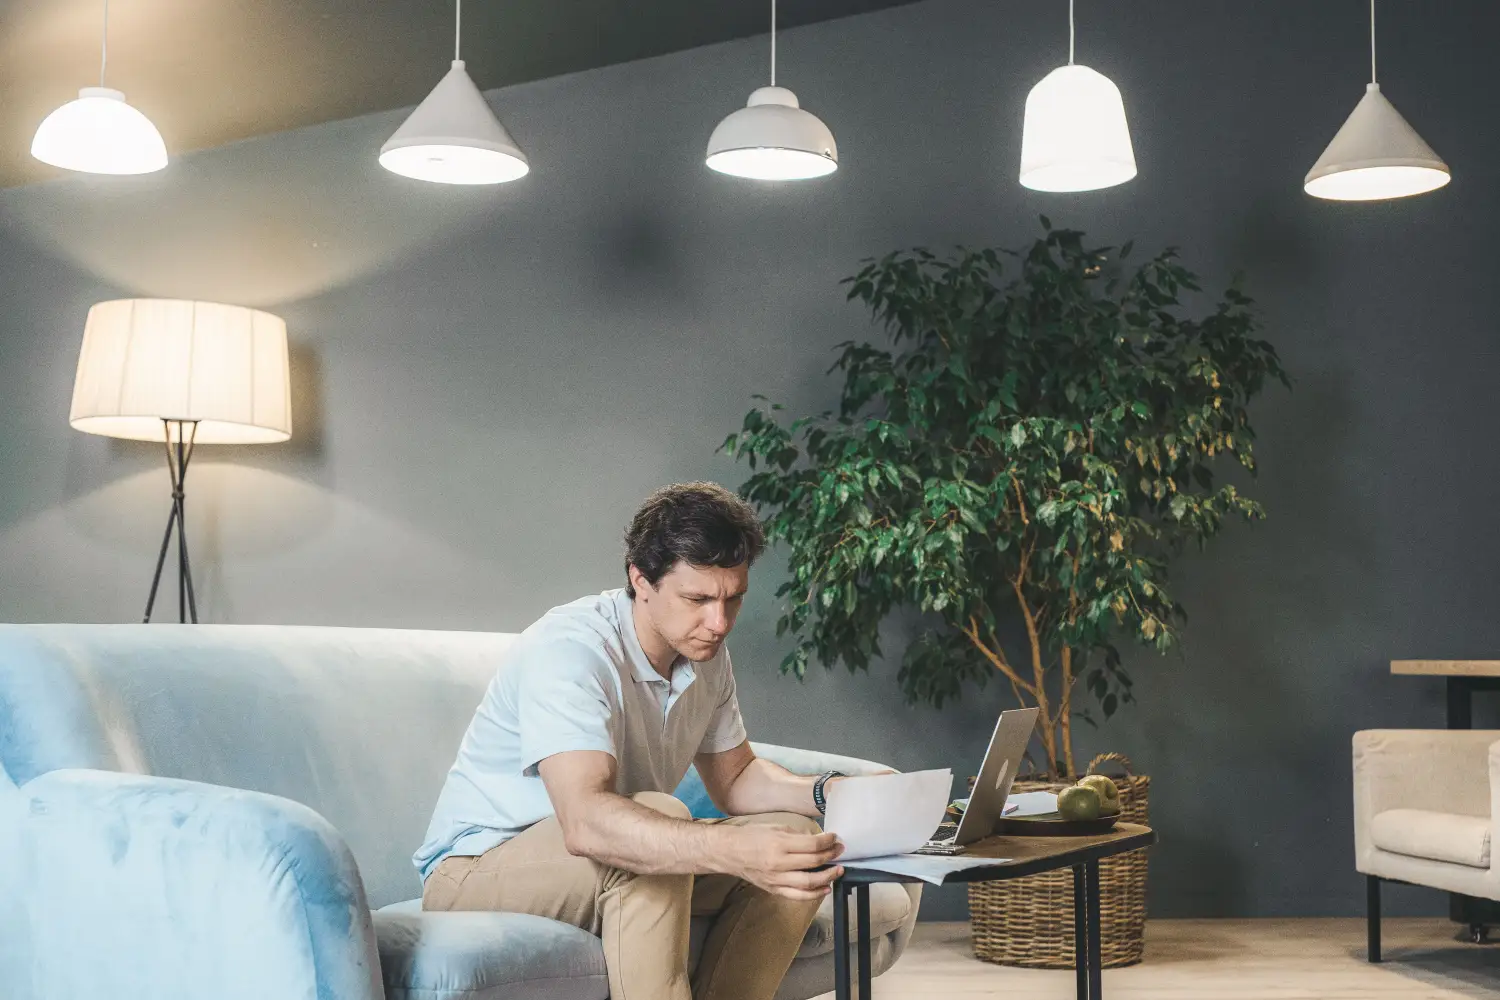
You searched for how to layer lights in a home office for focus. The core problem is that most home offices use a single overhead fixture or a solitary desk lamp, which leaves one side of the face in shadow on camera and sends hard shadows across papers every time you glance down. This article applies two principles from commercial office lighting engineering—the 3:1 contrast ratio and backward shadow analysis—to a home workspace so that your face is lit evenly for video calls and your desk stays shadow-free regardless of the time of day.
Why Home Office Lighting Fails on Camera
A single ceiling light or one lamp aimed at the desk creates a predictable failure: light hits the forehead and the top of the page, while the lower face and the area directly in front of you fall into heavy shadow. On a video call, that reads as tired or unprofessional; on a notepad, it obscures what you write. Commercial lighting designers treat this as a geometry problem, not a brightness problem. The solution is not more lumens; it is layering lights from multiple angles—the same method used to light a conference table or a broadcast desk so that every face in the room appears clear. The two technical frameworks that make layering systematic are the 3:1 contrast ratio and backward shadow analysis. Neither demands studio equipment; they dictate which positions and intensities produce the right result.
The 3:1 Contrast Ratio as an Eye-Fatigue Baseline
In office lighting engineering, the 3:1 ratio states that the brightest surface in a worker’s central field of view—usually a screen or a white sheet of paper—must not exceed three times the luminance of the darkest area in the full visual field. When the gap exceeds that threshold, the eyes constantly readjust between bright and dark zones, generating the low-grade headache that many home-office workers misattribute to screen glare alone. Fixing it starts with two lighting layers.
Set the ambient room light to a moderate, uniform level. The most reliable way at home is a floor lamp aimed at a white ceiling or a wall sconce with an upward throw; the bounced light wraps the space without the harsh downward shadow a central ceiling dome creates. Then add a side-positioned task lamp aimed at the paper at a 45-degree angle. To measure the ratio, use a smartphone lux meter app: hold it at your eye position facing the screen, note the number, then check the darkest spot on the desk or a dim corner. Adjust the dimmers until the brightest reading is no more than triple the dimmest. That single adjustment often has a larger impact on end-of-day alertness than adjusting screen brightness or wearing blue-light glasses.
Backward Shadow Analysis: Lighting the Face for Camera
Backward shadow analysis reverses the usual lighting sequence. Instead of placing a light and then seeing where the shadows land, you define the shadow-free target—the face—and trace backward to the light positions that would prevent shadows from forming on the nose, under the chin, and in the eye sockets. For a video call, those three zones determine whether you look alert or hollowed out.
The correct key light position is at the 10 o’clock or 2 o’clock horizontal angle relative to the face, raised slightly above eye level and angled down at roughly 30 degrees. That angle mimics the soft directionality of window light and keeps nose shadows small and directed downward. A fill light on the opposite side at no more than half the key light’s intensity opens the shadowed cheek without introducing competing shadows. The verification method is deliberately low-tech: hold a sheet of white paper where the face will be and move the lights until the paper shows no hard shadow edges, only a smooth gradient. Commercial designers use this same logic when setting up a boardroom for video conferencing; the principle scales perfectly to a small home desk.
Three Light Layers That Prevent Desk Shadows
Papers pick up shadows from two directions: an overhead fixture that throws the shadow of your head and shoulders across the page, and a task lamp placed too close that leaves a dark penumbra at every page boundary. Layering eliminates these by ensuring no single light source dominates the desk surface.
Ambient Layer: Bounced Ceiling Light
A floor lamp directed at a white ceiling or a fixture with an upward shade floods the room with reflected, directionless light. This eliminates the hard overhead shadow pattern that standard ceiling domes produce. If the only option is a ceiling fixture, retrofit it with a diffuser panel and a high-CRI (90+) bulb to spread the light before it drops.
Task Layer: Light from the Side, Not the Front
Place an adjustable desk lamp at the 10 o’clock position for right-handed writers (2 o’clock for left-handed) so the beam crosses the body and illuminates the page without the writing hand casting a shadow. The lamp head should sit below eye level when seated; its beam belongs on the paper, never on the monitor screen. Use a dimmable bulb with selectable color temperature—4000K in a daylight-heavy room, 3000K in an evening-oriented space—so it blends with the ambient layer rather than fighting it.
Face Layer: A Compact Key Light for the Camera
A small LED panel or a mini softbox placed just above the monitor, at the 10 or 2 o’clock position, serves as the video-call key light. This is the layer backward shadow analysis optimizes; its function is to fill the facial shadows left by the ambient and task layers. Choose a panel with stepless brightness control and a fixed color temperature between 3200K and 4000K, selecting the setting that reads most natural on your skin tone through the webcam. Keep the output low enough that the effect looks like good daylight, not studio lighting. Run the paper test whenever you reposition: both your face and a printed page held up to the camera should appear clear and shadowless.
Daylight as a Fourth Layer
The sun is the strongest variable in any home office. A window behind the monitor silhouettes the face; a side window creates a bright half and a dark half that shifts with cloud cover. Backward shadow analysis treats any light source capable of casting a shadow as a key light, and filtered daylight is no exception. The objective is not to block it—doing so sacrifices circadian benefit and makes the room feel oppressive—but to integrate it into the layered system.
Position the desk so windows fall at 45 to 60 degrees to one side, never directly behind or in front of the screen. Top-down/bottom-up cellular shades or sheer curtains diffuse the sunlight without eliminating it. When daylight is strong, it becomes the key light: dial the artificial face layer to zero and use the ambient and task layers as fill. On overcast days or after dark, the artificial key layer resumes its role. The 3:1 ratio holds across all conditions because daylight is simply another controlled layer, not a disruption.
Quick-Reference Per-Mode Cheat Sheet
| Work Mode | Ambient Layer | Task Layer | Face Layer (Key) | Key Check |
|---|---|---|---|---|
| Video calls | Diffused ceiling bounce, 50-70% brightness | Off, unless reading printed notes; then side-lit at 10 o’clock | Softbox or LED panel at 10 o’clock, 3200K | Webcam preview shows even light across whole face; no nose shadow |
| Focused paperwork | Ceiling bounce at 40-50% | Side-lit desk lamp at 4000K, dimmed to match ambient | Off or very low, just to fill shadows under chin | White sheet placed on desk shows no harsh shadow from any source |
| Screen-only deep work | Ceiling bounce at 30-40% | Off (screen provides its own task light) | Off | Brightness ratio between screen and background wall is 3:1 or better |
Key Takeaways
- The 3:1 contrast ratio is a brightness-range guardrail, not a lumens target; holding the brightest and dimmest points in your visual field within a factor of three cuts eye strain measurably.
- Backward shadow analysis works by defining the face as the critical surface first, then deriving light positions that leave no shadow on it. This is the most direct path to professional video presence.
- A fixed three-layer system—ambient, task, face—handles every basic work mode and lets each layer be dimmed or turned off as daylight shifts.
- Daylight must be treated as a lighting layer. When it dominates, it becomes the key; window treatments that scatter light are better than blackout shades for on-camera consistency.
- Lamp position dominates lamp cost. Side-angled task lighting and an off-camera key light are the structural decisions that determine shadow-free results, not bulb wattage or fixture price.
Home Office Lighting FAQ
What exactly is the 3:1 contrast ratio and why does it matter?
It describes the luminance relationship between the brightest object in your central vision (such as a screen or document) and the dimmest area in your full field of view. Exceeding a ratio of three to one forces the eyes to continuously readjust, producing fatigue that is often mistaken for screen strain. Check it with a smartphone lux meter: measure the screen at eye level, then the darkest corner of the room.
How do I stop looking dark and shadowy on Zoom calls?
Position a key light at the 10 o’clock or 2 o’clock angle, slightly above eye level and angled downward at 30 degrees. Add a fill light at half intensity on the opposite side if needed. Use backward shadow analysis: hold a white sheet in place of your face and adjust until the paper shows only soft gradients, no harsh lines. That configuration eliminates most nose and under-eye shadows.
Do I need a ring light for video calls?
A ring light sits directly in front of the face, which flattens facial features and often throws a distracting shadow ring behind you. A side-positioned key light with a diffuser creates more natural depth and is easier to balance with ambient and task layers, which makes it the technically superior choice for a layered system.
Can I use smart bulbs to manage the 3:1 ratio automatically?
Smart bulbs are useful because they allow percentage dimming and scene grouping. A daytime scene can set ambient at 60%, task at 40%, and face off; an evening video-call scene brings the face light up as ambient drops. But brightness control does not correct bad placement. A poorly positioned smart bulb produces the same shadows as a standard one; the layering principles must come first.
What if my room has dark walls and absorbs all the bounced light?
Dark walls defeat ceiling-bounce ambient lighting. In that case, use a tall floor lamp with a translucent shade that radiates light broadly upward and outward, or install an LED strip behind the monitor to create a soft wall wash. The 3:1 ratio is still the target; reaching it may require slightly higher-output bulbs or an additional ambient source to avoid glare.
The First Correct Action: Set the Key Light for Your Face
The single step that matters most is establishing the face key light before doing anything else. Place one dimmable LED panel or a desk lamp with a diffuser at the 10 o’clock position, tilt it down until a white sheet held at face height shows no hard shadow, then adjust the brightness until you look natural on screen. Once that reference point is solid, layer in ambient fill and a side task light, verifying that no new source introduces a shadow the key light cannot erase. That sequence—face first, surroundings second—is exactly how a commercial lighting designer would commission a space that will be seen on camera. It works identically in a small home office.

Clara Bennett
After five years of transforming my 1920s bungalow room by room, I’ve refinished floors, hung blinds in bay windows, and spent more time choosing light bulbs than I’d like to admit. I learned paint sheens by painting my kitchen ceiling three times, and I found out the hard way that a rug too small makes a room feel unfinished. I believe every home can be both functional and beautiful, no matter the budget.
Related posts
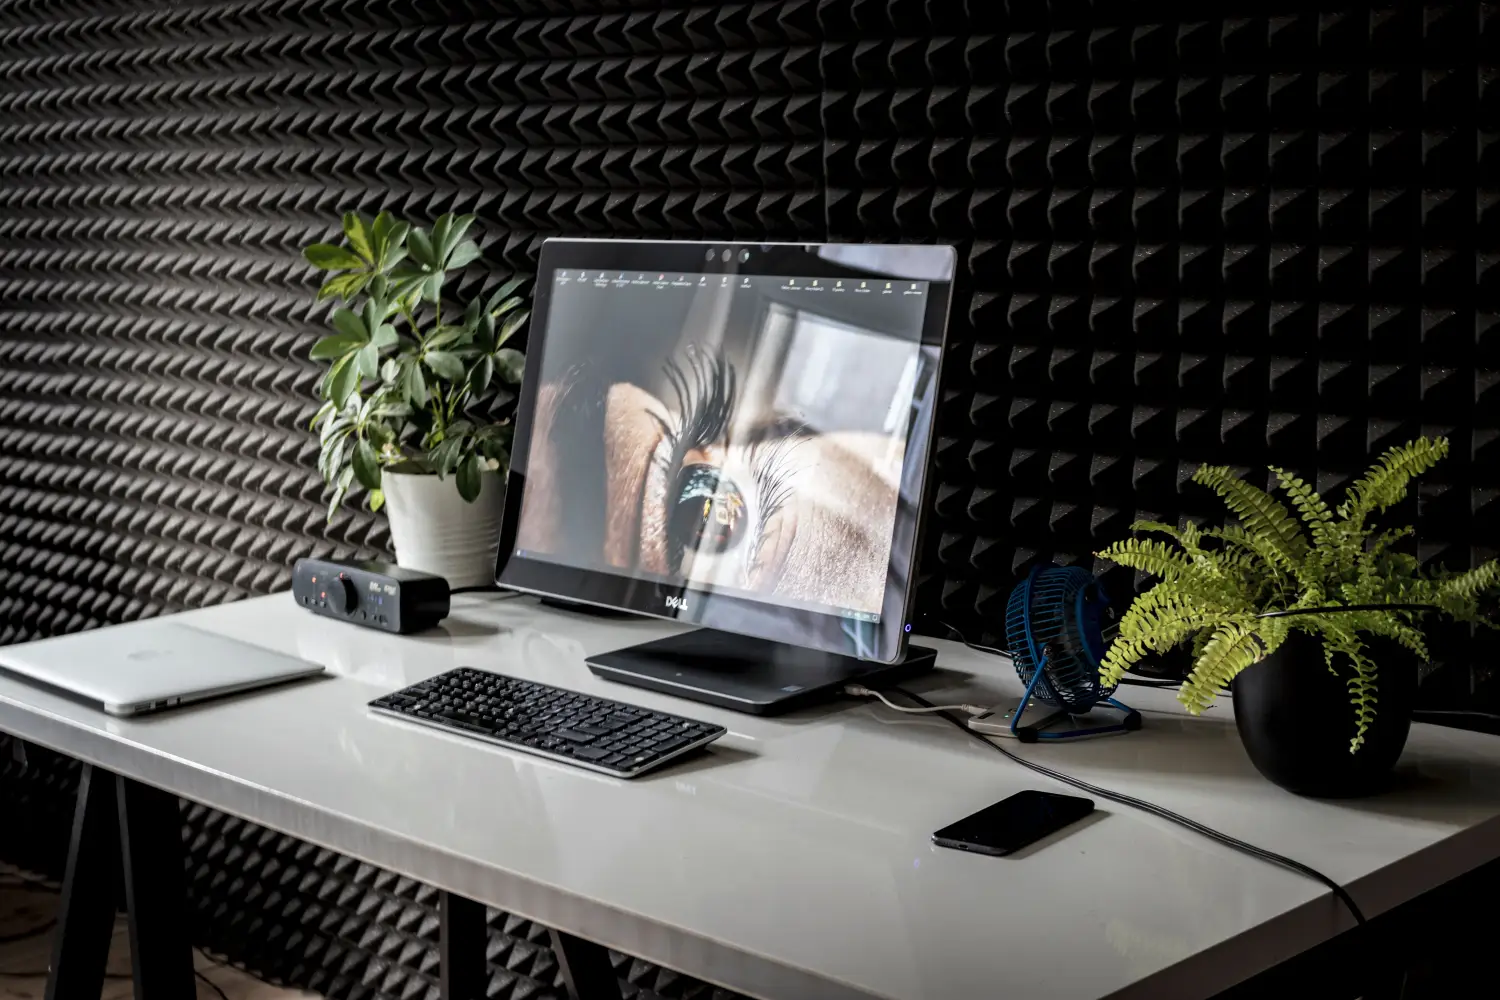
Why Most Home Office Setups Fail—and the Order That Works
Most home offices fail because design comes first. Learn the measurement-based sequence that builds a workspace around your body and workflow, not furniture trends.
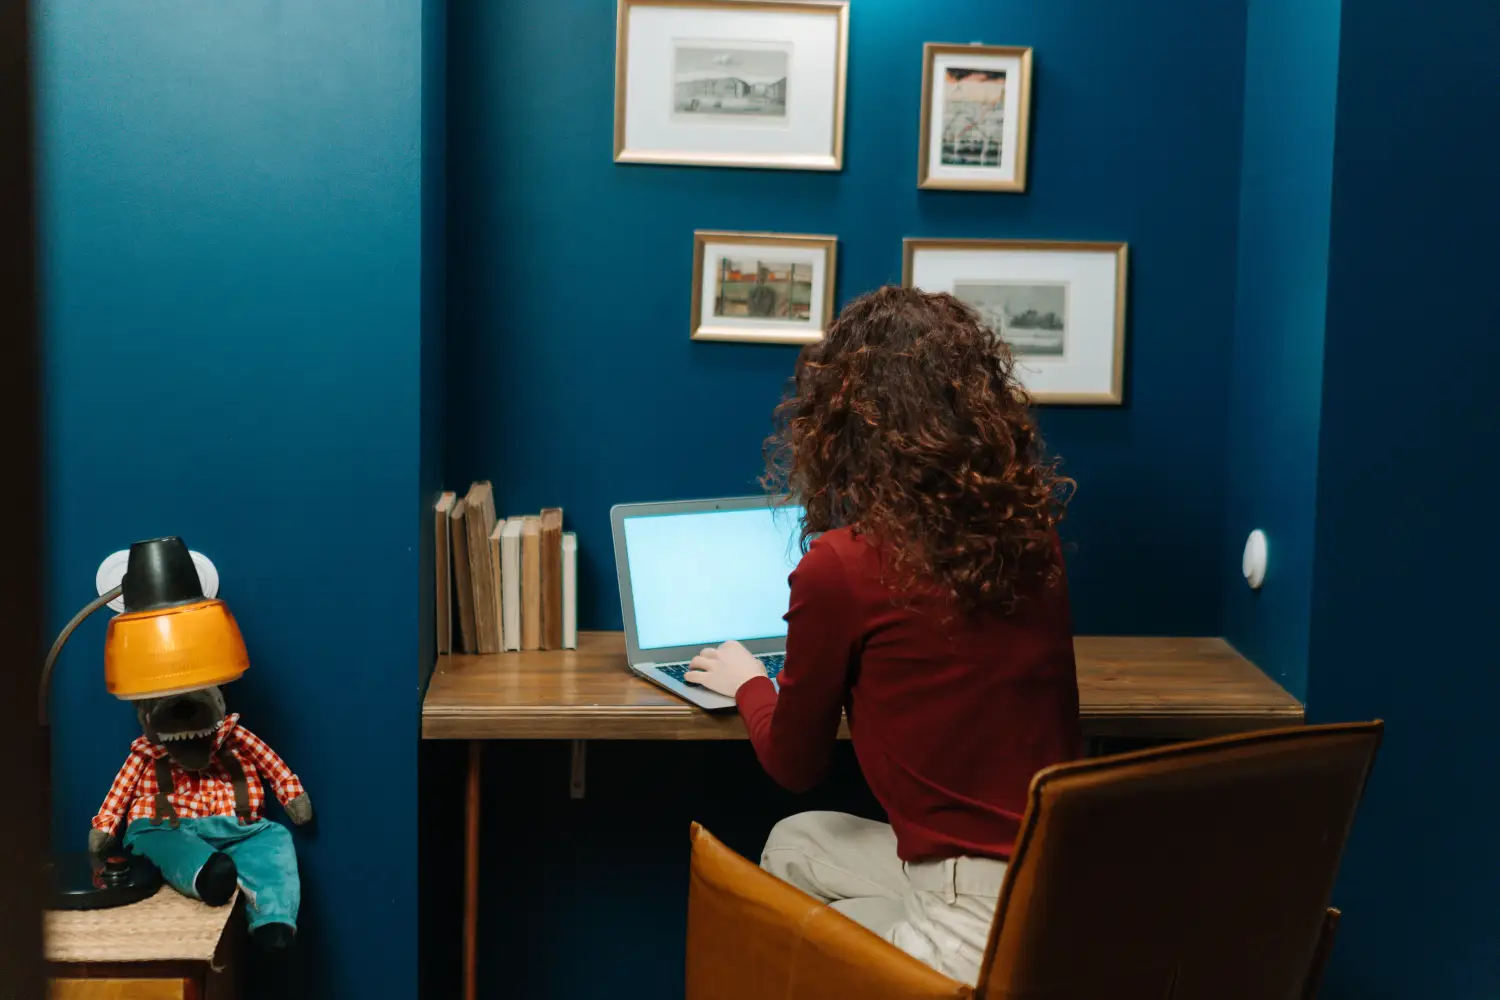
Struggling to Focus at Your Desk? The Right Wall Color Can Help
Learn how matte deep blue, satin pale green, and eggshell warm neutrals create focus zones for analytical work, video calls, and versatile office space—with color psychology to back it.
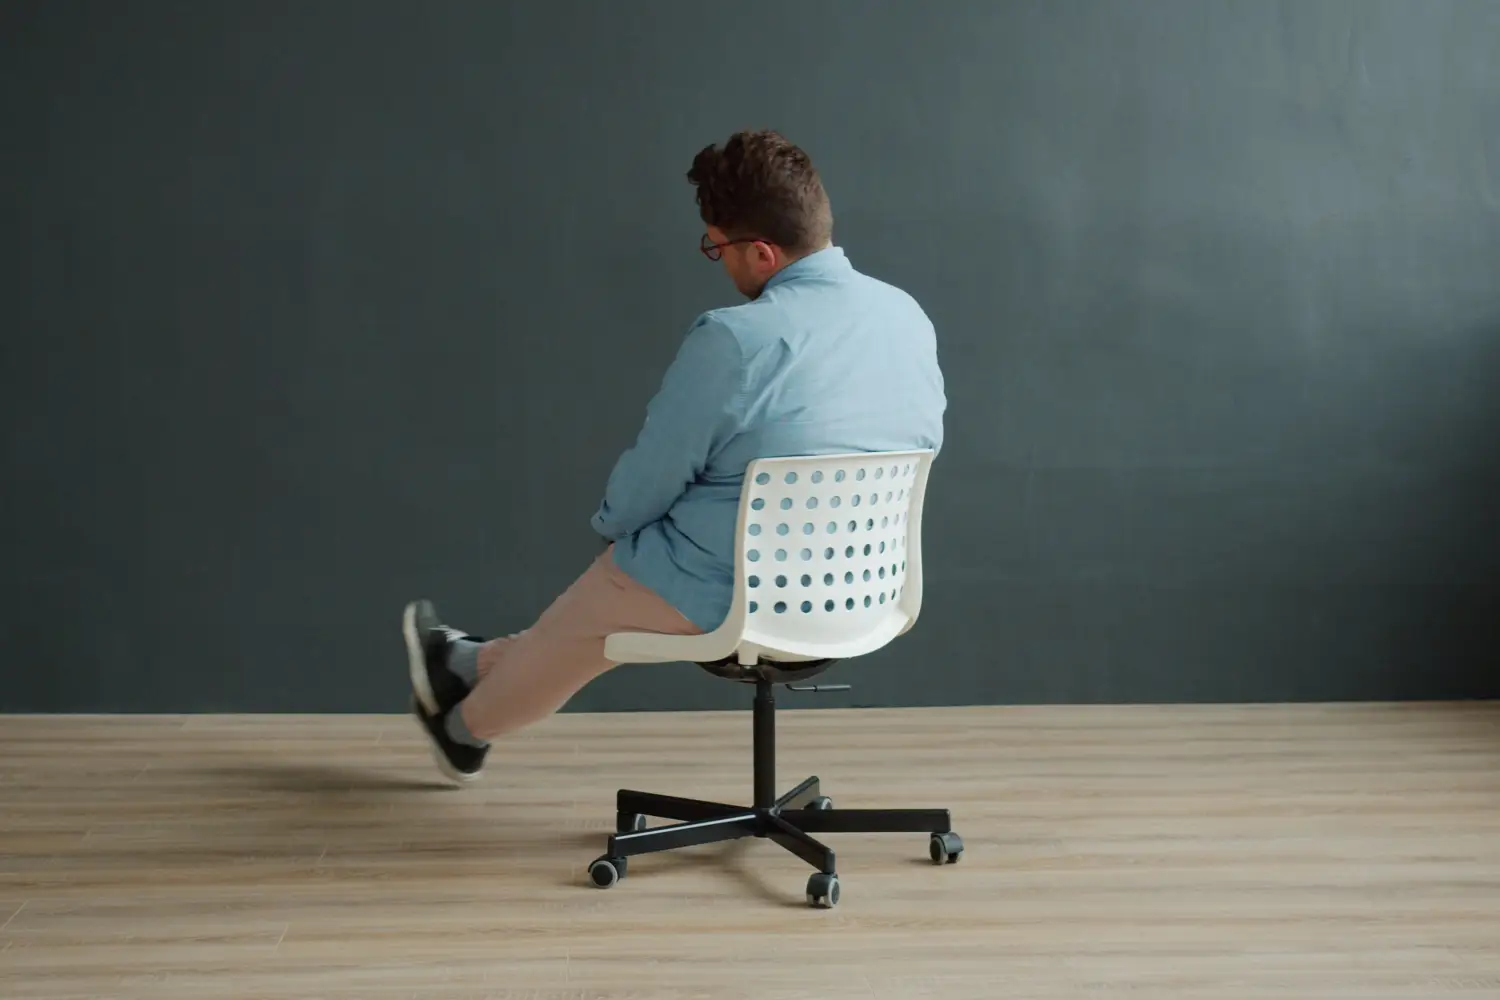
The Ergonomic Mistake That Will Cost You Years of Back Pain
Generic ergonomic rules ignore your body’s dimensions. Use knee clearance, elbow height, and eye level to set your desk and chair precisely—and stop back pain at its source.
What Home Office Cable Guides Won't Tell You About Wire Routing
Get a floating, wire-free home office by planning cable paths before placing furniture. Use raceway and an under-desk tray—no millwork needed.