You're Installing Window Treatments at the Wrong Time: Here's When

Window treatments are not a finishing touch. They’re infrastructure—as essential to your first night in a new space as a working bathroom and a door that locks. The standard advice to pick curtains after you’ve arranged the furniture is backwards. Lead times for custom shades run six to twelve weeks. Mounting hardware has to coordinate with trim, wall surface, and window depth long before you pick a paint color. Light direction varies enough from room to room that a blind you grab off a shelf on moving day will fail in at least half the windows you put it in.
Making window decisions part of your Phase 1 checklist—the walkthrough, not the unpacking—isn’t fussy over-planning. It’s the single move that prevents you from spending your first summer sleeping under a towel tacked to the frame. Here’s the order that works.
Which Stage Are You In Right Now?
Pick the situation closest to yours—each starts you on a different leg of the same early-decision timeline.
- You just closed on a house and haven’t moved in yet. Your route: use the pre-move-in walkthrough to audit light and privacy needs, lock in mounting style before any painting or flooring work, then order treatments so they arrive before your first overnight.
- You signed a lease and have a move-in date a few weeks out. Your route: skip drilling-heavy permanent mounts and focus on tension rods and surface-mounted hooks, but still measure windows now to avoid mid-move scrambling.
- You’re remodeling one room and replacing existing treatments. Your route: strip the old hardware, assess window depth for new mounting choices, and time the order so installation falls between paint drying and furniture placement.
Audit Light and Privacy Before You Think About Color
The goal here is to gather the data that will drive every material and placement choice later. Walk through the property at three different times of day—morning, midday, and early evening—and note for each window where direct sunlight lands, whether glare hits a TV or desk, and what a person outside can see into the room. Use a compass app to mark which direction each window faces; south- and west-facing windows will demand the most aggressive light control.
Concrete actions: Create a simple spreadsheet with columns for room, window width, height, depth (from glass to the front edge of the casing), direction, and a note on privacy risk. Measure width at three points top, middle, bottom and use the narrowest. Depth is critical because inside-mounted blinds need at least 1.5 to 2 inches of flat mounting surface; outside mounts require enough wall space around the window to anchor brackets.
You’re ready to move to the next stage when: you have a completed window audit sheet that includes direction, privacy assessment, and accurate depth for every window you intend to cover.
Decide Mounting Style Before the Paint Dries
Mounting hardware determines what happens to your trim, your wall surface, and your window’s effective light gap. Inside mounts sit within the window frame and look cleaner but demand sufficient depth and parallel sides. Outside mounts cover the entire opening, block more light, but require drilling into the wall or trim—something you want to do before, not after, you’ve painted or wallpapered.
If you’re painting or refinishing trim, order the mounting brackets first and install them after sanding but before the final paint coat. This way the bracket sits flush under the paint, no caulk line to crack later. If you’re using adhesive solutions in a rental, the same principle applies: test the adhesive on a hidden spot before move-in to avoid surprises.
You’re ready when: every window has a designated mount type (inside, outside, or tension), and any hardware needing wall attachment is either in hand or on order with a delivery date before your painting or flooring start date.
Order Treatments Alongside Your First Big Home Projects
This is the stage most people skip entirely, then pay for with months of temporary paper shades. Custom window treatments—cut-to-size roller shades, lined draperies, wood blinds—carry lead times that range from four weeks for simple stock-cut options to twelve weeks for specialty fabrics. If you wait until you’re sleeping in a sun-drenched bedroom to place the order, you’ll live with that sun for a full season.
Order treatments the same week you schedule floor refinishing, major painting, or the movers. Off-the-shelf temporary options from a home center can bridge a short gap, but only if you accept that they won’t fit perfectly and will look like a placeholder. For essential rooms—bedrooms, home offices, bathrooms—invest in the permanent solution early. Secondary spaces like hallways or laundry rooms can wait.
You’re ready when: orders are placed and you have written confirmation of estimated ship dates that land before your target move-in or project completion date.
Install When the Room Is Empty, Not When It’s Full
Installation seems easy until there’s a dresser blocking the ladder or a freshly painted wall you’re terrified of scuffing. Do the physical mounting before heavy furniture comes in—ideally right after the floors are finished and the baseboards are on, while the room is still an empty shell. This is also the moment to check that every treatment operates smoothly and that light gaps are minimal.
For inside mounts, test the shade’s clearance: it shouldn’t scrape the sides or bottom. For outside mounts, verify that you’ve accounted for enough wall clearance above the window for the full stack when the shade is open. If a treatment arrives damaged or doesn’t fit, you’ll have a buffer to reorder without a living room that doubles as a fishbowl.
You’re ready when: all permanent treatments are hung, operated through three full cycles up-and-down or open-and-close, and any return-or-replace issues are flagged before furniture moves in.
Readiness Signs Recap
- You’ve mapped sun angles and privacy exposure for every window at three distinct times of day.
- You’ve measured and recorded depth for inside-mount candidates and wall clearance for outside-mount.
- Every window has a committed mount style; any wall-attached hardware is either installed before paint or scheduled on a pre-paint calendar.
- Orders for all essential-room treatments are placed with delivery dates that precede your move-in or project completion.
- Installation happens in an empty room, and every treatment passes a three-cycle function test before furniture arrives.
What You Can Safely Ignore Right Now
A lot of people jump straight to decorative details and advanced features that genuinely don’t matter yet. Here’s what to defer.
- Valances, cornices, and trim pieces. Those are purely aesthetic and can be added months later. Wait until you’ve lived with the room’s light and layout to choose a topper style.
- Motorization and smart-home integration. Adding motors later is possible with many systems, especially battery-powered retrofit options. Focus first on the barrier material and fit; automate when your budget and daily habits clarify what you actually need.
- Perfect hem lengths for drapery. Custom draperies often come intentionally long so they can be hemmed on-site after the hardware is installed and the floor finish has settled. Leave the final length adjustment for after installation.
Trigger: Revisit each of these once you’ve spent at least two weeks living with the standard treatments, because that lived experience reveals which ones actually need an upgrade.
Frequently Asked Questions
How far in advance should I order custom window treatments before moving in?
Aim to place your order six to eight weeks before your move-in date for standard custom work. Specialty materials or motorized solutions can push that to twelve weeks. Confirm lead times with the manufacturer before you schedule any painting or flooring work around the window area.
Can I install blinds myself before moving in if I’m not handy?
Yes, many basic roller shades and faux-wood blinds come with straightforward bracket-and-snap installation. The key is having the hardware in hand and the room empty. If unsure, book a measurement-and-install service at the same time you place the order; those slots fill up weeks out.
What if my windows are non-standard sizes—does that change the timing?
Non-standard windows often require custom fabrication, which extends lead times and makes early measurement critical. A window that’s extra tall, arched, or shallow-depth may need a specific mounting solution ordered from a specialty supplier, so start the audit as early as you can get access.
Do I really need to measure before painting?
If you’re using outside mounts that screw into the wall, measure now. The bracket footprint determines where you can screw without hitting drywall anchors or edge gaps. Measuring after the paint is dry risks marking up a fresh finish and then having to patch holes if the bracket placement shifts.
A House That Works From Day One
Reaching the end goal means walking into every room on move-in day and drawing a shade that actually fits, blocks light where it should, and gives you privacy without a second thought. The very first action for anyone who just closed on a property: schedule a one-hour window audit during the next walkthrough, before the paint swatches come out, with a tape measure, a compass app, and a notepad.

Clara Bennett
After five years of transforming my 1920s bungalow room by room, I’ve refinished floors, hung blinds in bay windows, and spent more time choosing light bulbs than I’d like to admit. I learned paint sheens by painting my kitchen ceiling three times, and I found out the hard way that a rug too small makes a room feel unfinished. I believe every home can be both functional and beautiful, no matter the budget.
Related posts

12-Month First-Year Decorating Plan for New Homeowners
Stop guessing. This dependency-ordered 12-month plan puts paint before furniture, window treatments after move-in, and prevents costly rework. Start where you are and follow the sequence.
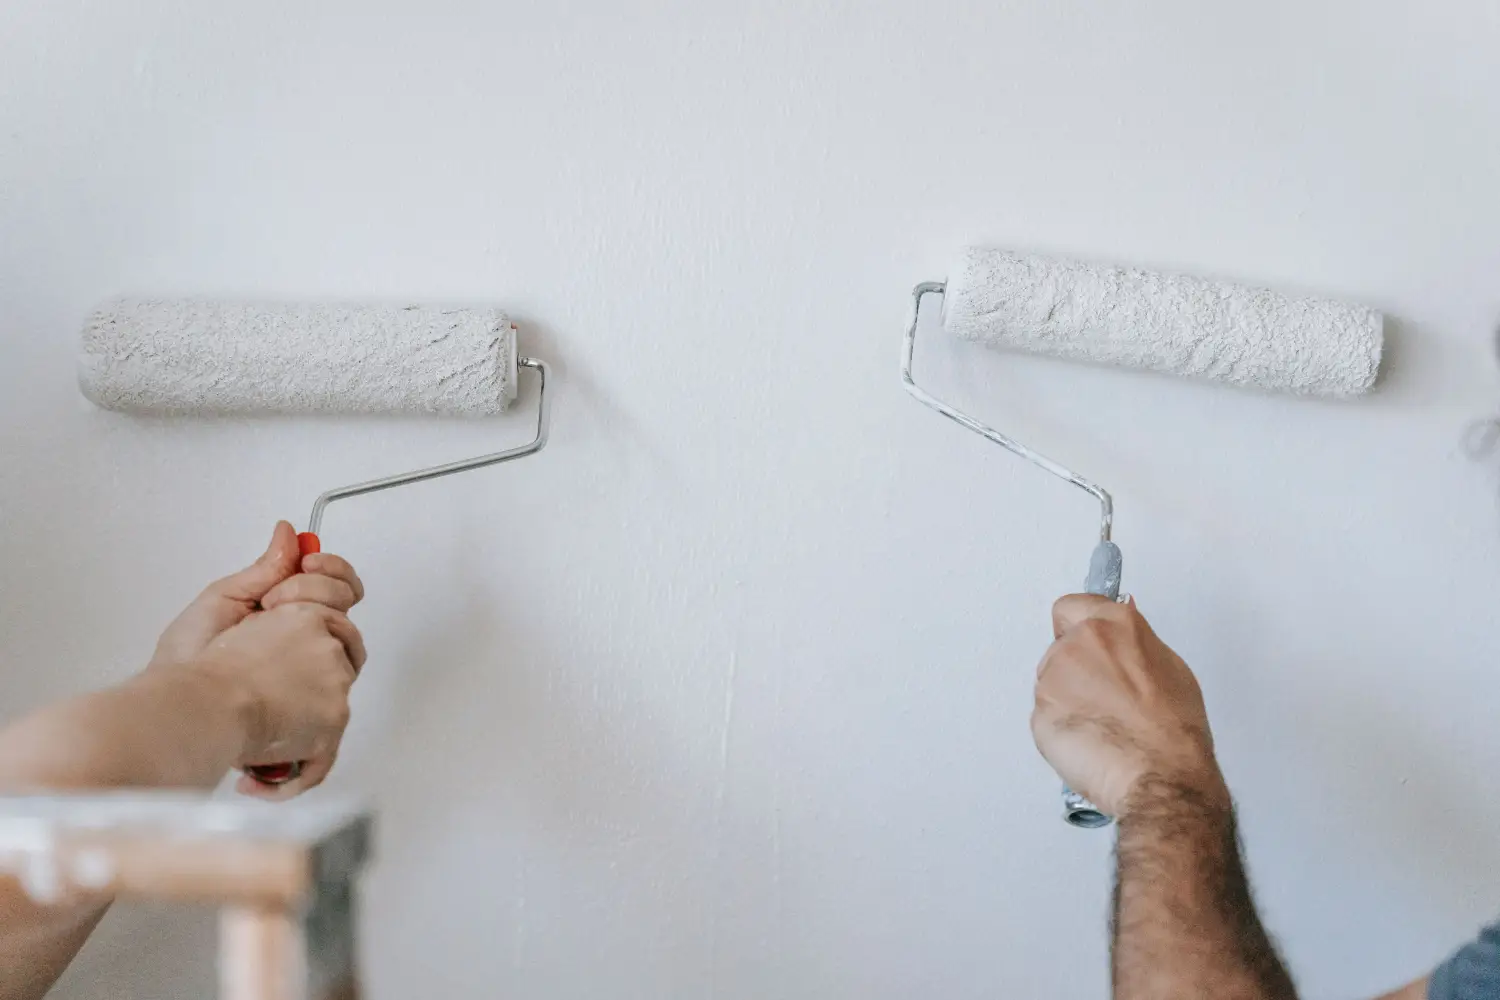
The Paint Sheen Most New Homeowners Overlook (But Shouldn't)
New homeowners often skip satin, thinking it's too shiny. Yet it's the most practical sheen for kitchens and bathrooms—wipeable, moisture-resistant, and forgiving.
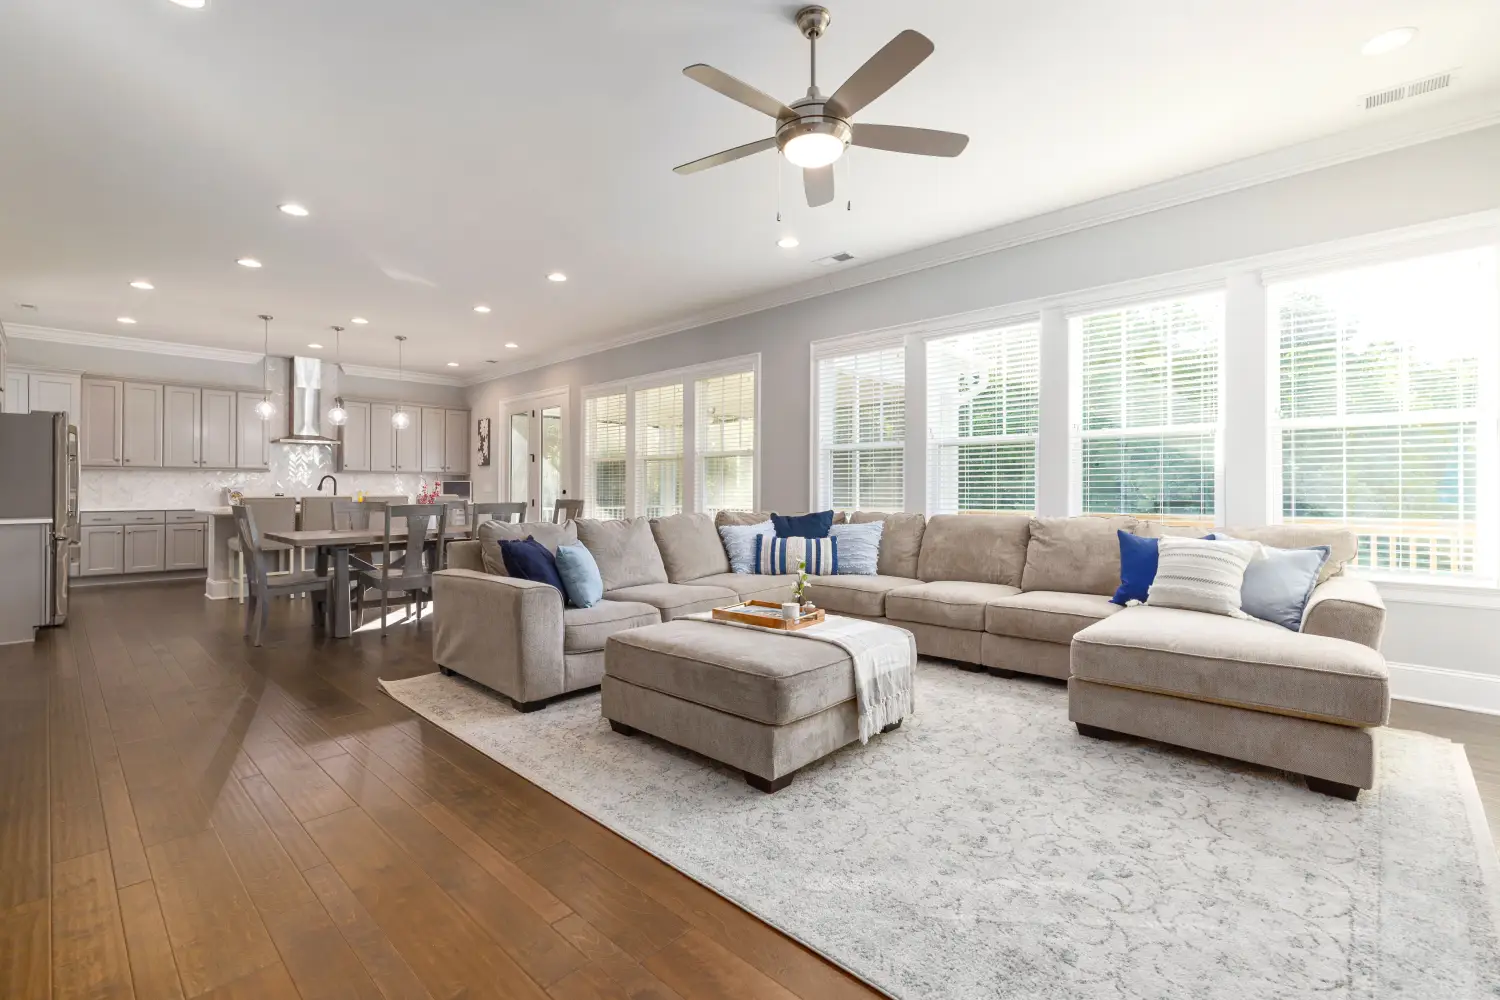
This Rug Size Is Destroying Your Living Room Layout
The most common beginner decorating mistake? A rug too small for the furniture. Learn exact sizing rules for every room and avoid buying twice.

The 36-Inch Rule Designers Use to Prevent Cramped Rooms
Learn how the 36-inch clearance rule creates walkable, open-feeling rooms. Get the step-by-step checklist and find out where you can shrink the gap without sacrificing comfort.

Don't Waste Your $10,000 Budget: A Room-by-Room Split
A fixed $10,000 renovation budget needs a clear room-by-room split before any shopping begins. Use these percentage rules of thumb to plan where the money goes first.