12-Month First-Year Decorating Plan for New Homeowners

Most new homeowners burn months on decorating by doing it room by room — that’s backwards. The only efficient sequence is dependency-driven: paint first, floors second, lighting third, window treatments fourth, then furniture and rugs. This 12-month plan prevents the expensive mistake of painting around furniture or buying curtains before you’ve watched how the sun hits.
If you just got keys to an empty house, follow every stage in order and compress the schedule with weekend sprints. If you’ve already moved in with mismatched pieces, skip ahead to paint and lighting — those two moves alone pull a room together faster than any new sofa. The dependency rule never changes: don’t hang art until the furniture is placed; don’t order curtains until you’ve lived with temporary blinds.
Your Starting Point: Empty Shell, Functional Starter, or “Make It Mine” Overhaul
Which situation fits tells you where to enter the sequence.
- Just got the keys — the house is bare. Luxury condition. Start at Stage 1 and work straight through without ever moving a couch out of the way.
- Moved in with essential furniture, walls are still flat beige, windows bare. Focus on Stages 1–4. Paint a room even with a sofa in it — plastic sheeting and a weekend get it done.
- Living with a mix of hand-me-downs and fast-furnished pieces, nothing feels cohesive. Begin with paint and lighting (Stages 2 and 4). Those shifts create a backdrop that makes existing furniture look intentional. Rugs and curtains come next.
Stage 1: Surface Prep and Repairs (Months 1–2)
What it achieves: A sound, clean canvas so later work isn’t ruined.
Concrete actions: Patch cracks, sand bumps, wash walls with TSP substitute, seal odors, tighten door hinges. If floors need refinishing, do it now — dust settles everywhere before paint.
Ready-to-move-on sign: Run your palm over a patched wall; no ridge remains. The house feels clean and sound.
Stage 2: Whole-House Paint — Ceilings, Walls, Trim (Months 2–4)
What it achieves: Color that unifies the home and protects surfaces, applied before any permanent furniture.
Concrete actions: Prime where needed. Paint ceilings flat white, walls eggshell (satin in kitchens and baths), trim semi-gloss. Pick one neutral base palette for the entire home — accent colors come later. If you must paint around furniture, seal off the room and work one by one.
Ready-to-move-on sign: No touch-ups remain and the paint smell is gone.
Stage 3: Flooring and Hard Surfaces (Months 3–5, overlap if new construction)
What it achieves: Finished floors that control light and furniture stance, completed before heavy pieces land.
Concrete actions: Refinish hardwoods, install tile or LVP. Carpet goes in last — paint drips ruin it. If you’re waiting on window treatments, install any floor-mounted drapery hardware now.
Ready-to-move-on sign: Floors are cured and felt pads sit under any temporarily placed furniture. The room stops looking like a work zone.
Stage 4: Hardwired Lighting and Ceiling Fixtures (Months 5–7)
What it achieves: Light that defines function and mood, installed before ladders scratch floors or furniture.
Concrete actions: Swap builder-grade flush mounts for pendants or chandeliers. Add dimmers everywhere. Center the junction box if it’s off — never assume it’s correct. Build layered light: overhead, task, accent.
Ready-to-move-on sign: Every primary light source is installed and dimmable. No bare bulb glares into your sightline.
Stage 5: Window Treatments — Measure After Living There (Months 6–9)
What it achieves: Privacy, light control, and a finished edge — measured from actual experience, not guesswork.
Concrete actions: Live with temporary paper blinds or sheer curtains for a few weeks. Learn which windows catch brutal morning sun and which need blackout. Measure precisely: inside mount for blinds, outside mount with extended rods for drapes. Hang rods 4–6 inches above the frame and wider than the trim so curtains stack clear of the glass.
Ready-to-move-on sign: Permanent treatments operate smoothly and solve the actual light and privacy problems you observed.
Stage 6: Core Furniture and Area Rugs (Months 9–11)
What it achieves: Traffic flow, seating, and storage anchored by rugs that fit the grouping — not bought first and later regretted.
Concrete actions: Place the largest pieces first: sofa, dining table, bed. Use painter’s tape to map rug sizes on the floor before buying. A living room rug must slide under the front legs of all seating. In a dining room, chairs should stay on the rug even when pulled out.
Ready-to-move-on sign: Every main room has its essential furniture and a rug sized for that grouping. You can walk through without dodging corners.
Stage 7: Soft Furnishings, Art, and Finishing Layers (Months 10–12)
What it achieves: Personality — pillows, throws, art, mirrors, objects — applied after the backdrop stops shifting.
Concrete actions: Hang art at 57–60 inch center height, arrange groupings on the floor first, use command strips on rentals. Add table and floor lamps for secondary pools of light. Toss in textiles that contrast with hard surfaces. Touch up scuffed baseboards now.
Ready-to-move-on sign: Every surface you intended to style has an intentional object on it; the house reads as yours, not a showroom.
When Each Stage Is Done: The Readiness Signs
- Walls are patched, clean, and smooth.
- Paint is dry, no fumes.
- Floors are finished and protected.
- Light fixtures hang correctly and dim.
- Window treatments work for the room’s real conditions.
- Core furniture is placed and rugs fit each grouping.
- Art hangs, lamps glow, cabinets hold what they should.
What Not to Worry About Until Later
- A whole-home color palette. You can’t see how shades play together until paint covers the walls. Paint first, then pull swatches.
- Perfectly matched wood finishes. Mixed woods look intentional when scale and contrast work. Forcing a match creates paralysis.
- Buying a sofa before you understand light and flow. A wrong-size sofa traps the layout. Wait until after lighting and window treatments.
- Gallery walls early on. Art hung before furniture placement ends up off-center. Save it for Stage 7.
Shortcuts That Work (Without Breaking Dependencies)
- Hire a professional paint crew. They can paint a whole interior in a week, collapsing Stage 2.
- Order custom window treatments the week you move in. Lead times run 8–12 weeks; timing the order while you observe light avoids waiting later.
- Use paintable wallpaper or a single limewash wall instead of lengthy mural projects — faster and no drywall perfection required.
- Buy rugs with a flexible return policy. Unroll, check size with furniture in place, exchange if it’s too small.
Common Questions When Decorating in a Dependency Order
Can I paint after furniture is in the room?
Yes, but you’ll move everything to the center, cover it, and squeeze into tight spaces. Paint an empty room — it’s faster and cleaner.
Should my window treatments match the walls?
Only if you want them to disappear. For contrast, take a shade deeper than the wall or pull a secondary color from the rug.
How long do I wait before hanging curtains?
Two to four weeks. Use that time to note privacy demands, morning glare, and how often you open each window.
What if I bought the wrong rug size?
Return it. A too-small rug makes the whole room feel unfinished. Size up, even if it delays the room by a month.
When the last curtain is hung and the final lamp glows, the house functions as one cohesive system — every layer built on the one before it. If you’re standing in an empty house right now, start this weekend by painting the ceilings and walls in the rooms you’ll live in first.

Clara Bennett
After five years of transforming my 1920s bungalow room by room, I’ve refinished floors, hung blinds in bay windows, and spent more time choosing light bulbs than I’d like to admit. I learned paint sheens by painting my kitchen ceiling three times, and I found out the hard way that a rug too small makes a room feel unfinished. I believe every home can be both functional and beautiful, no matter the budget.
Related posts

You're Installing Window Treatments at the Wrong Time: Here's When
Treating window treatments as a move-in afterthought costs you months of glare and lost privacy. The right time to decide is during the initial walkthrough. Here's the early order that works.
The Paint Sheen Most New Homeowners Overlook (But Shouldn't)
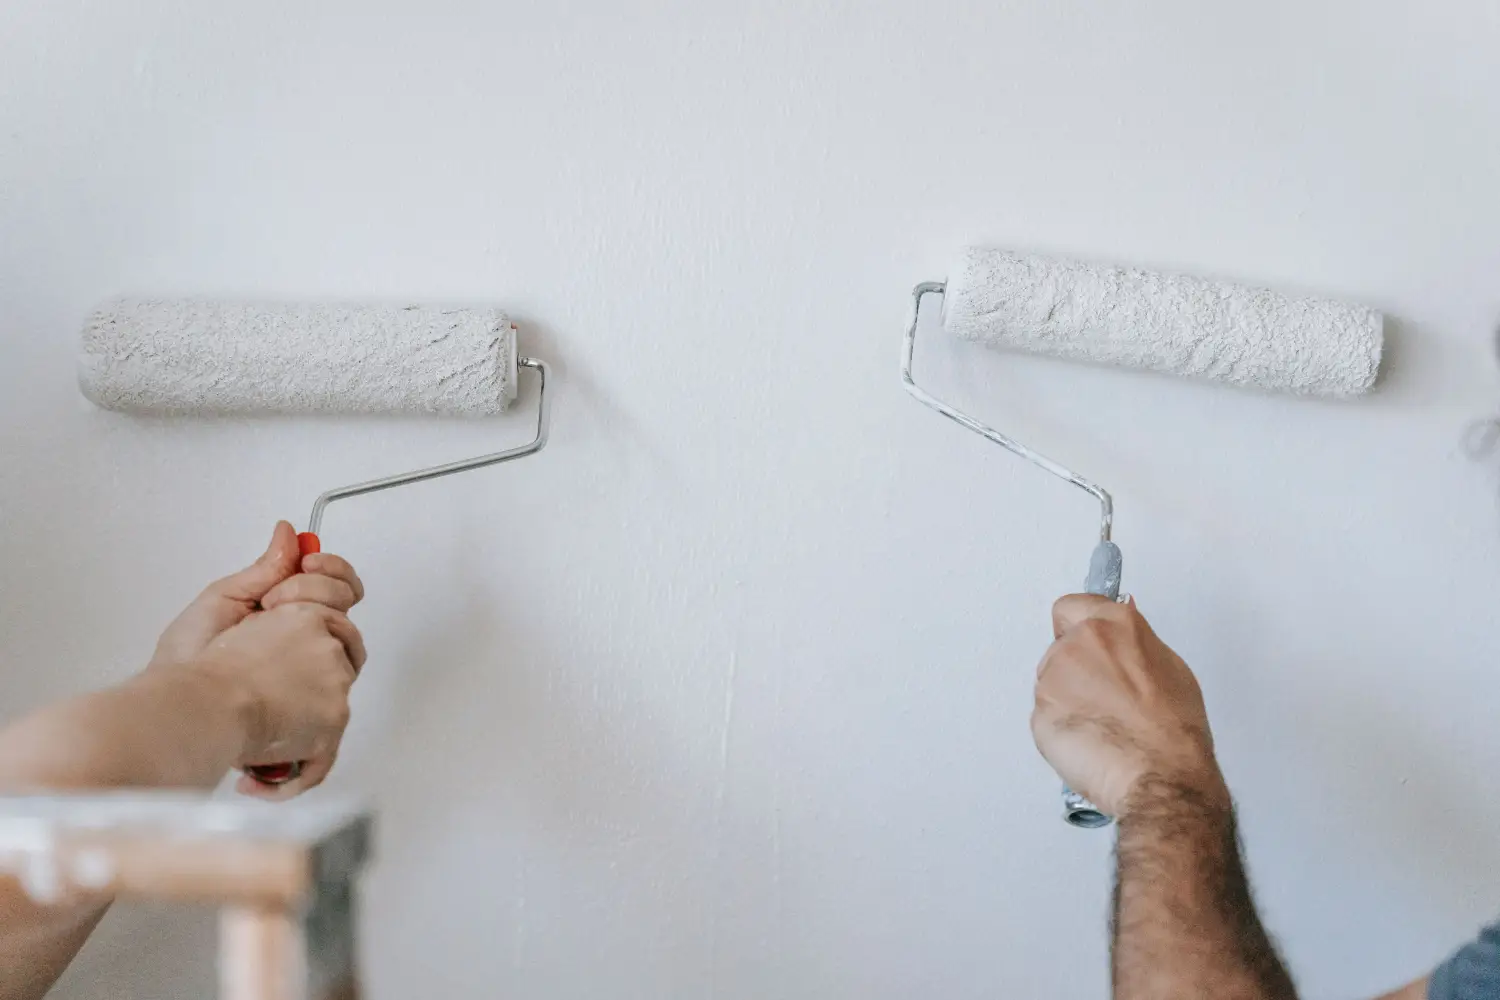
New homeowners often skip satin, thinking it's too shiny. Yet it's the most practical sheen for kitchens and bathrooms—wipeable, moisture-resistant, and forgiving.
This Rug Size Is Destroying Your Living Room Layout
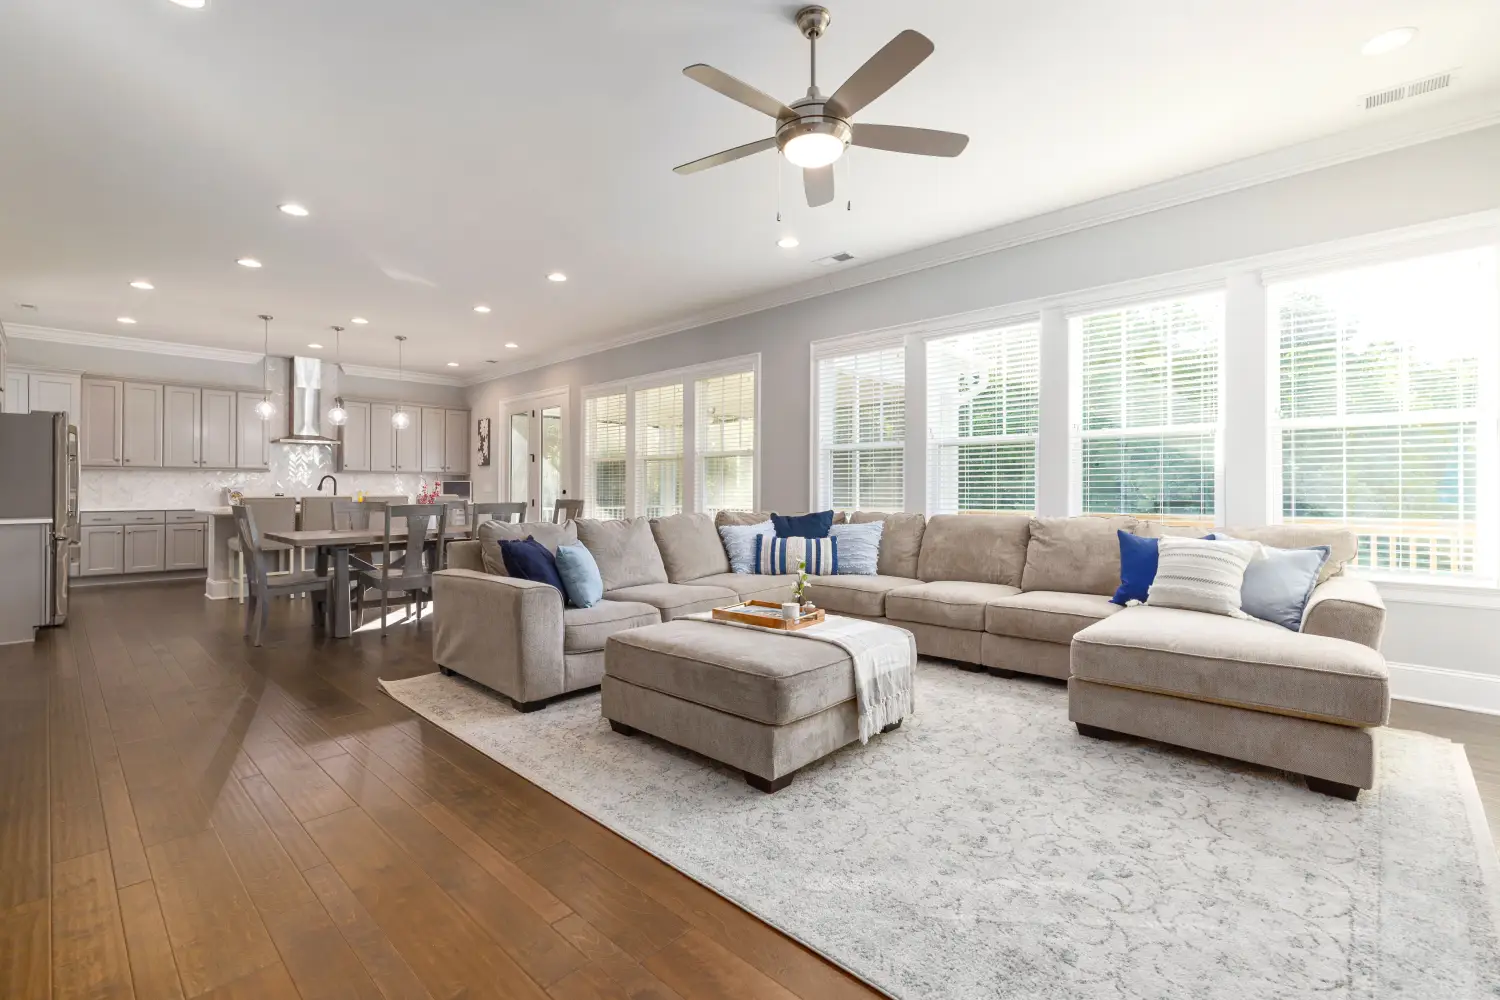
The most common beginner decorating mistake? A rug too small for the furniture. Learn exact sizing rules for every room and avoid buying twice.
The 36-Inch Rule Designers Use to Prevent Cramped Rooms
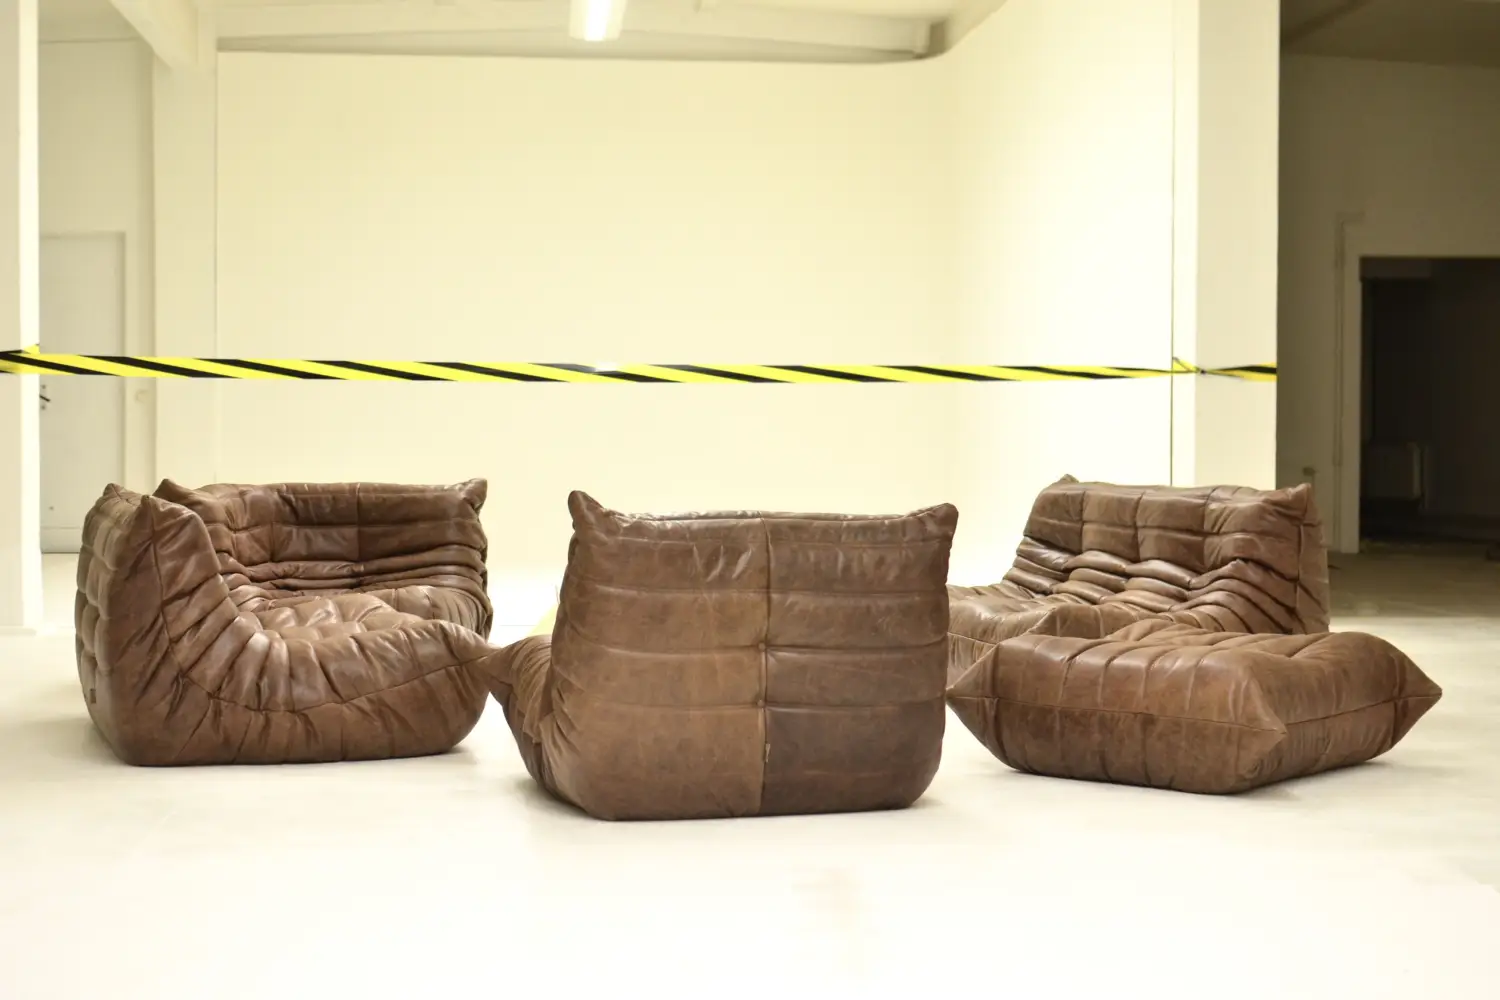
Learn how the 36-inch clearance rule creates walkable, open-feeling rooms. Get the step-by-step checklist and find out where you can shrink the gap without sacrificing comfort.

Don't Waste Your $10,000 Budget: A Room-by-Room Split
A fixed $10,000 renovation budget needs a clear room-by-room split before any shopping begins. Use these percentage rules of thumb to plan where the money goes first.