Hanging Curtains Too Low Is Costing You Ceiling Height

Rod height is not a detail you fine‑tune later—it’s the single decision that makes or breaks a window treatment. The rule: mount the rod 4 to 6 inches above the window frame for standard 8‑ to 9‑foot ceilings, never directly above it. That one move reclaims lost ceiling height and becomes the anchor that forces every other measurement into line. Get the rod wrong and you will wrestle with curtain length, bracket placement, and unbalanced proportions. Get it right and the entire installation slots into place without guesswork.
Your Rod’s Starting Position: Four Common Setups
Identify which situation describes the window today. Each path arrives at the same end goal, just through a different starting point.
- The rod already hangs too low (directly above the frame or less than 4 inches up) – Absorb the 4–6 inch baseline, mark the new height, and re‑mount. Then let that measurement dictate curtain length.
- Starting from scratch – Apply the rule from day one: measure, mark, and mount before buying a single panel.
- Low ceiling (under 8 feet) – Ditch the 4–6 inch rule; mount the rod as close to the ceiling as the hardware allows, then run floor‑length curtains to pull the eye upward.
- High ceiling (10 feet or more) – Use the 4–6 inch rule as a floor, not a ceiling. Push the rod higher—up to 12 inches above the frame—to keep proportions balanced, then adjust curtain length afterward.
1. Set the Anchor: The 4–6 Inch Rule for Standard Ceilings
Aim: Lock down the single measurement that controls curtain length, bracket position, and perceived room height. The rod sits 4 to 6 inches above the top of the window frame, period.
Actions:
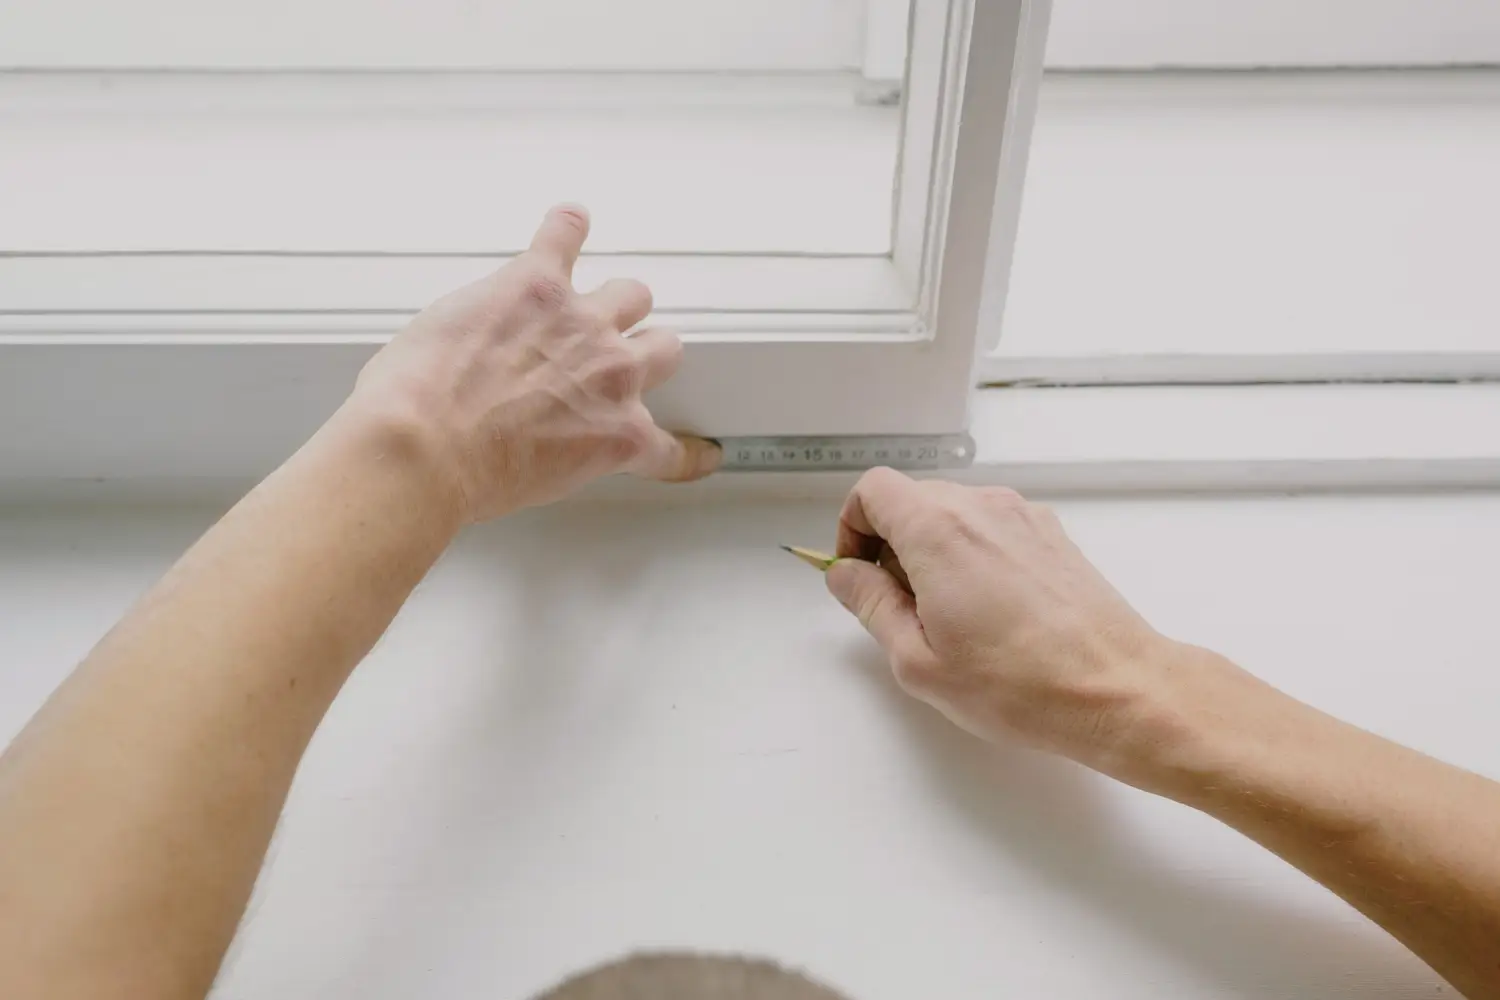
- Hook a tape measure on the highest point of the window frame (the top of the casing or the drywall opening).
- Pull the tape up 4 to 6 inches and mark the center of the window lightly with a pencil.
- Repeat at both sides so the rod will be level.
- Step back and verify the mark is at least 2 inches below the ceiling. If the gap from the frame to the ceiling is smaller than 6 inches, you’re in exception territory—handle that next.
Ready to move on: A centered mark exists at the target height and no holes have been drilled. The position looks balanced with the ceiling above; you’re ready to account for any non‑standard ceiling height.
2. Handle Ceiling Height Exceptions: Low and High
Aim: Convert the baseline rule into an exact mounting height when the ceiling is unusually low or high, so the rod never cramps the wall or floats strangely.
Actions for low ceilings (under 8 feet):
- Measure the gap between the top of the window frame and the ceiling.
- If that gap is 4 inches or less, place the rod 1 to 2 inches below the ceiling—essentially as high as possible. Eliminate the sliver of wall above the rod so the window and curtains read as one continuous column.
- If the gap is between 4 and 6 inches, the 4–6 inch rule still works as long as the rod doesn’t pinch the space. When in doubt, choose the higher position.
Actions for high ceilings (10 feet and up):
- The 4–6 inch rule is the minimum, not the target. To keep proportions natural, lift the rod to 8–12 inches above the frame.
- A fast reference: divide the visible wall above the window roughly into thirds, and place the rod at the lower third mark. This prevents a disconnected sliver look.
- If crown molding runs above the window, stop the rod 2–3 inches below the molding to avoid crowding.
Ready to move on: The final mounting height suits the ceiling condition, and you’ve marked it on the wall in at least two spots. That designated height will not change—everything that follows depends on it.
3. Let Rod Height Drive Curtain Length and Hardware
Aim: With the rod position locked, curtain length and hardware choices become automatic—no more measuring curtains first and hoping the rod fits.
Actions:
- Measure from the center of the planned rod straight down to the floor. That number becomes the basis for panel length.
- For a standard look, curtains should just kiss the floor or hover ½ inch above. For a formal puddle, add 2–3 inches. For a crisp break, subtract ¼ inch.
- Choose brackets that project the rod 2–3 inches from the wall so the fabric clears the window trim. The hardware’s setback works with the rod height—don’t compromise the height to fix a shallow bracket.
- If you’re adding a sheer layer later, the back rod follows the same proportional height rule, not a random guess.
Ready to move on: The exact curtain length is known, and brackets that match the rod’s height and projection are selected. All that remains is ordering panels or hemming, and drilling.
Before You Drill: Confirm Each of These Rod‑Height Steps
- A centered pencil mark sits at 4–6 inches above the window frame (standard ceiling).
- For low ceilings, the mark is as high as possible, 1–2 inches below the ceiling line.
- For high ceilings, the mark balances the wall—typically 8–12 inches above the frame or at the lower‑third point.
- Curtain length has been calculated from that final rod height down to the floor.
- Brackets and hardware have been chosen to match the rod’s placement and projection.
Save These Worries for Later
Some details matter—just not yet. They belong after the rod is up and the room’s proportions are set.
- Exact hem break or puddle length – Wait until panels hang on the installed rod; you can’t judge clearance properly from a tape measure alone.
- Hardware finish and finial style – Pick these after the rod height is final. The finial should frame the new head height, not distract from it.
- Layering sheers or blackout panels – Double‑rod systems copy the primary rod’s height rule. Plan the second rod only after the first one’s position is set.
- Thermal or acoustic lining – Decide after you know curtain length, because lining changes drape and final dimension.
- Rod pocket vs. grommet vs. ring top – The hanging method affects how fabric falls from the rod, not where the rod belongs. Choose after the rod height is locked in.
Quick Answers to Common Rod‑Height Questions
How high do I hang a curtain rod for a 9‑foot ceiling?
Follow the 4–6 inch rule above the window frame. That usually lands the rod around 84–86 inches off the floor, leaving a comfortable band of wall above that keeps the room looking tall.
My window has a transom—should I mount the rod above the transom?
Yes. Treat the transom and window as one unit. Mount the rod 4–6 inches above the top of the transom. If that crowds the ceiling, go as high as possible without touching it.
Can I hang the rod directly from the ceiling?
Absolutely, and this is often the best move for very low ceilings. Ceiling‑mounted brackets create an uninterrupted column of fabric from floor to ceiling, visually stretching the room. Use a slim rod and ensure curtains slide freely.
What if there’s thick crown molding?
Mount the rod below the molding. Start 2–3 inches down from the lowest edge of the crown, then adjust within the 4–6 inch range above the window frame so you stay as high as possible without crowding the molding.
Does the rule change for wide picture windows?
No. The 4–6 inch guideline holds above the top of the frame. For extra‑wide windows you may add a center support, but the height rule stays. Extend the rod 8–12 inches beyond each side so curtains stack back without covering the glass.
When the Rod Is Finally in the Right Spot
A room with the rod hung at the correct height feels visually taller, curtains hang without guesswork, and every other window‑treatment call becomes straightforward. For the most common starting point—a rod that’s too low—the first action is to measure 4 to 6 inches above the window frame, make a light pencil mark, and confirm the spot before moving anything.

Clara Bennett
After five years of transforming my 1920s bungalow room by room, I’ve refinished floors, hung blinds in bay windows, and spent more time choosing light bulbs than I’d like to admit. I learned paint sheens by painting my kitchen ceiling three times, and I found out the hard way that a rug too small makes a room feel unfinished. I believe every home can be both functional and beautiful, no matter the budget.
Related posts
The Designer-Approved Method for Measuring Curtain Length
Stop guessing. This designer framework sequences mount type, rod height, and hem length for a polished result. Measure once and skip the too-short mistakes.

The Curtain Measuring Error That Shrinks Your Windows
Measuring from the window instead of the rod is why curtains float above the floor. Learn to fix it and make every window look taller.

Why 'Floor-Length' Curtains Should Float, Not Puddle
Stop letting curtains drag. A half-inch gap above the floor prevents fraying, dust buildup, and vacuum snags — here’s when to float, and the rare case for puddling.

The One Detail Inside Mount Curtain Guides Never Mention
Most inside mount curtain guides skip the critical measurement that causes too-short curtains. Learn why you must measure from the bracket—not the window opening.