The Designer-Approved Method for Measuring Curtain Length
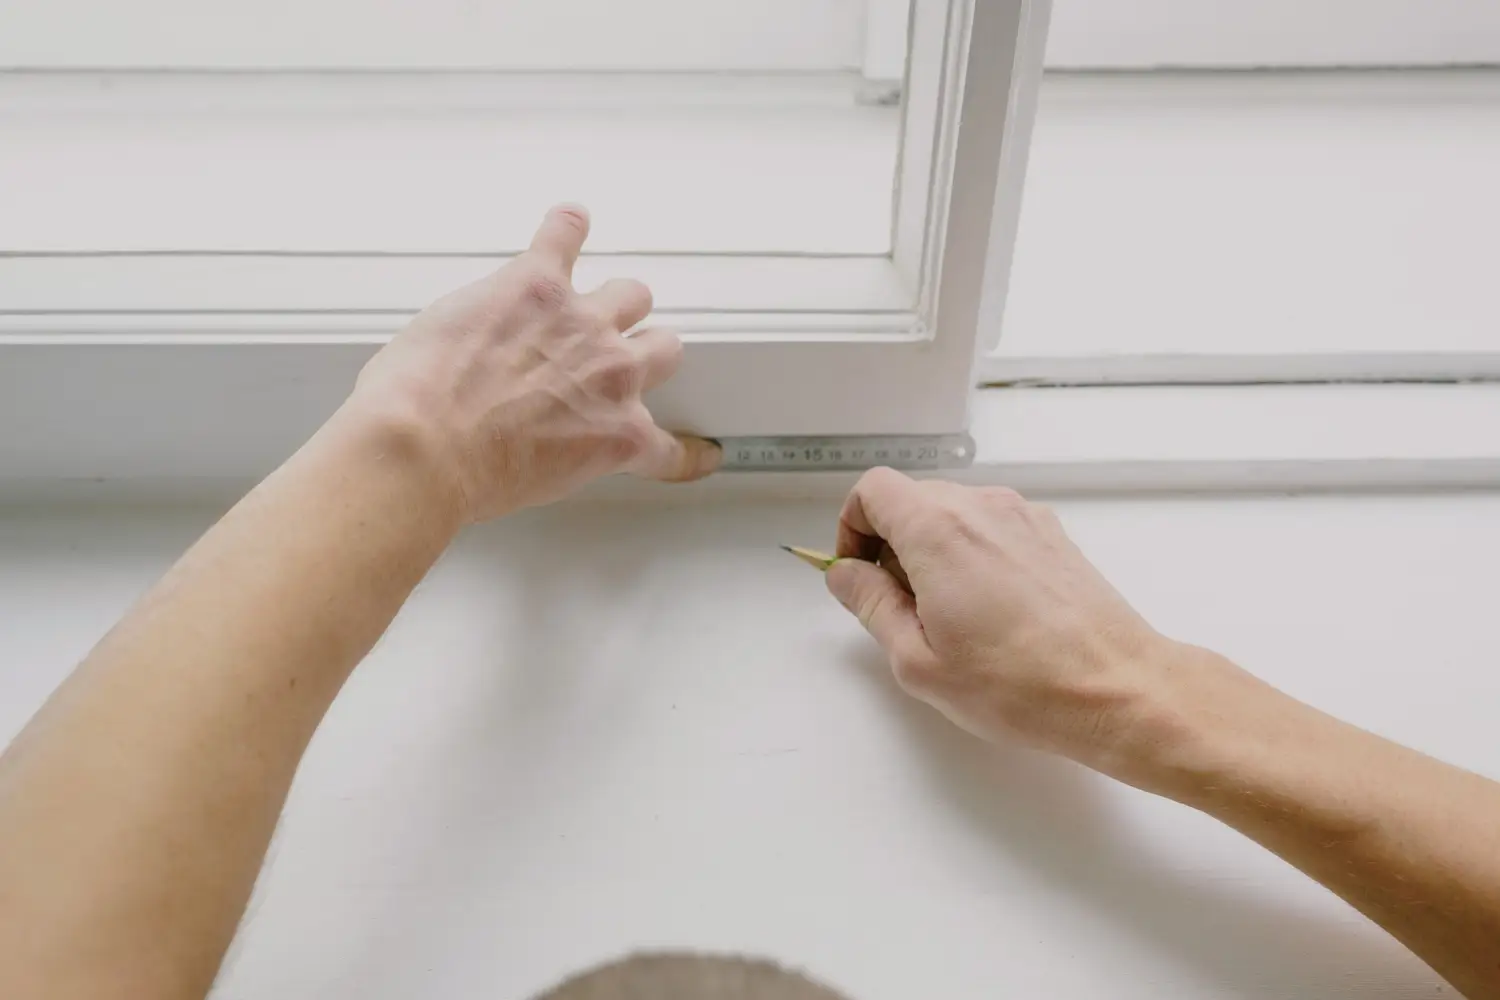
Measuring curtain length isn’t a measuring problem; it’s a decision sequence. The designer method orders three choices—mount type, rod height, hem length—and turns a tape measure into a confirmation step. Follow that order, and you eliminate the guesswork that produces panels that end too short, hang too low, or look like they were pulled from a random rack.
Your Window’s Current State Determines Your First Move
Every project lands at a different point in the sequence. Identify where you stand, and you’ll enter the right stage immediately, without redoing work.
- Bare windows, no hardware. Start at Decision 1—mount type. That choice dictates where the rod attaches, so everything else flows from it.
- A rod is already mounted. Skip to Decision 3—hem length. The mount and rod placement are locked; your only variable is where the fabric stops.
- Replacing curtains, keeping the rod. Return to Decision 2—verify the rod height and width match the new treatment. A rod hung for sheers often sits too low or too narrow for blackout drapery, and correcting it now avoids hem-length surprises.
Inside, Outside, or Ceiling: Choosing a Mount Type
This first decision sets the attachment surface, and that surface becomes the entire measurement reference point. Inside mount brackets fasten inside the window frame; outside mount brackets fix to the wall above and beside the frame; ceiling mount screws directly into the ceiling.
Inside mount works only when the frame has enough depth to hold both bracket and fabric stack—typically 2 to 3 inches minimum. Measure the distance from the glass plane to the front edge of the opening. If the number is smaller, the bracket won’t seat properly or the curtains will bulge past the trim. The ready sign is a firm answer: you know whether the hardware goes inside the frame, outside it, or on the ceiling. With that decision, you have a defined surface to aim for when you place the rod.
Outside mount gives the most control over rod height and width and hides subpar trim or undersized casings. Ceiling mount suits floor-to-ceiling panels, sliding door assemblies, and any scenario where elongating the wall is the priority.
Rod Height: Where to Hang the Hardware
Once the mount type is locked, you locate the rod’s exact position. The objective is twofold: create the right vertical proportion in the room and ensure the curtain clears the window trim when drawn open.
Start by marking 4 to 6 inches above the top of the frame—measured to the rod’s center—as a functional default. That range works on standard 8-foot ceilings. For taller ceilings or a deliberate vertical stretch, raise the rod to the midpoint or two-thirds the distance between the frame top and the ceiling or crown molding. Never mount exactly at the frame line; it compresses the window visually and leaves no clearance for the header above the opening.
The rod must also extend 3 to 6 inches beyond each side of the frame. This lateral reach lets stacked fabric clear the glass and makes the window appear wider. You’re not ordering curtain width yet—you’re fixing the rod’s height and endpoint positions so the length measurement has a concrete starting point.
You advance when you can point to a pencil mark on the wall and state, “The rod goes here.”
Hem Length: From Rod to Floor (or Sill)
The final decision controls where the fabric stops. The measurement is simple once the rod position exists: measure from the top of the rod (or the rod ring) straight down to the target stop point. The complexity is choosing the correct stop for the space.
Four standard looks cover nearly every situation:
- Kiss – the hem barely touches the floor, producing a crisp line. Best for curtains that get opened and closed daily.
- Float – the hem hovers ½ to 1 inch above the floor. The cleanest visual and the easiest to maintain; handles uneven floors and radiators well.
- Puddle – an extra 1 to 3 inches of fabric pools on the floor. Formal and forgiving of uneven subfloors, but collects dust and requires adjustment.
- Sill – the hem stops at the windowsill or just below it. Use for kitchen windows, radiator obstructions, or anywhere the sill must remain accessible.
When the floor is uneven, take measurements at several points along the rod line and use the shortest one to set a float or kiss hem. Over a radiator, leave at least 2 inches of clearance above the radiator top and select a float or sill hem.
You have your curtain length the moment you hold a single number—the distance from the rod to the chosen hem stop.
The Checkpoints That Mean You’re Done with a Stage
These three observable facts tell you it’s safe to proceed.
- Mount type locked. You can name the attachment surface—inside frame, wall, or ceiling—and the required depth or clearance.
- Rod height and endpoints marked. A visible line on the wall shows the rod’s center height and how far it extends past the frame on each side.
- Hem length measured. A specific inch value representing the rod-to-floor, rod-to-sill, or rod-to-float distance.
What You Don’t Need to Worry About Yet
Several curtain topics hijack the length conversation prematurely. They belong in a later step, not now.
- Curtain width. Width follows rod length, which you set during rod placement. Until the rod is sized, width is a distraction. Trigger: after rod placement is marked.
- Stacking space and fullness ratio. These shape how much fabric you buy and how far the rod extends laterally—width problems. Trigger: after rod width is known.
- Header style (grommet, rod pocket, back tab, pleat). The header can shift where the length measurement starts, but you correct it by measuring from the top of the rod and adjusting for the offset. The bigger point: mount type restricts which headers work, so pick the header after mount type. Trigger: after mount type is chosen.
- Rod diameter and finish. Aesthetics and load capacity matter only after you know the fabric weight and hem drop. Trigger: after hem length is set.
Common Questions About Measuring Curtain Length
How do I measure if the rod is already installed?
Start at Decision 3. Measure from the top of the existing rod—or from the ring eye—straight down to your floor or sill stop. The mount and rod height are fixed, so skip the earlier stages.
What is the standard distance above the window frame for a curtain rod?
The baseline is 4 to 6 inches above the frame, measured to the rod center. Taller ceilings or a grander room scale can push that to the midpoint between the frame top and the ceiling.
Should curtains touch the floor?
It depends on the room’s use and the look you want. A kiss or float handles daily operation well; puddle belongs in formal, low-traffic spaces. The standard isn’t a rule—it’s the intentional choice that matches the function.
How do I handle a radiator under the window?
Measure from the rod to a point at least 2 inches above the radiator’s top edge. Use a float or sill hem that stays clear for air circulation. If the radiator sits directly below the window, a sill-length curtain is the simplest solution.
Does the measuring method change for a ceiling-mounted rod?
The sequence doesn’t change. With ceiling mount, mark the rod position on the ceiling, measure straight down to the floor, and that full drop becomes the hem length.
With mount type, rod height, and hem length settled, the measurement is no longer a guess—it’s a precise number tied to a deliberate design choice. The first action for the most common starting point—bare windows with nothing attached—is to decide inside mount, outside mount, or ceiling mount. That single decision starts the entire framework.

Clara Bennett
After five years of transforming my 1920s bungalow room by room, I’ve refinished floors, hung blinds in bay windows, and spent more time choosing light bulbs than I’d like to admit. I learned paint sheens by painting my kitchen ceiling three times, and I found out the hard way that a rug too small makes a room feel unfinished. I believe every home can be both functional and beautiful, no matter the budget.
Related posts

The Curtain Measuring Error That Shrinks Your Windows
Measuring from the window instead of the rod is why curtains float above the floor. Learn to fix it and make every window look taller.

Hanging Curtains Too Low Is Costing You Ceiling Height
Mounting a curtain rod too low costs you ceiling height. The fix is 4-6 inches above the window frame—here's how to make it work for any ceiling.

Why 'Floor-Length' Curtains Should Float, Not Puddle
Stop letting curtains drag. A half-inch gap above the floor prevents fraying, dust buildup, and vacuum snags — here’s when to float, and the rare case for puddling.

The One Detail Inside Mount Curtain Guides Never Mention
Most inside mount curtain guides skip the critical measurement that causes too-short curtains. Learn why you must measure from the bracket—not the window opening.