5 Measuring Mistakes That Leave New Blinds Looking Wrong
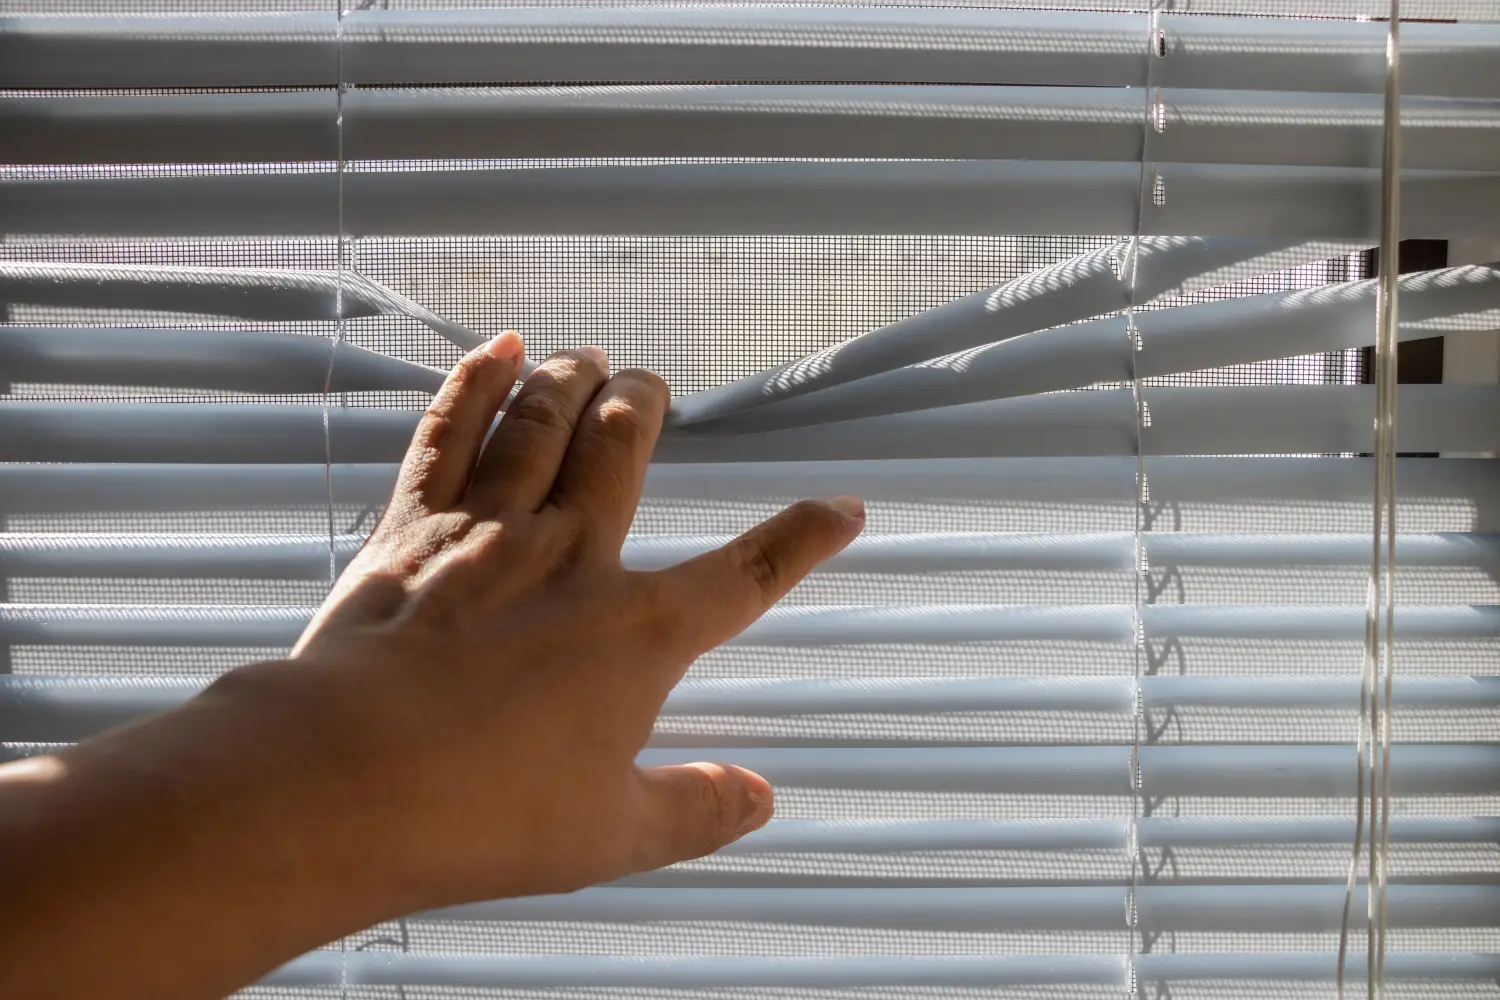
Five specific measurement errors account for nearly every blind that doesn’t fit. Most trace back to skipping a single check—like overlooking the headrail’s bracket clearance after recording the narrowest width. A homeowner measures a bedroom window, writes down the narrowest width, and orders an inside mount blind to that number. The blind arrives too narrow because the mounting brackets need space on both sides. The following guide separates each mistake from the correct procedure so you can get a clean fit without a pro.
The Only Measuring Tools That Give Repeatable Numbers
Use a steel tape measure. Cloth tapes stretch and introduce error. Pair it with a sharp pencil, a notepad, and a stable step stool if the window sits above eye level. A 6-inch level confirms the window frame is square before you trust the measurements.
A 5-Step Measurement Checklist That Eliminates Gaps and Rubs
- Lock in inside mount or outside mount first; then measure every point to match that decision.
- Record width at top, middle, and bottom; for inside mount, keep the narrowest reading; for outside mount, keep the widest; next, account for headrail bracket clearance per the manufacturer.
- Take height at left, center, and right; for inside mount, use the longest measurement; for outside mount, add the needed extra height above the window.
- Scan for obstructions—window cranks, moldings, tile edges—that cut into depth or block the blind.
- Cross-check every number against the mount type and apply the exact deduction or addition the blind’s instructions require.
Where Each Measurement Can Go Wrong—and How to Get It Right
Step 1: Settle Inside vs. Outside Mount Before the Tape Touches the Frame
Measuring for one mount type and ordering the other is one of the fastest ways to end up with blinds that don’t fit. If the window has a recess at least 1 3/8 inches deep and no protruding hardware, inside mount sits neatly inside the frame. If the depth is less, or a crank handle breaks the plane, outside mount is the only viable path. Common mistake: taking the recess width as if for inside mount, switching to an outside mount halfway through, and never re-measuring the starting point.
Step 2: Width—Three-Point Measuring and the Headrail Overhang That Gets Overlooked
For inside mount, measure width at the top, middle, and bottom of the opening. Record the narrowest of the three. But the blinds’ headrail nests inside brackets that may need a bit of lateral room. If the manufacturer states “no deduction required,” the bracket dimensions already fit inside that narrowest number. When a buyer takes that narrowest width and orders without checking the bracket spec, the blind often shows up too narrow because the brackets need clearance beyond the glass. If the manufacturer gives a deduction (e.g., subtract 1/2 inch), subtract it from the narrowest width—not the average. For outside mount, measure the exact area you want the blind to cover—typically trim edge to trim edge—and add at least 2 inches on each side for light control and bracket fastening.
Step 3: Height—Why One Center Reading Invites a Short Blind
Inside mount height: measure from the top inside edge to the sill on the left, center, and right. Use the longest measurement. The mistake is measuring only the center and discovering the sill slopes down toward the sides, leaving a light gap where the blind doesn’t reach. For outside mount, determine where the top of the headrail will sit (at least 2 inches above the window frame) and measure down to the desired endpoint, then add 2 to 3 inches below the sill for rack-and-pinion styles.
Step 4: Obstruction Scan—Cranks, Moldings, and Tile That Block a Clean Install
Check the entire window area. Crank handles, alarm sensors, deep crown-like molding, or a tiled sill can prevent the blind from hanging flush or contacting the mounting surface. Inside mount fails if an obstruction sits within 1 3/8 inches of the glass. Outside mount is the straightforward alternative. For outside mount, verify there is enough flat wall above the trim for the brackets; a tight architrave may require an extended bracket or ceiling-mount hardware. The error: placing the order, opening the box, and only then realizing the crank blocks the blind when you try to raise it.
Step 5: Final Number Review—Matching the Measurements to the Mount and the Brand’s Rules
Re-check every dimension. Write down the width (narrowest or widest) and the height (longest or total) with the exact deduction or addition noted. If the brand says “no deduction” for inside mount, order the narrowest width unchanged. If a deduction is required, subtract it from that narrowest number, not from an average. Confirm depth: at least 1 3/8 inches for standard inside mount, more for cellular shades. Mixing up the width and height rows on a website form or forgetting to check the return policy for mis-measured blinds are both easily avoided with a two-minute review.
Four Quick Verification Checks Before You Click “Order”
- Width fits the mount decision: for inside mount, it’s the narrowest opening minus the deduction (if any); for outside mount, it’s the desired coverage plus the side overhangs.
- Height ensures the blind doesn’t sit too high or drag on an obstruction.
- Depth equals or exceeds the minimum listed on the blind’s product page.
- All numbers are in inches and entered in the order the site expects (width, then height).
When the Blinds Arrive Wrong—The Fastest Course Corrections
- Too narrow (inside mount): Try thin shims behind the brackets to shift the headrail outward; if the side gap exceeds 1/4 inch, reorder at the correct width.
- Too short (inside mount): Lower the brackets by the amount of the gap if the sill allows; otherwise, add a valance or convert to outside mount with extension brackets.
- Hits obstruction: Remove any non-essential sensor or handle; if the obstruction is fixed, switch to outside mount with a spacer block to clear it.
- Brackets won’t sit flush (outside mount): Install a header bar or wood spacer to create a flat surface on an uneven wall above the window.
Common Follow-Up Questions About Measuring for Blinds
Do I measure in inches or centimeters for US blinds?
Inches. US retailers and ordering forms use inches exclusively. Never convert from metric or you’ll introduce a rounding error.
What if my window isn’t square?
Inside mount can tolerate a small variance—up to about 1/4 inch across the width. Use the narrowest width and let the window frame’s reveal hide the slight light gap. For larger variances, outside mount with wider coverage masks the asymmetry entirely.
Should I deduct anything from my inside mount measurement?
That depends on the blind. Some brackets are designed for zero deduction; others require subtracting 1/4 inch to 1/2 inch. Check the product’s measuring guide—it’s the only reliable source.
Can I use a cloth or laser tape measure?
A cloth tape stretches and gives false readings. A laser measure can work if you can hit the exact inside edge, but a steel tape is more precise for narrow openings and is the standard tool.
How do I measure for blinds on a door?
For a French door or hinged door, measure the glass width and height inside the rubber gasket, then add at least 1 inch on all sides for outside mount brackets that attach to the door. For inside mount, measure the depth of the door stile to ensure the blind fits.
Once every measurement matches the window and the blind hardware’s specifications, the next task is to select the right light control or privacy fabric for the room—and install without any surprises.

Clara Bennett
After five years of transforming my 1920s bungalow room by room, I’ve refinished floors, hung blinds in bay windows, and spent more time choosing light bulbs than I’d like to admit. I learned paint sheens by painting my kitchen ceiling three times, and I found out the hard way that a rug too small makes a room feel unfinished. I believe every home can be both functional and beautiful, no matter the budget.
Related posts
The Blind Selection Method Design Pros Use Room by Room
Learn the systems-level framework designers apply to choose blinds room by room—matching material, slat size, and mount type to each room's light, privacy, and maintenance needs.
The Hidden Cost of Picking the Wrong Blind Mount for Your Windows
Inside mount blinds on out-of-square windows leak light and bind. Outside mount fixes both. See the scenarios that decide which mount you actually need.

Finally, a Blind Cleaning Routine That Actually Sticks
Stop dreading blind cleaning. This material-specific routine uses wipes, dusters, and conditioners to keep vinyl, aluminum, and wood blinds clean with minimal effort.
Why Bigger Blind Slats Aren’t Always the Better Choice
1-inch, 2-inch, or 2.5-inch blind slats? See how visual weight, light gaps, and cleaning change the answer for kitchens, picture windows, and living rooms.