3 Size Rules Every Focal Point Must Follow to Look Right
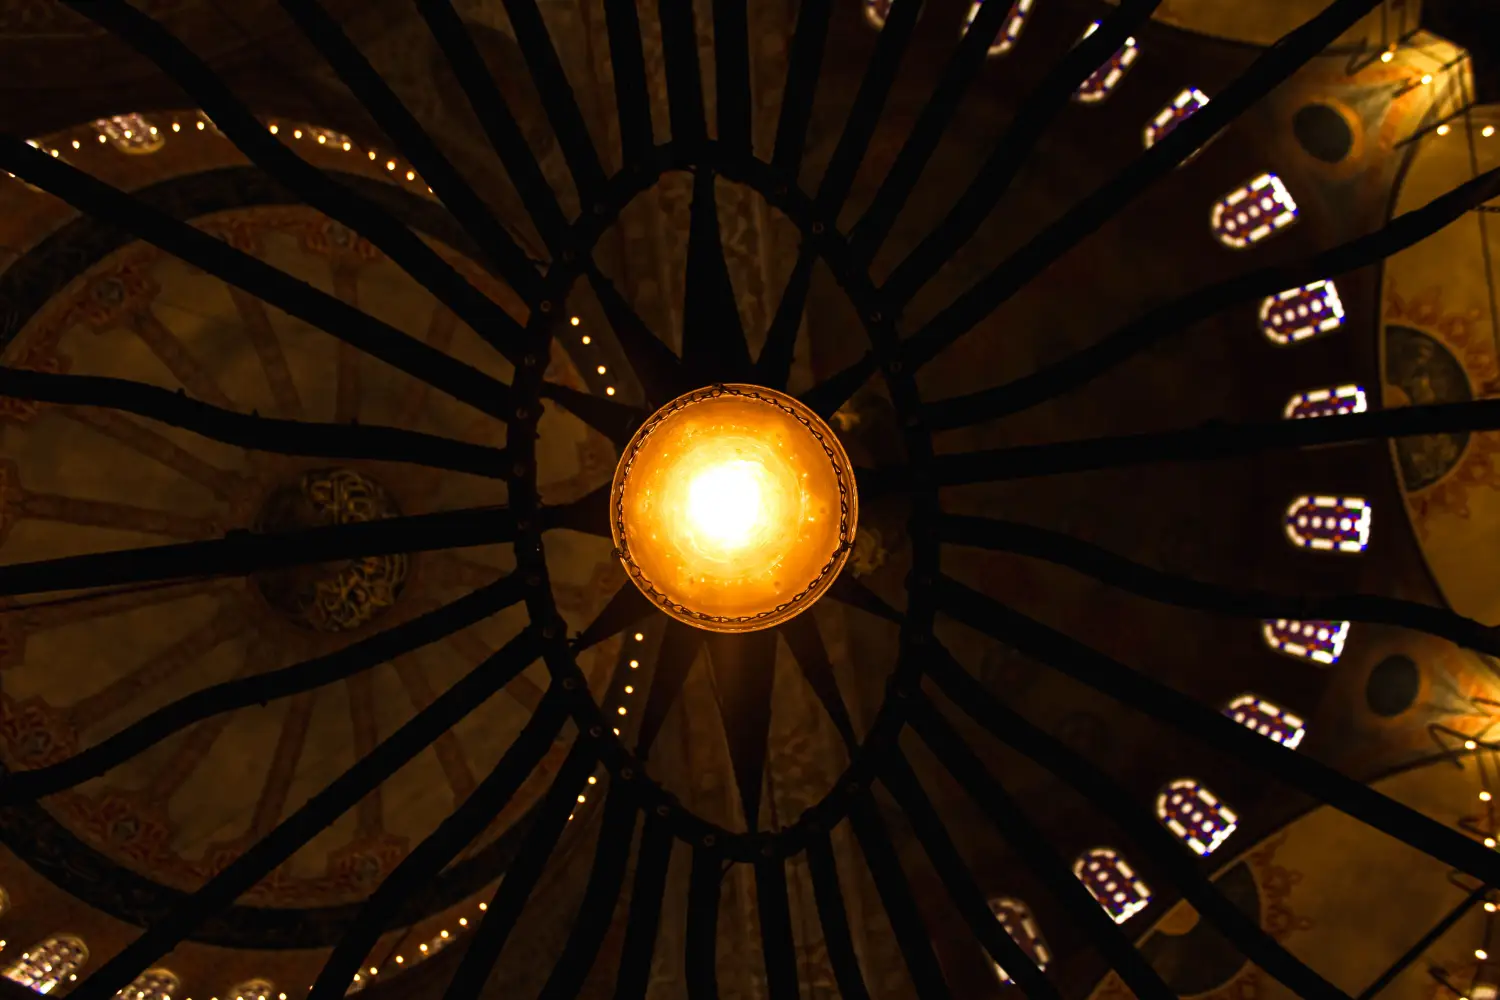
A focal point that appears correctly proportioned is the result of deliberate sizing, not chance. Three quantifiable rules connect its dimensions to the room. The primary rule: the width of the focal point should equal 30 to 40 percent of the wall it sits on. Two others govern height and depth. Together, they eliminate the visual unease caused by a piece that is too small, too tall, or too bulky.
These ratios are derived from how the eye reads a room as a single composition. A focal point narrower than 30% of the wall looks lost; one wider than 40% makes the wall feel compressed. Both outcomes create measurable discomfort. The corrective step is straightforward: measure the room, apply the percentages, and adjust. The following sections detail each rule with exact measurement procedures and the signs that indicate the size is correct.
Where to Begin: Four Common Focal Point Problems
Every room presents a different starting point. Match your situation to one below to see the most direct route through these size rules.
- The wall behind the sofa is 12 feet wide, and the lone piece of art looks like a postage stamp. Your path: jump straight to the width rule.
- The fireplace surround is beautiful, but the mantel is so tall it seems to push the ceiling down. Your path: start with the height rule.
- The built-in entertainment unit sticks out so far that guests must sidestep it to cross the room. Your path: the depth rule is your priority.
- You are starting from a blank wall and want to avoid a costly mistake. Your path: work through all three rules in sequence.
Rule 1: Match Width to 30–40% of the Wall
This stage targets the two most frequent errors—a focal point that disappears against a large wall, or one that dominates so heavily the room feels confined. The purpose is a width that anchors the space without becoming a visual barrier.
Measure the full wall in inches from corner to corner. Multiply that number by 0.30 to find the lower limit and by 0.40 for the upper limit. On a 120-inch wall, the focal point must span between 36 and 48 inches. A piece below 36 inches will leave the wall looking empty regardless of its design quality. A piece above 48 inches will crowd the wall and make the room feel smaller.
When an existing piece falls outside this range, its perceived width can be expanded by flanking it with sconces, panels, or smaller artworks that form a cohesive visual mass. To test before mounting, mark the intended width on the wall with painter’s tape and step back. Observe how the outline relates to the surrounding wall area.
Ready to move on when: you can look at any wall in the room and estimate its target width range without measuring every time, and the focal point no longer appears to float in empty space or press against the sides.
Rule 2: Give the Focal Point 50–75% of the Wall Height
Width alone will not correct a height error. A mantel that stops halfway up a tall wall loses its visual authority. A canvas that nearly touches the ceiling makes the room top-heavy. The vertical proportion carries equal weight.
Measure the wall height from floor to ceiling. Multiply by 0.50 and 0.75. The focal point—whether art, a fireplace surround, or a headboard—should occupy between half and three-quarters of that vertical space. An 8-foot ceiling (96 inches) gives a target range of 48 to 72 inches. The exact placement inside that range depends on what sits below. If a sofa backs up to it, the focal point typically starts 6 to 12 inches above the furniture, and the upper edge should leave at least 12 inches of clearance to the ceiling.
When the height is wrong, lowering the top edge or adding a transom-like panel above the focal point can stretch the visual height upward. A deep crown molding or a well-placed shelf below can compress the height visually without altering the object itself.
The observable sign of correctness: the focal point fills its vertical share without crowding the ceiling or getting lost above low furniture. A quick scan of the wall confirms the focal point occupies the space naturally, not awkwardly.
Rule 3: Keep Depth to One-Quarter of the Room’s Depth
A focal point is not a flat surface; it projects into the room and shapes how people move through it. The third rule keeps the piece from blocking traffic or making the room feel cramped.
Measure the depth of the room from the focal point’s wall to the opposite wall or the nearest major piece of furniture directly across from it. Take one-quarter of that distance. The focal point—its mantel, media console, or deepest built-in shelf—should not protrude more than that. In a room that is 14 feet deep (168 inches), the limit is 42 inches. Any more intrusion chokes the natural pathway and creates a subconscious feeling of congestion.
This rule proves most useful when planning a thick fireplace, a deep entertainment unit, or a protruding chimney breast. The fix is often not to shrink the object but to move the opposing furniture (sofa, chairs) slightly forward so the clear pathway remains generous. Outline the depth on the floor with tape and walk around it; if the flow feels pinched, adjust.
You are ready when walking around the focal point feels unforced and the room does not contract when you enter. The object should anchor the space, not invade it.
Are You Ready? A Checklist of Visual Signs
- The focal point’s width sits between 30% and 40% of the wall width, appearing anchored rather than floating or crowded.
- Its height fills 50% to 75% of the wall, leaving appropriate space above and below without creating a cavernous gap or a cramped ceiling line.
- The depth of the focal point consumes no more than one-quarter of the room’s depth, so the main pathway feels open and natural.
- Standing against the opposite wall, you can take in the entire focal point without your eye jumping to bare wall on either side.
What You Can Safely Ignore Until Later
Color, texture, and style are secondary. They will not correct a size mistake. A beautifully finished focal point at the wrong scale will still look wrong. Settle the dimensions, then refine the finish.
Symmetry and centering are often addressed too early. A focal point can be perfectly centered and still feel off if the width is incorrect. Resolve size first, then center.
The rule of thirds for off-center placement is a refinement, not a starting point. It becomes useful only after the basic size ratios are established.
Delay decisions about lighting fixtures, surrounding decor, and exact materials until the piece passes the tape-test for all three size rules.
Shortcuts That Actually Work
- Outline the dimensions with painter’s tape on the wall before purchasing or building anything. Live with the outline for a full day. If the shape feels too small or too large, move the tape until it feels natural, then measure the tape to obtain the numbers. This replaces guesswork with direct observation.
- When working with a square wall, the height and width percentages will naturally produce a rectangular focal area. If the result feels too blocky, add vertical emphasis through a taller mantel or a vertical art piece, while keeping the overall dimensions within the stated ranges.
Common Size Questions for Focal Points
What if my wall has a window or door that breaks up the space?
Measure only the clear, uninterrupted section of wall that will hold the focal point. Use that clear width as the basis for the 30–40% calculation. The window or door effectively trims the wall; do not include them in the measurement.
Do I measure the whole wall or just the area above a sofa?
For the width rule, measure the entire wall from corner to corner. The sofa sits within that wall and the focal point above it still relates to the full wall. For height, measure from the top of the sofa back to the ceiling, but still apply the 50–75% rule to the full wall height, adjusting the start point accordingly.
Can I combine smaller pieces to hit the width percentage?
Yes, a grouped arrangement of art, sconces, or objects can function as one focal point. Calculate the total width of the group, including gaps between pieces. Just ensure the group reads as a single mass.
Does this rule apply to TVs mounted above a fireplace?
It does, with a caveat. The TV’s width should still fall within the 30–40% wall width range, and ideally the entire assembly (TV plus any media unit below) should occupy the 50–75% height band. However, TVs often force a lower height, so prioritize comfortable viewing height and then adjust the surrounding elements to fill the visual space.
What if my ceiling is sloped?
For sloped ceilings, measure the highest point as the upper reference. The 50–75% height rule then applies to that full measurement, but the focal point will terminate below the slope, leaving an angled gap. That is acceptable as long as the focal point’s top edge does not break the slope.
When All Three Rules Lock In
Once the width falls between 30 and 40 percent, the height sits between 50 and 75 percent, and the depth is under one-quarter, the focal point does its job without calling attention to itself. The room reads as intentional and settled. For most rooms, the easiest place to begin is the main wall. Measure the total width, multiply by 0.30 for the floor and by 0.40 for the ceiling. Then check what you have against that range.

Clara Bennett
After five years of transforming my 1920s bungalow room by room, I’ve refinished floors, hung blinds in bay windows, and spent more time choosing light bulbs than I’d like to admit. I learned paint sheens by painting my kitchen ceiling three times, and I found out the hard way that a rug too small makes a room feel unfinished. I believe every home can be both functional and beautiful, no matter the budget.
Related posts

The Design Rule That Decides Where Your Eyes Go First
Discover how the focal-point principle rooted in cognitive psychology simplifies room navigation and cuts decision overwhelm for new homeowners planning whole interiors.
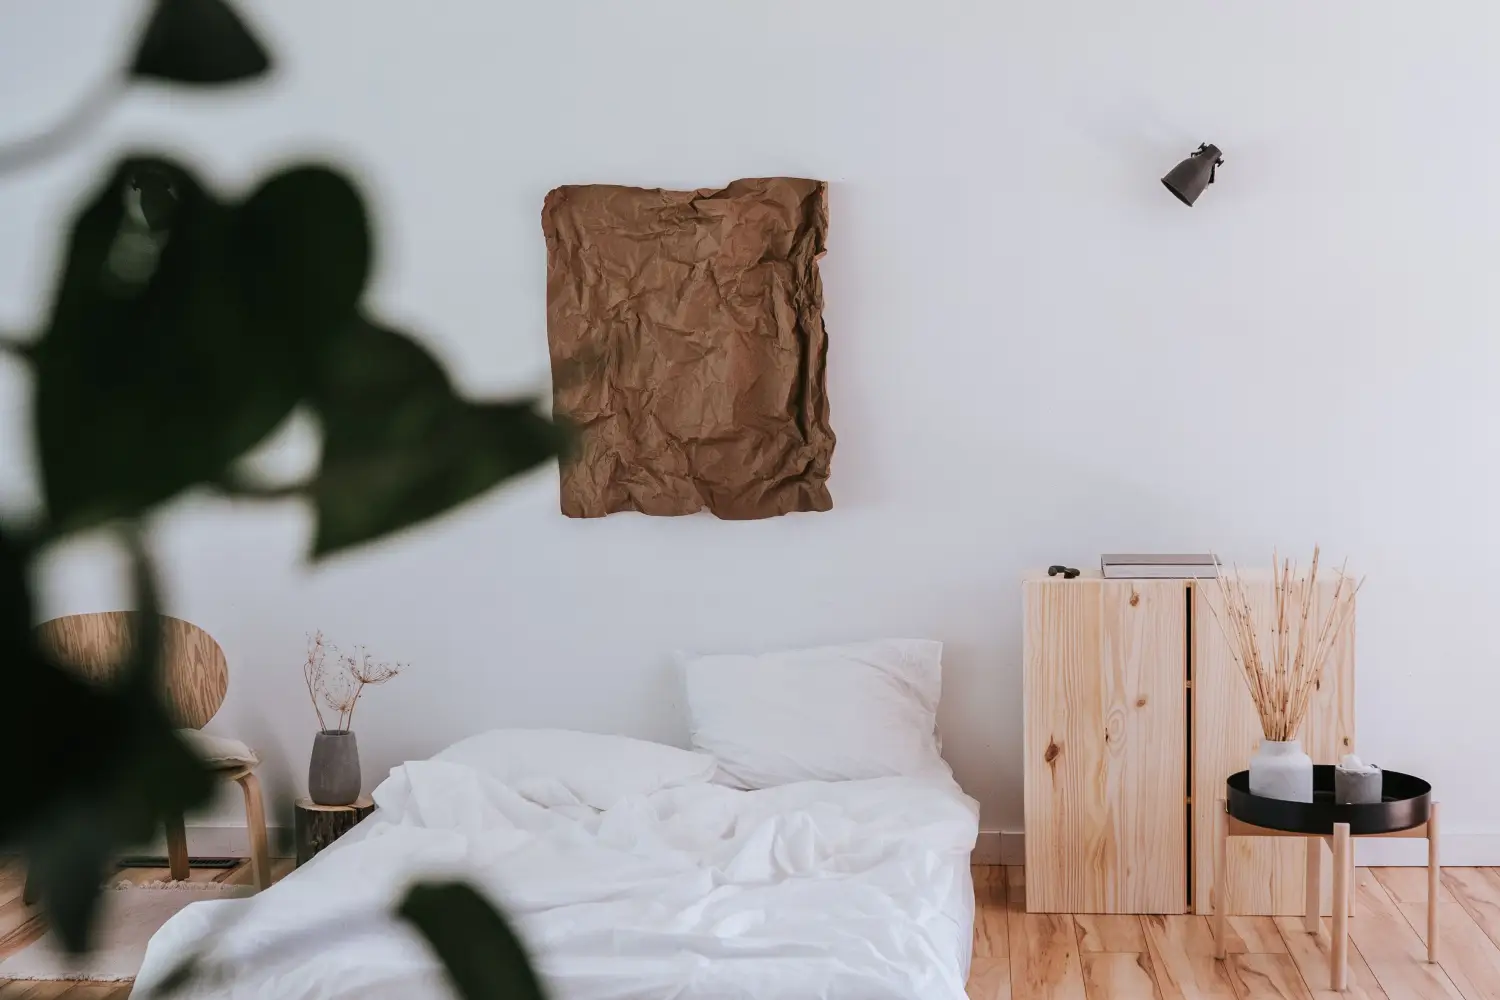
The Focal Point Mistake That Makes Your Room Feel Unstable
That uneasy feeling often comes from two focal points fighting for attention. Learn how to demote one into an accent and restore visual calm—fast.
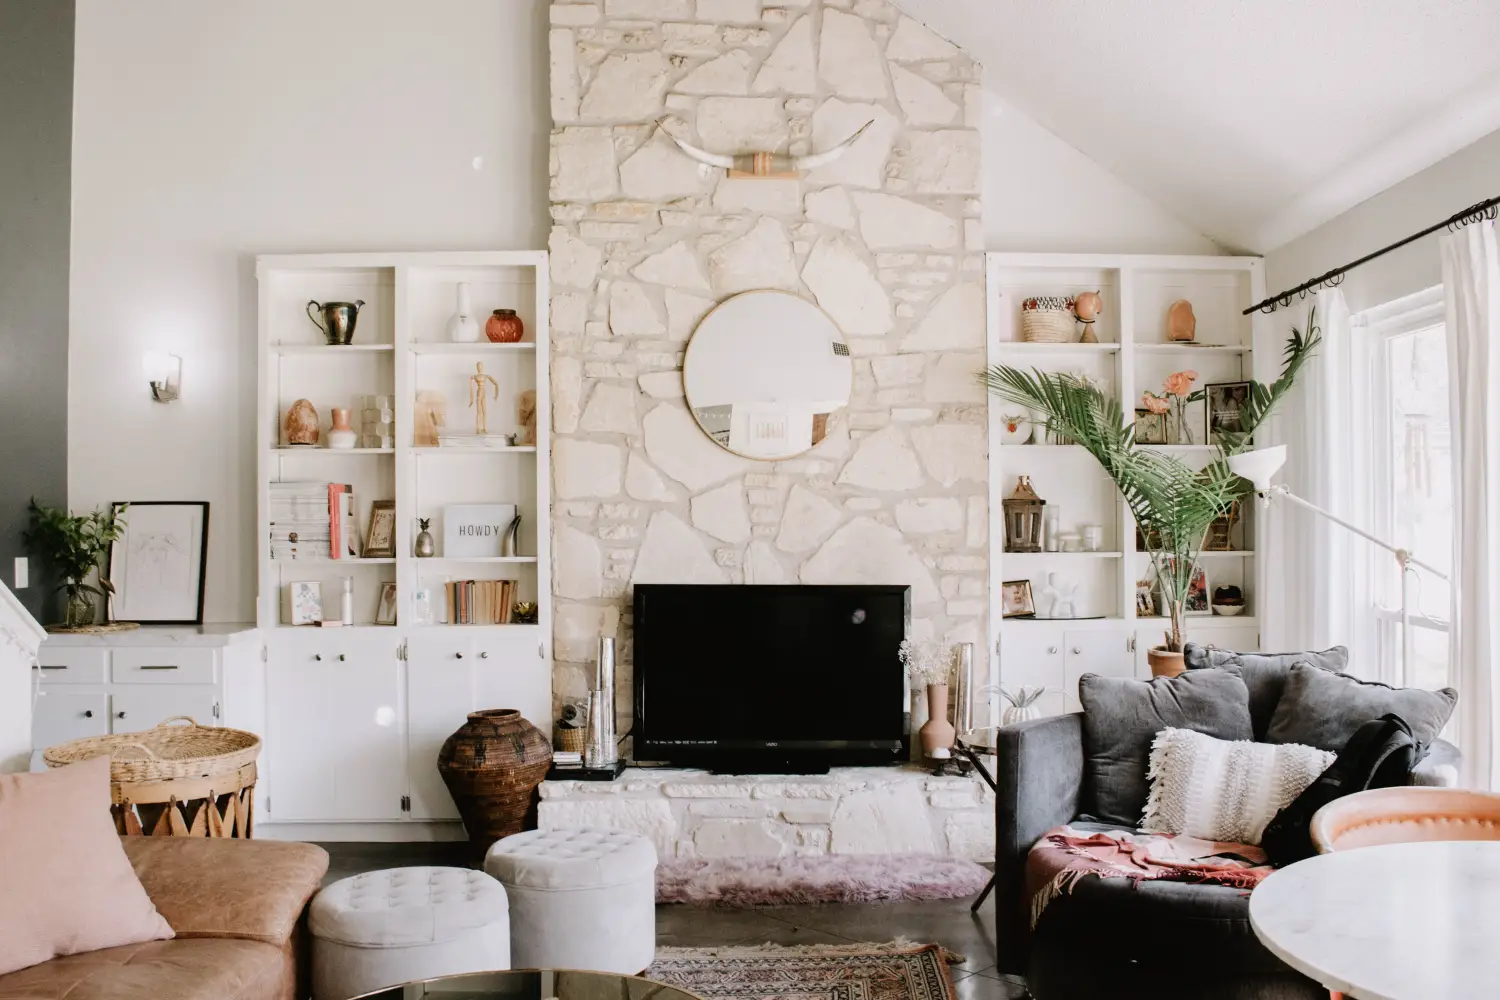
No Natural Focal Point? Here's How to Build One That Looks Right
No fireplace or picture window? Use a statement art piece, accent wall, or furniture grouping to anchor any blank room — step-by-step framework that keeps it natural.