7 Curtain Measurement Mistakes That Cost You Money
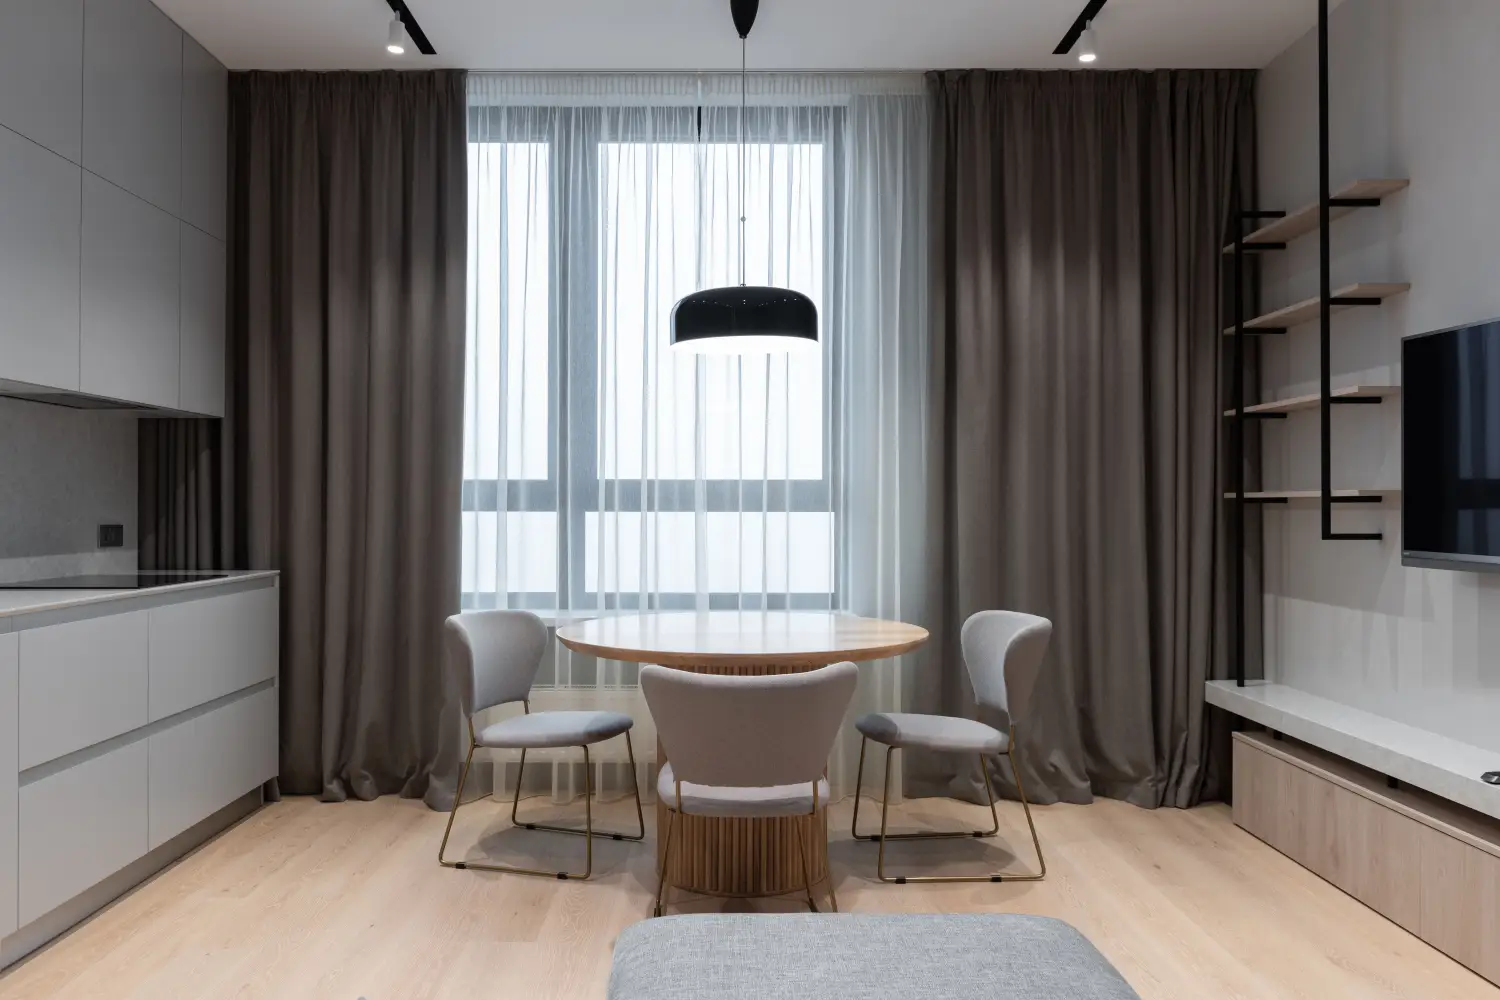
People measure the window and expect the curtain to fit. The window wasn’t the problem — the hardware was never in the equation. That’s the oversight that doubles the bill, and the following seven mistakes break down exactly where the money leaks and how to stop it.
The Four Numbers to Nail Before You Place an Order
Before touching a tape measure, lock in these four figures. They intercept the heaviest costs before they stack up.
- Best overall: Bracket projection — Measure the distance from the wall to the front of the bracket, then add that to your panel width. Without it, the rod hides behind the casing and the curtains won’t hang straight.
- Best budget: Rod diameter — A $25 rod with a 1‑inch diameter works with most grommet curtains. Buy panels first and discover the rod is too thick after, and you’re staring at a return fee that could have been avoided.
- Best for beginners: Top‑of‑rod height — Mount the rod 4–6 inches above the window frame (higher for tall ceilings), then measure down to the floor from there — not from the window top.
- Best time‑saver: Three‑point width — Measure the window at the top, middle, and bottom. Use the widest number; the alternative is a too‑narrow panel that leaves a permanent light gap.
The Hardware Curveballs That Shrink Your Panels
If the rod and brackets aren’t finalized, every inch you measure is probably wrong. These three errors all start at the mounting point.
Ignoring the Bracket Projection Is the Fastest Way to Get a Too‑Narrow Curtain
Most brackets project 1.5 to 3 inches from the wall, a number that rarely shows up on the box. When that projection never enters the width calculation, the rod ends up buried behind the window trim and the panels can’t fall cleanly. The upside of catching this mistake: it eliminates the single largest driver of return headaches. The catch: inside‑mount setups skip projection entirely, but then the window’s recess depth takes over the role of hidden dimension.
Buying Panels Before the Rod Guarantees a Size Mismatch
Rods are not one‑size‑fits‑all for grommets and rings. A panel ordered first might fit one rod perfectly and jam on another that’s only a quarter‑inch thicker. The fix costs nothing: finalize the rod, note its diameter, then match the panel and ring hardware to that number. This mistake is less likely if you’re using a track or tension rod, but the same logic applies anytime hardware and fabric interact.
Finials Aren’t Decorative Only — They Can Gobble Up Inches on Both Sides
A finial can jut out an extra 2 to 4 inches past the bracket, stealing the stacking space you planned for open curtains. Panels ordered to the exact rod length, ignoring finials, end up blocking the finial or refusing to open fully. Subtract the finial’s projection from the usable rod length before you order, and that cramped look disappears. The limitation: many rods come without finials and some never add them, but if there’s even a chance you’ll screw one on later, account for it now.
The Window Itself Isn’t Always Square — and Other Width Traps
Windows shift. Walls settle. What looks like a neat rectangle often isn’t, and ignoring that truth creates gaps that glare.
Assuming Every Window Is Square Leads to Curtains That Never Close Fully
A window 36 inches wide at the top might be 36.5 inches at the bottom. Leveling the rod to the top leaves the hem slanted. A quick diagonal check — measure corner to corner; if the two numbers differ by more than a quarter inch, the rod needs adjustment. The payoff: a five‑minute check that prevents a visible error no amount of futzing with the fabric can hide. The limitation: extreme out‑of‑square cases may require a custom rod bracket, but you’ll avoid ordering the wrong panel size in the first place.
Measuring Width at Only One Point Is a Gamble the Window Usually Wins
Older homes often bulge in the middle. Taking a single top measurement and running with it can lead to panels that bind or gap at the widest spot. Always take three width measurements — top, middle, bottom — and set your rod length using the largest one. This approach stops you from buying panels that fit one part of the window and defeat the rest. If the bowing is severe, you may still need a curtain stay or magnet, but the width won’t be the problem.
Inside‑Mount Depth: Miss This and the Curtains Hit the Back Before They’re Closed
For inside mounts, the window’s recess depth dictates which brackets fit and how far the panels can stack. A shallow recess combined with puffy header curtains means the panels stick out past the frame. Measure depth at the top sill and compare it against the bracket’s required clearance and the stacked thickness of the curtain. Nail this, and you won’t get that half‑inside, half‑outside mess that forces a bracket swap. Outside mounts dodge the issue entirely, at the cost of a different light‑blocking profile.
Length Miscalculations That Make Curtains Look Like an Afterthought
A fraction of an inch at the bottom reads as either professional or careless. These three length errors are the hardest to hide after the drill comes out.
Mounting the Rod Too Low Makes the Room Feel Short and the Curtains Look Wrong
Setting the rod right above the window trim shrinks the ceiling visually and turns a $200 curtain into a design mistake. Standard rule: 4–6 inches above the frame, or halfway to the ceiling for rooms with normal height. Drilling low sets off a chain reaction that later forces a re‑mount or leaves panels dragging. Getting the height right on the first try costs no extra money and avoids a double‑drilling patch job. The limitation: in vaulted or very tall rooms, you might mount 8–10 inches down for proportion, but the principle holds — decide the rod height before you pick any panel length.
Forgetting About Floor Clearance Turns ‘Just Right’ Into ‘Pooled’ or ‘Ankle Biter’
Measuring to the floor without subtracting the ring and rod height produces a hem that floats 1–2 inches above the floor, a look that reads accidental. Adding too much for a break invites dust‑collecting puddles. Decide the intended break — typically half an inch above the floor for a crisp line — and measure from the rod’s bottom to that point. This precision stops the return of too‑short panels and the cost of hemming. On uneven floors, measure from multiple points along the floor as well; the highest spot sets the clearance.
Not Accounting for the Rod’s Diameter and Rings Can Add an Inch You Didn’t Plan For
When you measure from the bracket top to the floor, the combined thickness of rod and ring lifts the panel higher than you intend. Subtract that thickness from the total drop, and the hem ends up exactly where you want. The payoff: a simple subtraction that kills the “why is my curtain 1 inch too short?” mystery. For grommet curtains, the rod sits inside the grommet, so only the bottom edge of the rod matters, but the subtraction logic still holds.
Already Staring Down a Specific Set of Errors? Start Here
If you’ve identified which group your mistake falls into, here’s the fastest way to stop the bleeding.
- Hardware‑related (bracket, rod, finials): Fix bracket projection before anything else. Every width number leans on it. Once that’s set, rod diameter and finial projection become simple deductions.
- Window‑shape irregularities (squareness, multiple widths, recess depth): Check squareness first — it can explain why a perfectly good width measurement still left a gap. Then re‑measure at three points and use the largest figure.
- Length miscalculations (rod height, floor clearance, rod thickness): Lock down the rod height and the floor‑clearance preference first; those two numbers set the target drop. Then subtract ring/rod height from that.
FAQ
How much extra width do I need for bracket projection?
Add the projection of one bracket (typically 1.5–3 inches) to your desired rod length on each side. So if you want 74 inches of rod beyond the window and brackets project 2 inches each, order a rod that’s at least 78 inches after finials.
Can I return curtains that don’t fit?
Many retailers allow returns on unopened, unused curtain packages, but return shipping and restocking fees can knock off $10–$30. Custom‑length curtains are often non‑returnable. It’s cheaper to measure twice than to eat return costs.
How do I know if my window is square without a level?
Measure diagonally from corner to corner; if the two diagonal measurements are identical, the window is square. If they differ by more than ¼ inch, the window will need the rod adjusted to compensate.
The One Measurement That Saves the Most Money
Start with bracket projection. That distance from the wall to the front of the bracket — the number that rarely appears in any guide — is what sends more new homeowners back to the return counter than any other measurement mistake. Lock it in, add it to your panel width, and you’ve already dodged the priciest error on this list.

Clara Bennett
After five years of transforming my 1920s bungalow room by room, I’ve refinished floors, hung blinds in bay windows, and spent more time choosing light bulbs than I’d like to admit. I learned paint sheens by painting my kitchen ceiling three times, and I found out the hard way that a rug too small makes a room feel unfinished. I believe every home can be both functional and beautiful, no matter the budget.
Related posts

The One-Try Curtain Measurement Guide: No Mistakes, No Remeasuring
Measure curtains right the first time with a sequential decision framework. Choose mount type, then calculate width and length using formulas for header, stackback, and hem.

The 2-Inch Rule: Curtain Width Measuring Without Math
Stop using fractions and fullness charts. Measure the rod, add 2 inches for the center overlap, then multiply by 1.5, 1.8, or 2 based on fabric weight. Get the right width every time.
How Designers Measure Curtain Length (Sill, Apron, Floor, Puddle)
Discover the designer’s decision tree for curtain hems: sill, apron, floor, and puddle. Get exact measurement points from the rod and choose the right length for your room’s style and function.

The Hidden Cost of Measuring Inside Mount Curtains Wrong
A mis-measured inside mount curtain often leads to a non-returnable order and a full-price replacement. Learn the exact bracket depth and return clearance checks that stop the waste.